Electronics / Speakers & Soundbars
User Manual for Helvia Dico Series Waterproof Passive Column Speakers
Quick guide for Helvia Dico Series speakers. Includes installation steps, wiring diagrams for 70/100V and low-impedance systems, safety warnings, and technical specifications.
Quick answers from the manual
Quick answer
- The Helvia Dico Series are waterproof 2-way passive column speakers supporting both 70/100V constant-voltage and 8 ohm low-impedance configurations. p. 11, 13
Key actions
- Mounting the speaker p. 14
- Selecting power tap p. 13
First start
- Ensure amplifier is off and volume is at minimum before connecting. p. 6
Show 3 more answers Show less
Problems and fixes
Distortion
Reduce amplifier volume.
p. 15Technical specifications
| Parameter | Value | Meaning | Pages |
|---|---|---|---|
| IP Rating | IP66 | Waterproof and dust-tight. | p. 18 |
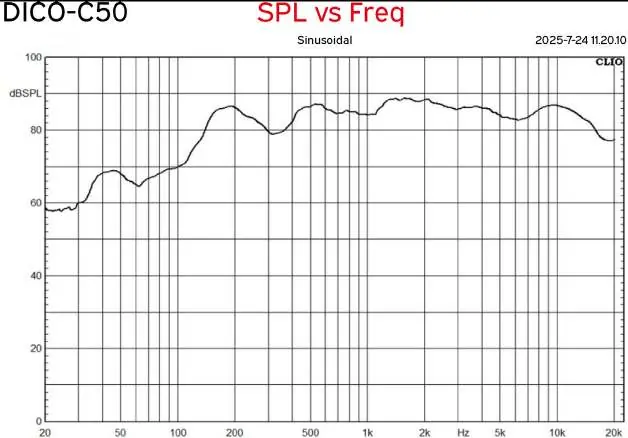
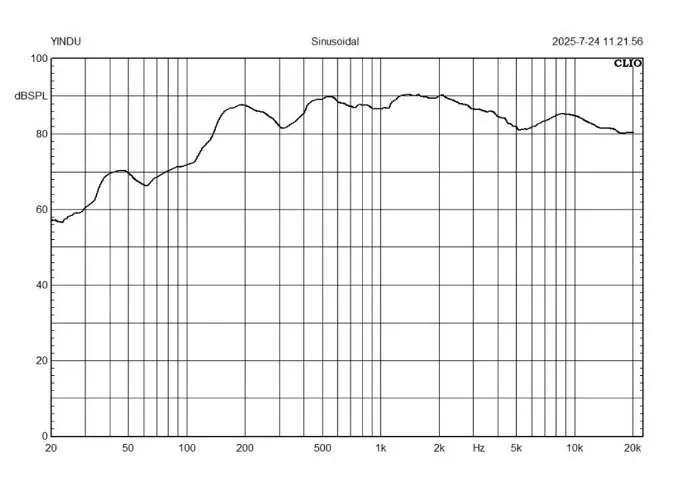
| Frequency Response | 120Hz-20kHz | Range of audio reproduction. | p. 18 |
Where to find it in the PDF
- Installation p. 14
- Specifications p. 18
Table of contents
Manual images
Click an image to enlargeQuick Guide from the Manual
The Helvia Dico Series are waterproof 2-way passive column speakers designed for professional audio distribution. This manual covers the installation, wiring, and operation of the Dico-C50 and Dico-C100 models. Key safety requirements include using authorized technicians for overhead rigging, ensuring correct amplifier impedance matching, and maintaining proper ventilation.
Product Overview
The Dico series features a slim, modern design with an IP66 rating, making it suitable for both indoor and outdoor use. It utilizes a line transformer with a 3-position selector, allowing for flexible connection to either constant-voltage (70V/100V) or low-impedance (8 ohm) systems.
Unpacking
Ensure the following items are present in the package:
- 1x Dico Series Waterproof 2-way Passive Slim Column Speaker
- 1x Wall-mount bracket
- 1x Security Wire
- 4x Metal Expansion Anchors
- 4x Hex Screws
- 2x Crosshead Screws
- User manual
Installation
The included bracket allows for both horizontal and vertical adjustment. Warning: Before fixing the bracket, ensure the wall surface is solid and not friable. Always install the provided safety wire to prevent the speaker from falling.
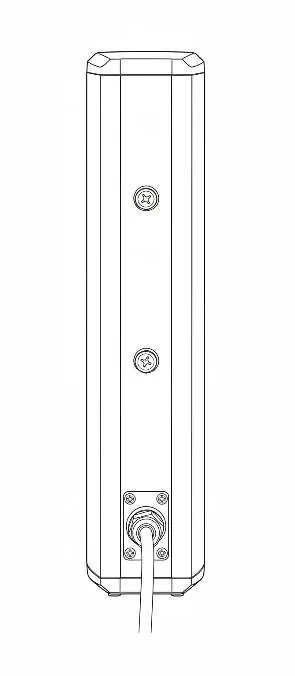
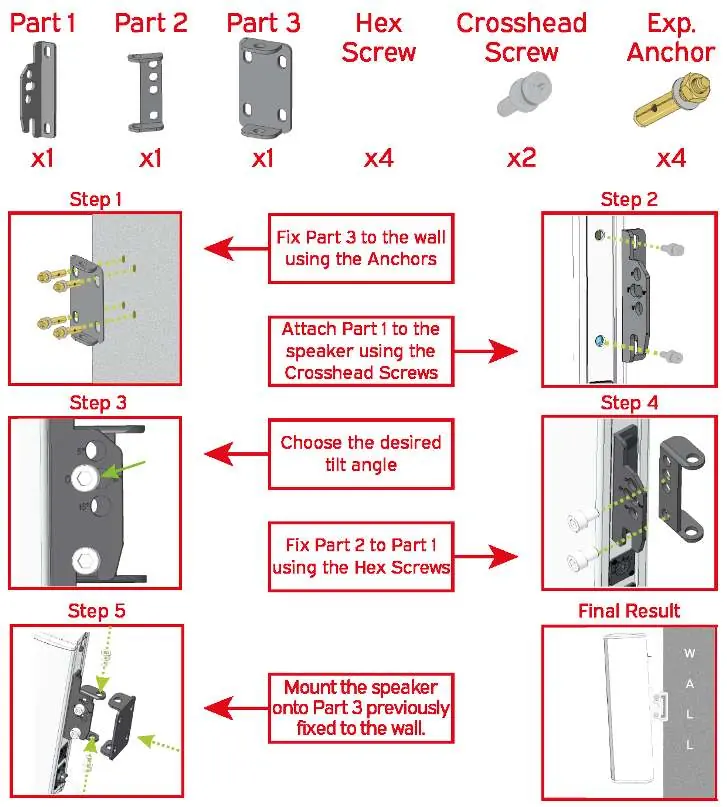
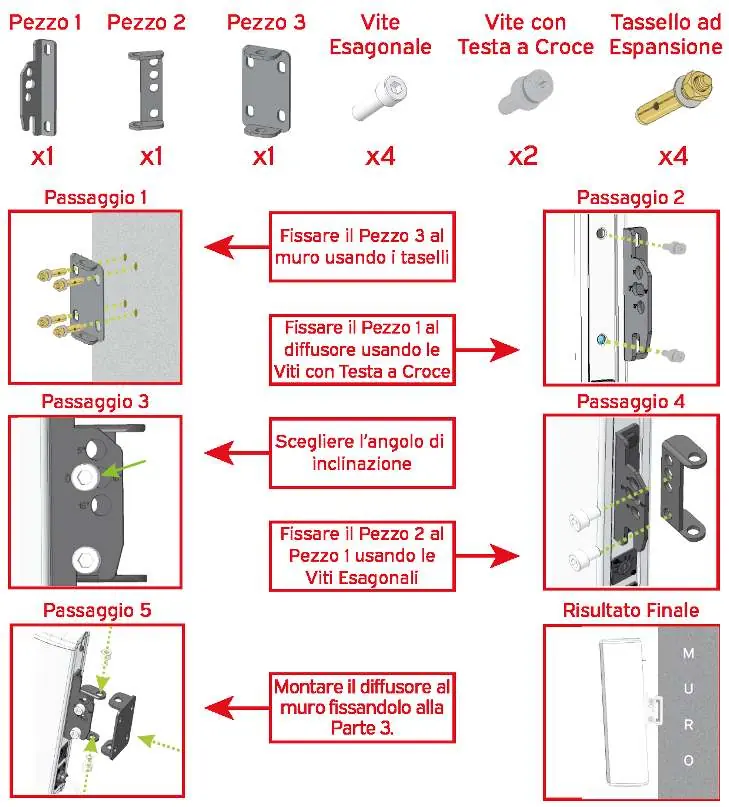
- Fix Part 3 to the wall using the anchors.
- Attach Part 1 to the speaker using the crosshead screws.
- Choose the desired tilt angle.
- Fix Part 2 to Part 1 using the hex screws.
- Mount the speaker onto Part 3, which is already fixed to the wall.
Amplifier Configuration
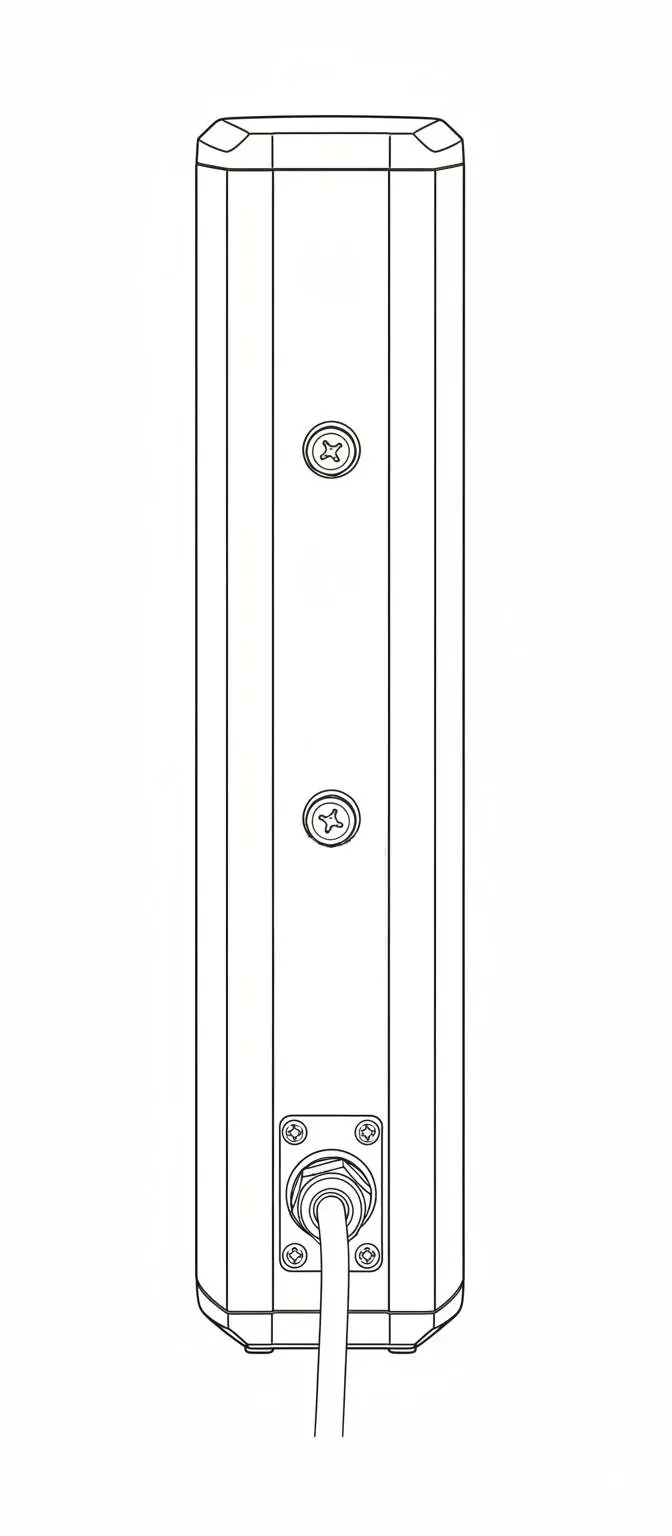
The rear panel features a tap selector for power adjustment. Ensure the total power of the speakers does not exceed the amplifier's output power. A 20% power margin is recommended.
- 70V/100V Systems: Connect speakers in parallel. Ensure the sum of tap values is less than the amplifier's rated power.
- Low-Impedance (8 ohm) Systems: Connect speakers directly to the 8 ohm outputs of a stereo amplifier.
Safety and Maintenance
Clean the device only with a dry cloth; do not use solvents. The IP66 rating protects against dust and powerful water jets, but do not install in locations subject to immersion or persistent fog without additional protection. Always ensure correct polarity (+ to +, - to -) when wiring to avoid phase issues.
Practical help
Common problems
Distorted sound at high volumes
The amplifier may be overdriven (clipping). Reduce the amplifier volume until distortion is no longer audible.
Speaker overheating
Ensure adequate ventilation around the unit and verify that the amplifier impedance matches the speaker configuration.
No sound or low volume
Check wiring polarity and ensure the amplifier is correctly configured for the speaker's impedance (70/100V or 8 ohm).
Before use
- Verify amplifier compatibility (70/100V or 8 ohm).
- Ensure the mounting surface is stable and secure.
- Check all cables for damage or exposed conductors.
- Confirm correct polarity (+ to +, - to -) before connecting.
- Ensure the safety wire is installed.
Show more Show less
Images and diagrams
- Bracket assembly: 5-step process for wall mounting.
- Wiring: Parallel connection diagram for 70/100V systems.
Model compatibility
- Do not mix low-impedance and 70/100V configurations on the same zone.
- Never connect low-impedance speakers to 70/100V terminals.

Manual page author
Emily Carter
User documentation editor