Furniture / Bathroom Furniture
Assembly Instructions for Home Decorators Collection Grayson 49 Inch Single Vanity
Quick guide for the Home Decorators Collection Grayson 49 Inch Single Vanity. Includes assembly steps, safety warnings, maintenance tips for stone countertops, and troubleshooting for leveling issues.
Quick answers from the manual
Quick answer
- This manual provides assembly instructions for the Grayson 49 Inch Single Vanity, including safety warnings, installation steps for the backsplash, maintenance tips for stone countertops, and troubleshooting for leveling. p. 1, 6, 7
Key actions
- Install the backsplash p. 6
- Level the vanity p. 5, 6
First start
- Position the vanity and ensure it is level using the leg levelers. p. 6
Show 4 more answers Show less
Problems and fixes
Vanity doors rub against another surface
Adjust the leg levelers to ensure the vanity combo is level, then adjust the door hinges.
p. 7Maintenance and reset
- Reapply sealer to the stone top periodically. p. 7
Technical specifications
| Parameter | Value | Meaning | Pages |
|---|---|---|---|
| Weight Capacity | 50 lbs | Maximum weight the vanity is designed to hold. | p. 2 |
Where to find it in the PDF
- Assembly Instructions p. 1, 6
- Safety Information p. 2, 4
- Care and Cleaning p. 7
Table of contents
Manual images
Click an image to enlargeQuick guide from the manual
This document provides assembly and maintenance instructions for the Grayson 49 Inch Single Vanity. Key requirements include ensuring the floor is level before installation and adhering to a 50 lbs weight limit. The manual covers safety warnings, including formaldehyde exposure notices for California and Minnesota residents, and provides specific care instructions for natural stone countertops.
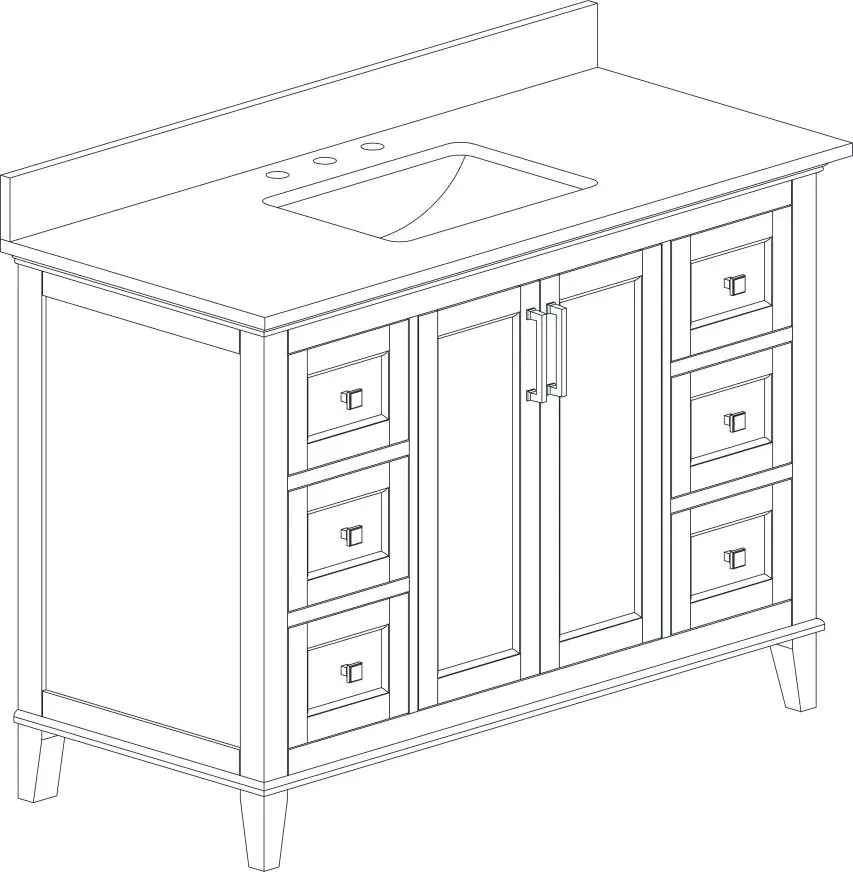
Safety Information
Danger: Keep small parts away from children during assembly. The product is designed to hold a maximum of 50 lbs; exceeding this limit may cause injury or damage. Do not use harsh bathroom or grout cleaners on natural stone.
Warning: Adult assembly is required. Use the product only on a flat, level surface. Do not over-tighten connectors (screws, bolts, etc.) to avoid damage. Do not stand, step, or climb on the unit.
Caution: Use preventative cleaning measures to keep stone pristine. Blot spills immediately and wash with mild soap and warm water. Do not let liquid sit on the stone overnight. Use sealers according to product-specific directions.
Pre-assembly
Before beginning, ensure you have the necessary tools: safety goggles, sealant, and a level. If replacing an old vanity, turn off the water supply, disconnect supply lines, and remove the old unit. Use a level to check for uneven floor or wall areas and repair them by reducing high spots or shimming low spots to prevent cabinet twisting.
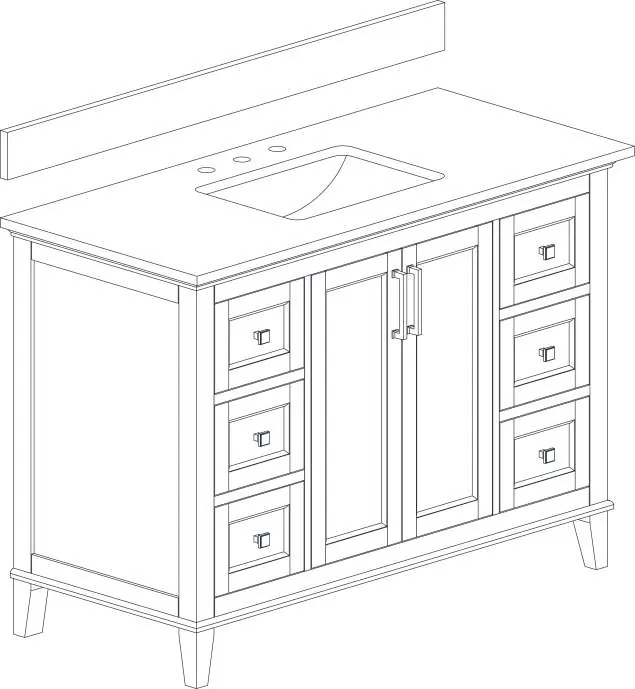
Assembly
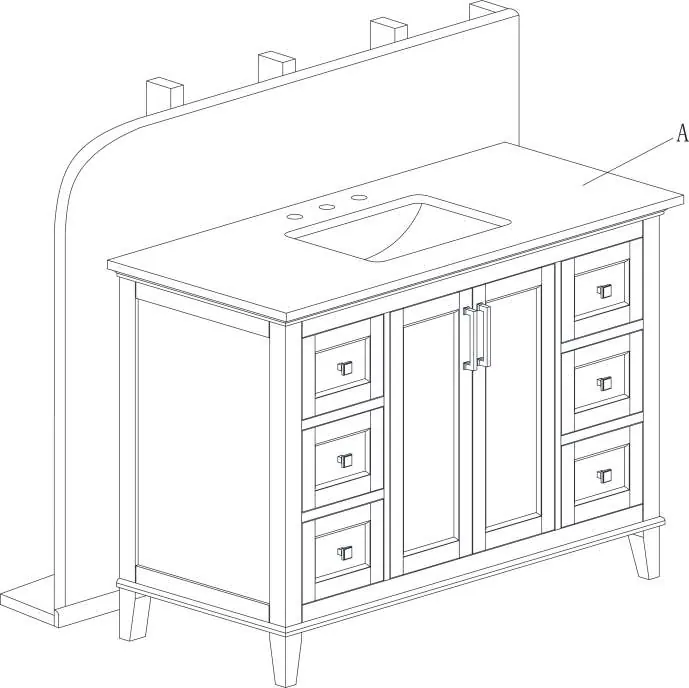
- Position vanity: Place the vanity with top (A) in the desired position, accounting for plumbing locations. Ensure the top is flush against the wall and adjust leg levelers until the unit is level.
- Apply backsplash sealant: Clear the backsplash (B) of debris. Apply thin beads of clear silicone sealant (not included) to the unpolished back and bottom edge of the backsplash.
- Install the backsplash: Set the unpolished bottom edge of the backsplash (B) on the vanity counter top (A), pressing gently against the wall and down on the top. Remove any excess sealant.
Maintenance and Care
Countertop Care: Rinse with clean, hot water when needed. Blot spills quickly with mild soap and warm water. Use non-abrasive household cleansers. Remove oil-based stains with acetone, mineral spirits, or ammonia. Organic stains (coffee, tea, juice) can be removed with hydrogen peroxide mixed with a few drops of ammonia. Water spots can be buffed with 00-gauge steel wool. Reapply sealer periodically based on usage.
Cabinet Care: Dust frequently with a clean, soft, dry, lint-free cloth and polish regularly. Clean spills immediately using a blotting action. Clean in the direction of the grain using recommended furniture cleaners. Avoid silicone cleaners and waxes.
Troubleshooting
If vanity doors rub against another surface or there is an uneven gap between the doors and the cabinet, the floor is likely not level. Correct this by adjusting the leg levelers to ensure the vanity combo is level, and then adjust the door hinges.
Manufacturer information
Home Decorators Collection
Practical help
Common problems
Vanity doors rub against another surface
Adjust the leg levelers to ensure the vanity is level, then adjust the door hinges.
Uneven gap between doors and cabinet
Adjust the leg levelers to ensure the vanity is level, then adjust the door hinges.
Before use
- Check for missing parts in the carton
- Ensure the floor and wall are level
- Turn off water supply and drain
- Disconnect supply lines from the faucet
- Have safety goggles, sealant, and a level ready
Show more Show less
Specs in practice
- Weight Limit
- The vanity is designed to hold a maximum of 50 lbs.
Images and diagrams
- The manual includes diagrams showing the positioning of the vanity against the wall.
- A diagram illustrates applying sealant beads to the back and bottom edge of the backsplash.
- A diagram shows the final installation of the backsplash onto the vanity top.
Model compatibility
- Do not use harsh bathroom cleaners or grout cleaners on natural stone.
- Use a penetrating non-toxic sealer for the stone top.

Manual page author
Michael Turner
Technical manual editor