Furniture / Bathroom Furniture
Assembly Instructions for Home Decorators Collection Jackson 49 Inch Single Vanity
Quick guide for the Home Decorators Collection Jackson 49 Inch Single Vanity. Includes assembly steps, maintenance tips, safety warnings, and troubleshooting for common installation issues.
Quick answers from the manual
Quick answer
- The Jackson 49 Inch Single Vanity is installed by positioning the unit, leveling it using the leg levelers, and securing the backsplash with clear silicon sealant. p. 6
Key actions
- Level the vanity p. 6
- Install backsplash p. 6
Problems and fixes
Vanity doors rub or have uneven gaps
Adjust the leg levelers to ensure the vanity is level, then adjust the door hinges.
p. 7Show 3 more answers Show less
Maintenance and reset
- Reapply sealer to the stone countertop periodically. p. 7
Technical specifications
| Parameter | Value | Meaning | Pages |
|---|---|---|---|
| Weight Limit | 50 lbs | Maximum load capacity for the vanity. | p. 2 |
Where to find it in the PDF
- Safety Information p. 2
- Assembly Instructions p. 6
- Care and Cleaning p. 7
Table of contents
Manual images
Click an image to enlargeQuick guide from the manual
This manual provides assembly and maintenance instructions for the Home Decorators Collection Jackson 49 Inch Single Vanity. Before beginning, ensure you have the necessary tools and that your floor is level. If you encounter missing parts or have questions, contact Home Decorators Collection Customer Service at 1-800-998-7021.
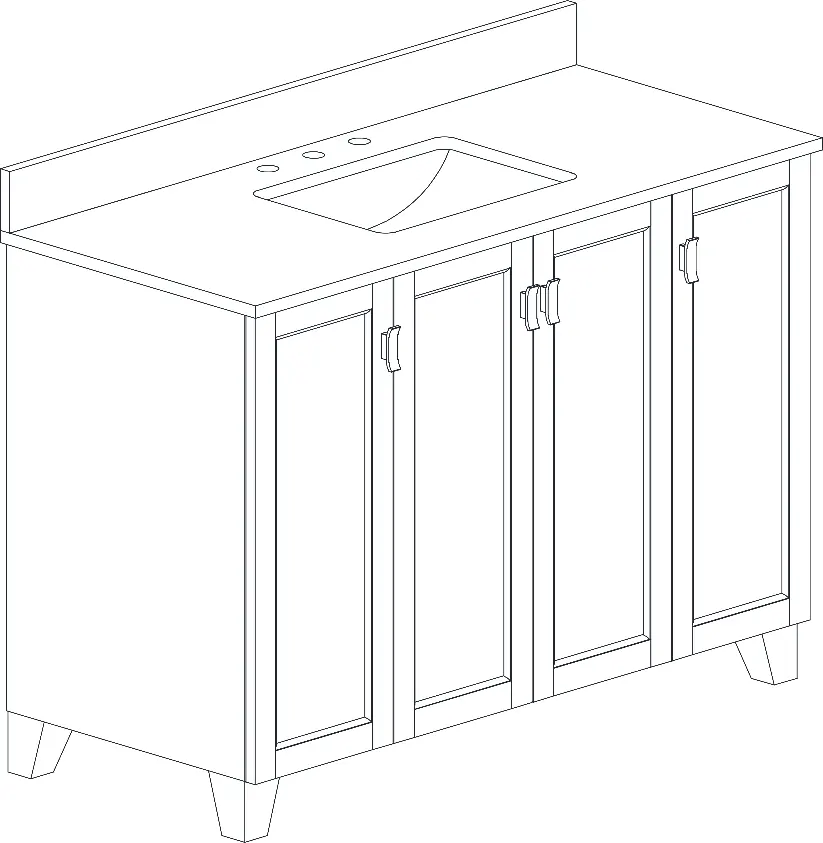
Safety Information
- Weight Limit: The product is designed to hold a maximum of 50 lbs. Exceeding this limit may cause injury or damage.
- Small Parts: Keep small parts away from children during assembly to prevent choking hazards.
- Handling: Adult assembly is required. Do not stand, step, or climb on the unit.
- Chemical Warning: This product may expose you to chemicals including formaldehyde (relevant for California and Minnesota residents).
- Cleaning: Do not use harsh bathroom or grout cleaners on natural stone.
Pre-assembly
Before installing the new vanity, perform the following steps:
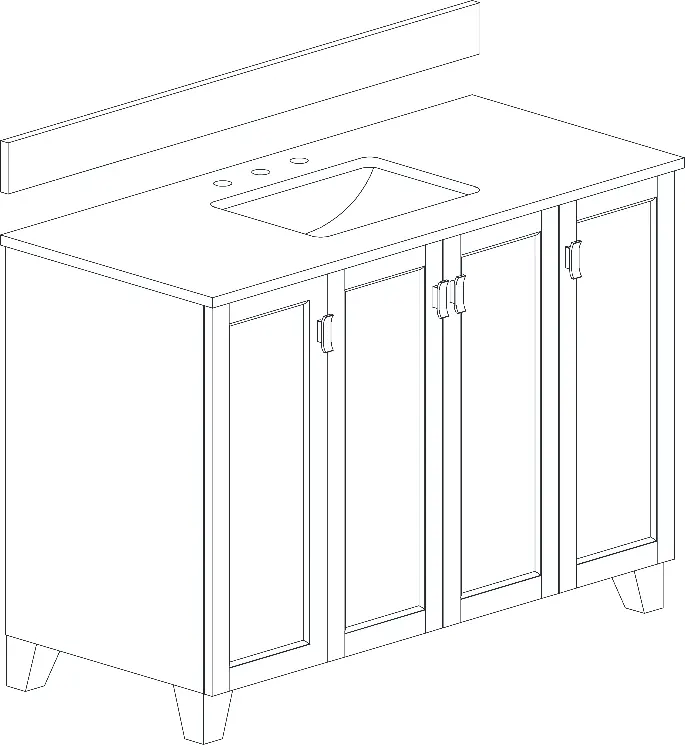
- Turn off the water supply and drain the pipes.
- Disconnect the supply lines from the faucet.
- Remove the old vanity top and vanity. If not installing immediately, plug the drain pipes with a rag.
- Use a level to check for uneven floor or wall areas. Repair high spots or shim low spots to prevent cabinet twisting.
Assembly
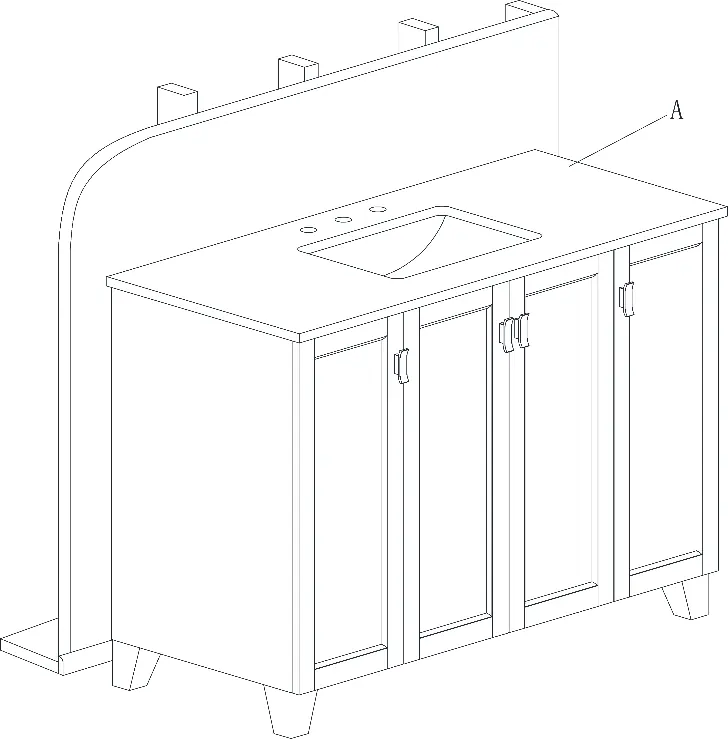
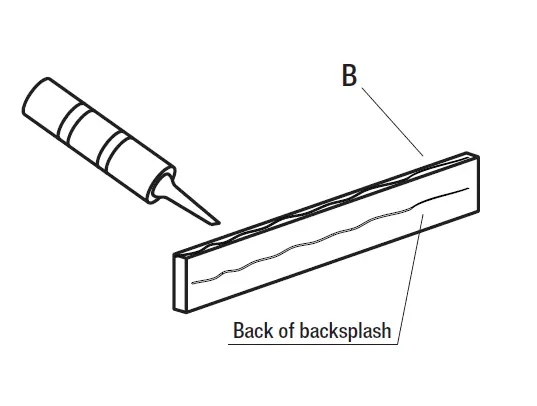
1. Position Vanity
Place the vanity with top (A) in the desired location, ensuring it is flush against the wall. Adjust the leg levelers until the unit is perfectly level.
2. Apply Backsplash Sealant
Clear the backsplash (B) of debris. Apply thin beads of clear silicon sealant (not included) to the unpolished back and bottom edge of the backsplash.
3. Install Backsplash
Set the unpolished bottom edge of the backsplash (B) onto the vanity counter top (A). Press gently against the wall and down onto the top. Wipe away any excess sealant.
Maintenance and Care
Countertop Care
- Rinse with clean, hot water when needed.
- Blot spills immediately; do not let liquid sit overnight.
- Use mild, non-abrasive soap and warm water for cleaning.
- Avoid oil and acid spills, as they are most prone to staining stone.
- The top is factory-sealed, but reapplication of a penetrating non-toxic sealer is necessary over time.
Cabinet Care
- Dust frequently with a clean, soft, dry, lint-free cloth.
- Clean spills immediately using a blotting action.
- Clean in the direction of the grain using recommended furniture cleaners. Avoid silicone cleaners and waxes.
Troubleshooting
If the vanity doors rub against another surface or there is an uneven gap between the doors and the cabinet, the floor is likely not level. Adjust the leg levelers to ensure the vanity is level, then adjust the door hinges.
Warranty
This product includes a limited lifetime warranty for the original consumer purchaser, covering defects in materials or workmanship. It excludes incidental/consequential damages and failures due to misuse, abuse, or normal wear and tear. Commercial/business usage is limited to a five-year warranty.
Manufacturer information
Home Decorators Collection
Practical help
Common problems
Vanity doors rub against another surface
Adjust the leg levelers to ensure the vanity is level, then adjust the door hinges.
Uneven gap between doors and cabinet
Adjust the leg levelers to ensure the vanity is level, then adjust the door hinges.
Before use
- Turn off water supply and drain pipes.
- Disconnect supply lines from the faucet.
- Remove old vanity top and vanity.
- Check floor for unevenness and repair/shim if necessary.
- Gather tools: Safety goggles, Sealant, Level.
Show more Show less
Specs in practice
- Weight Limit
- Maximum load capacity for the vanity is 50 lbs.
Images and diagrams
- The manual includes diagrams showing the positioning of the vanity against the wall.
- Visual guides illustrate where to apply sealant beads on the back and bottom edge of the backsplash.
Model compatibility
- Not intended for commercial, industrial, or business usage under the standard lifetime warranty terms.

Manual page author
David Miller
Documentation analyst