Home / Seasonal Decorations
Assembly Instructions for Home Decorators Collection Mona 24-Inch Round Metal Framed Mirror
Quick guide for the Home Decorators Collection Mona 24-Inch Round Metal Framed Mirror. Includes assembly steps, safety warnings, maintenance tips, and troubleshooting.
Quick answers from the manual
Quick answer
- This document provides assembly instructions for the Mona 24-Inch Round Metal Framed Mirror, including hardware requirements, installation steps, and maintenance tips. p. 1, 7
Key actions
- Measure the distance between keyholes, drill holes, insert plastic plugs, and hang the mirror on the screws. p. 7
First start
- Ensure the wall is flat and level. Use a stud finder if you cannot see solid wood framing behind the drywall. p. 5, 7
Show 4 more answers Show less
Problems and fixes
The mirror is not level.
Measure the hole well and re-drill.
p. 8Maintenance and reset
- Dust frequently with a clean, soft and dry cloth. Wipe away any water or liquid spills immediately. p. 8
Technical specifications
| Parameter | Value | Meaning | Pages |
|---|---|---|---|
| Weight Capacity | 50 lbs | Maximum weight the mirror can support. | p. 2 |
Where to find it in the PDF
- Assembly Instructions p. 7
Table of contents
Manual images
Click an image to enlargeQuick guide from the manual
This manual provides instructions for the installation of the Mona 24-Inch Round Metal Framed Mirror. The process involves measuring the keyhole distance on the back of the mirror, drilling corresponding holes in the wall, inserting plastic plugs, and securing the mirror onto screws. Ensure the wall is flat and level before beginning installation.
Safety Information
- Keep small parts away from children during assembly.
- The product is designed to hold a maximum of 50 lbs.
- Do not use harsh bathroom cleaners or grout cleaners on natural stone.
- Adult assembly is required.
- Do not over-tighten connectors (screws, bolts, etc.) to avoid product damage.
- Do not stand, step, or climb on the unit.
Tools and Hardware
Tools Required: Electric drill with #2 drill bit, Phillips screwdriver, tape measure, safety goggles, and a level.
Hardware Included: 2 Screws (AA) and 2 Plastic plugs (BB).
Assembly
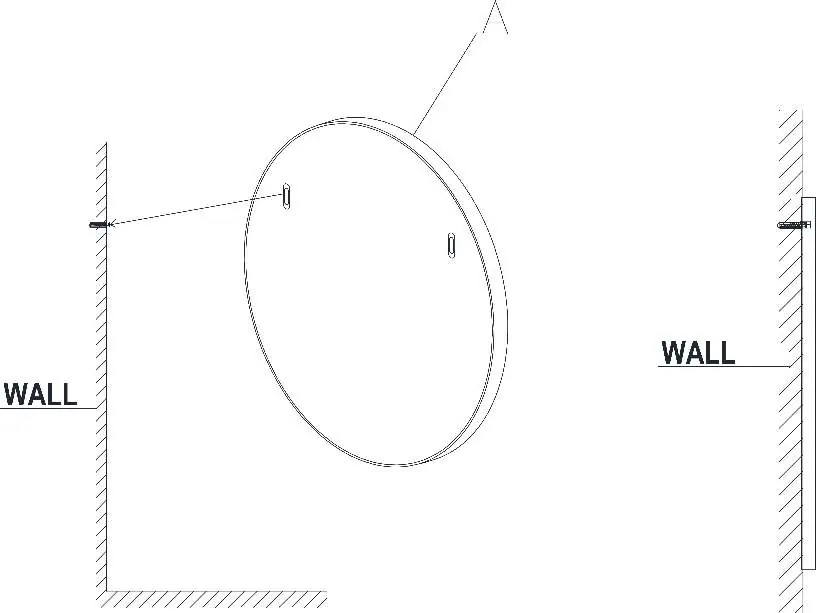
- Measure the distance between the keyholes on the back panel of the mirror.
- Drill holes in the wall at the same distance.
- Place the plastic plugs (BB) into the pre-drilled holes.
- Rotate the screws (AA) into the plastic plugs, keeping 5/16 inches of the screw exposed to hang the mirror.
- Hang the mirror (A) on the screws.
Note: If you cannot see the solid wood framing behind the drywall, use a stud finder to ensure a strong attachment.
Maintenance and Care
To maintain the finish, avoid placing the mirror in direct sunlight and keep it away from heat and air vents. Dust frequently with a clean, soft, and dry cloth. Wipe away any water or liquid spills immediately with a clean, soft, and dry cloth.
Manufacturer information
Home Decorators Collection
Practical help
Common problems
The mirror is not level.
Measure the hole well and re-drill.
Before use
- Check for missing parts in the carton.
- Ensure the wall is flat and level.
- Use a stud finder if you cannot see solid wood framing.
- Wear safety goggles during drilling.
- Verify you have the required tools: drill, screwdriver, tape measure, level.
Show more Show less
Specs in practice
- Weight Limit
- The product is designed to hold a maximum of 50 lbs.
- Screw Exposure
- Keep 5/16 inches of the screw exposed outside the wall to hang the mirror.
Images and diagrams
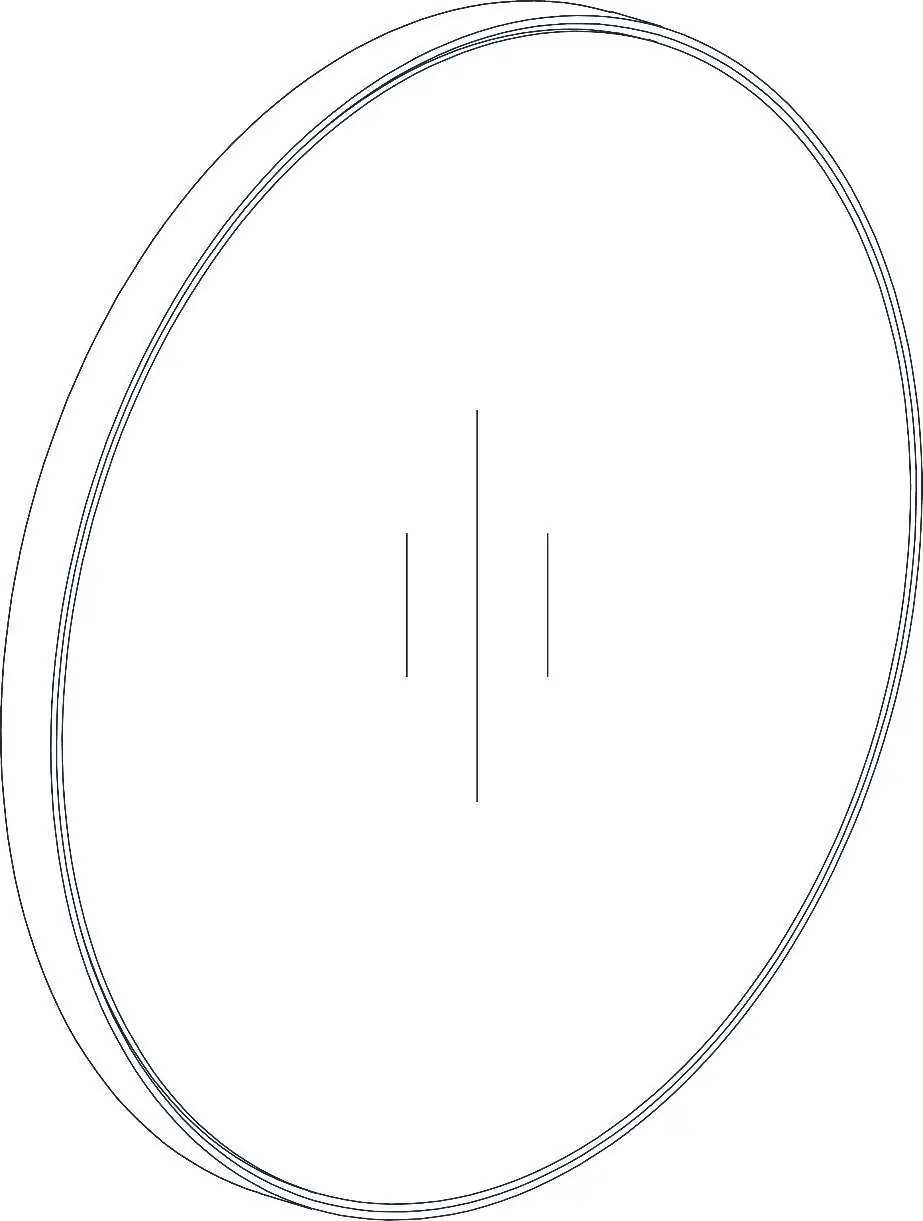
- The assembly diagram illustrates the keyhole spacing on the back of the mirror and the correct method for installing the screws into the wall plugs.
Model compatibility
- Suitable for concrete walls and stud walls with drywall.

Manual page author
Michael Turner
Technical manual editor