Furniture / TV Stands
Assembly Instructions for IKEA JÄTTESTA TV Bench
Quick assembly guide for the IKEA JÄTTESTA TV Bench. Includes step-by-step installation instructions, safety warnings regarding wall mounting, and hardware details.
Table of contents
Manual images
Click an image to enlargeImportant Safety Information
Warning: Serious or fatal crushing injuries can occur from furniture tip-over. To prevent this, the furniture must be permanently fixed to the wall using the included wall attachment devices. Screws and plugs for the wall are not included, as they must be chosen based on your specific wall material. If you are uncertain about the correct hardware, seek professional advice.
Before You Begin
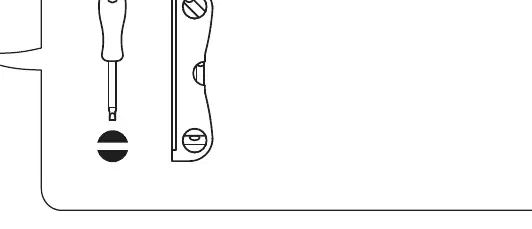
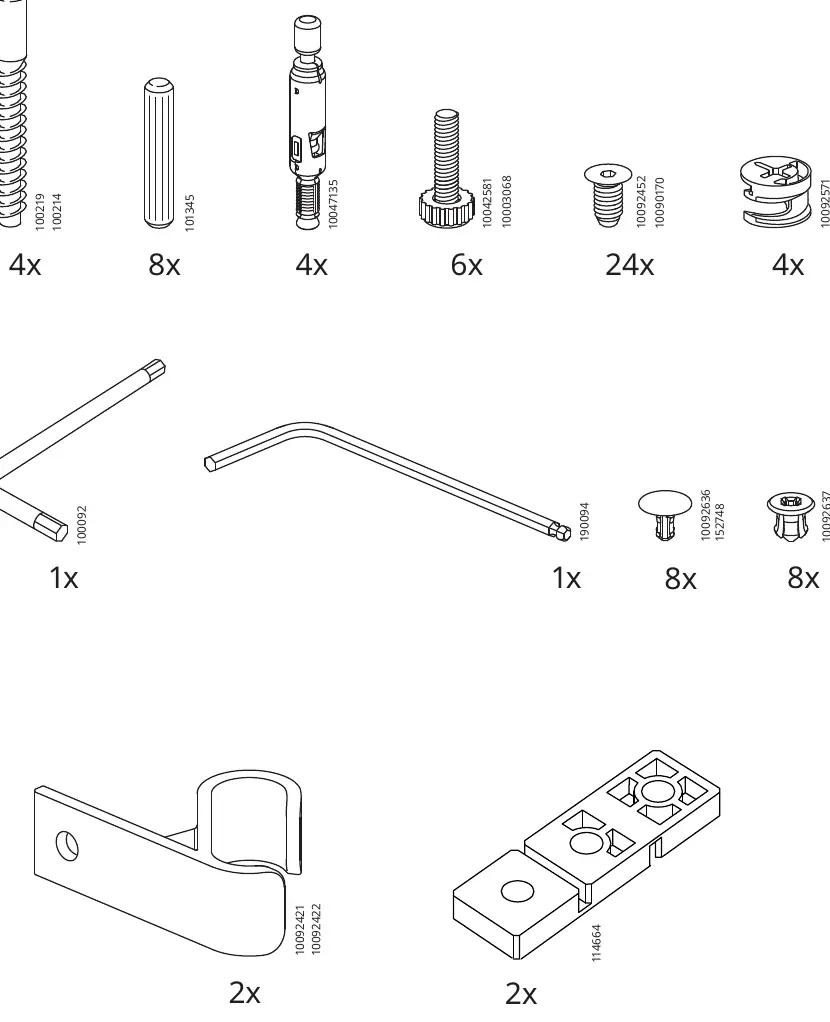
Ensure you have a clear workspace on a soft surface to prevent scratching the furniture. You will need a screwdriver and a spirit level for assembly. Verify that all hardware components listed in the manual are present before starting.
Assembly Steps
Follow the assembly steps in the order provided to ensure structural integrity.
Initial Frame Assembly
Begin by inserting the dowels and cam locks into the designated panels. Connect the main frame components carefully, ensuring all cam locks are tightened correctly to secure the joints.
Structural Reinforcement
Proceed through the steps to attach the support beams and shelves. Use the provided screws and tools to tighten all connections. Ensure the frame is square and stable before proceeding to the final steps.
Wall Mounting
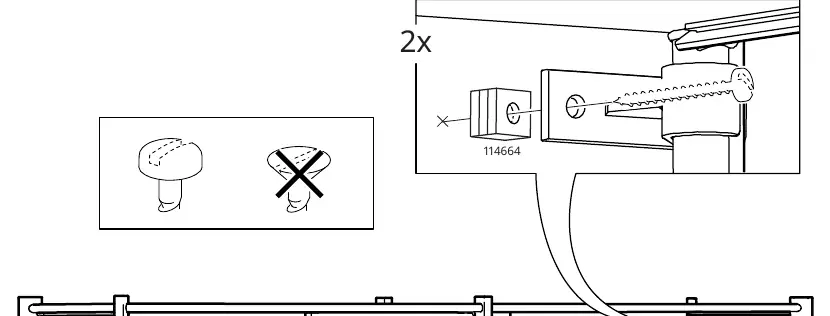
This is the most critical step for safety. Use the provided wall brackets to secure the unit to the wall. Ensure the brackets are firmly attached to the wall structure. Do not skip this step, as the unit is prone to tipping without it.
Adjustments
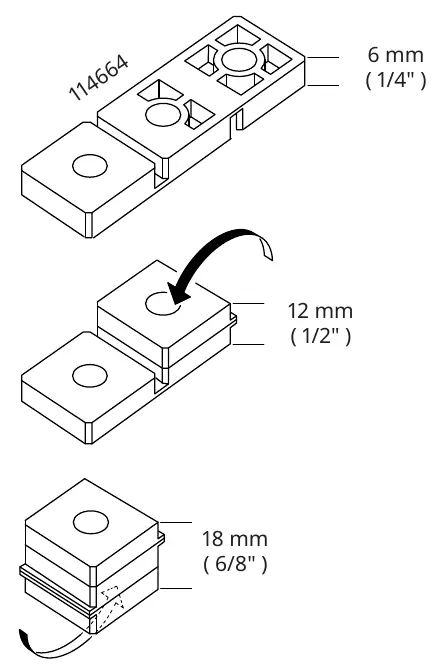
Use the provided spacers (part 114664) to adjust the distance between the furniture and the wall if necessary. The spacers allow for adjustments of 6mm, 12mm, or 18mm to accommodate skirting boards or wall irregularities.
Manufacturer information
IKEA
Practical help
Common problems
Furniture instability
Ensure the unit is securely fixed to the wall using the provided wall attachment devices.
Wall mounting uncertainty
Screws and plugs for the wall are not included. Use hardware suitable for your specific wall type and consult a professional if unsure.
Before use
- Check all parts against the hardware list
- Prepare a screwdriver and spirit level
- Identify the wall type for mounting
- Clear a workspace on a soft surface to prevent scratching
Specs in practice
- 160x40x49 cm
- Dimensions of the TV bench (Width x Depth x Height)
- Wall attachment device
- Safety component required to prevent tipping
Images and diagrams
- Steps 1-7: Frame assembly
- Steps 8-14: Structural reinforcement
- Step 18: Wall mounting procedure
Model compatibility
- Wall mounting hardware (screws/plugs) is not included and must be purchased separately based on wall material.

Manual page author
Emily Carter
User documentation editor
Prepares concise manual descriptions and highlights the most useful setup, operation, and maintenance information for readers.