Lighting / Fixtures
Immax 08495L Terra Solar Lamp Instruction Manual
Quick guide for the Immax 08495L Terra Solar Lamp. Learn how to install, charge, and maintain your solar light for optimal performance.
Table of contents
Manual images
Jump to the sectionQuick guide from the manual
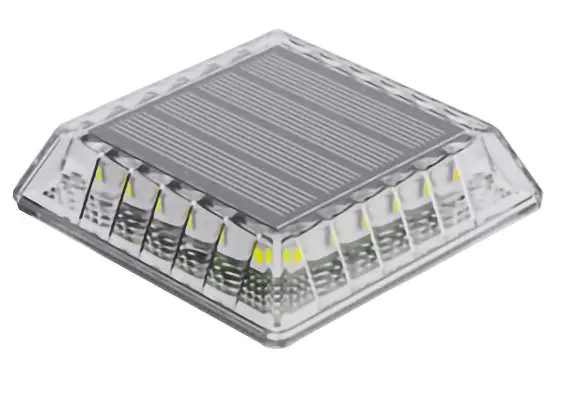
This document provides essential instructions for the installation and operation of the Immax 08495L solar lamp. The device is designed for outdoor decoration in courtyards, lawns, and parks. It features an automatic charging system during the day and automatic activation at night.
Installation
To install the solar lamp:
- Apply the provided 3M transparent glue to the back of the light.
- Fix the light firmly in the desired position using the adhesive.
- Ensure the installation site is sunny and not sheltered between 9:00 am and 3:00 pm to allow the solar panel to receive sufficient sunlight.
Operation
Before the first use, the battery may be depleted. Place the lamp in direct sunlight for at least 4 hours to ensure a full charge. The lamp operates automatically: it remains off during the day while charging and turns on automatically when it gets dark.
Safety and Maintenance
- Do not place the product in high-temperature environments (above 60°C) or near fire, as this may cause an explosion.
- Keep the lamp away from other light sources, such as street lights or hallway lights, as these may prevent the automatic night-time activation.
- The device is intended for outdoor use.
Technical Parameters
- Model: 92133
- Dimensions: 80 x 80 x 19 mm
- Voltage: DC 1.2V
- Power: 0.03 W
- LED Type: 2835 (24 pcs)
- CCT: 3000K/4000K/6000K + Blue
- Luminous Flux: 10 lm ±5%
- Battery: AAA, 1.2V / 800mAh
- Charging Time: 4-5 hours
- Working Time: >20 hours
- Storage Environment: -25°C to +45°C
Manufacturer information
Immax
Practical help
Common problems
The light does not turn on at night.
Ensure the solar panel is not being triggered by nearby light sources like street lights. Also, verify that the unit received enough direct sunlight during the day.
The light is dim or lasts for a short time.
The battery may be low. Ensure the solar panel is placed in a location that is not sheltered from sunlight between 9:00 am and 3:00 pm.
Before use
- Check that the battery is charged by placing the unit in direct sunlight for at least 4 hours.
- Ensure the installation surface is clean for the 3M adhesive.
- Verify the chosen location is not shaded during peak sunlight hours (9:00 am - 3:00 pm).
- Confirm the area is free from competing light sources that might interfere with the automatic sensor.
Specs in practice
- Charging Time
- The duration required in direct sunlight to fully charge the internal battery.
- Working Time
- The expected duration the light will remain illuminated after a full charge.
- Storage Environment
- The temperature range within which the device can be safely stored without damaging the battery or components.
Images and diagrams
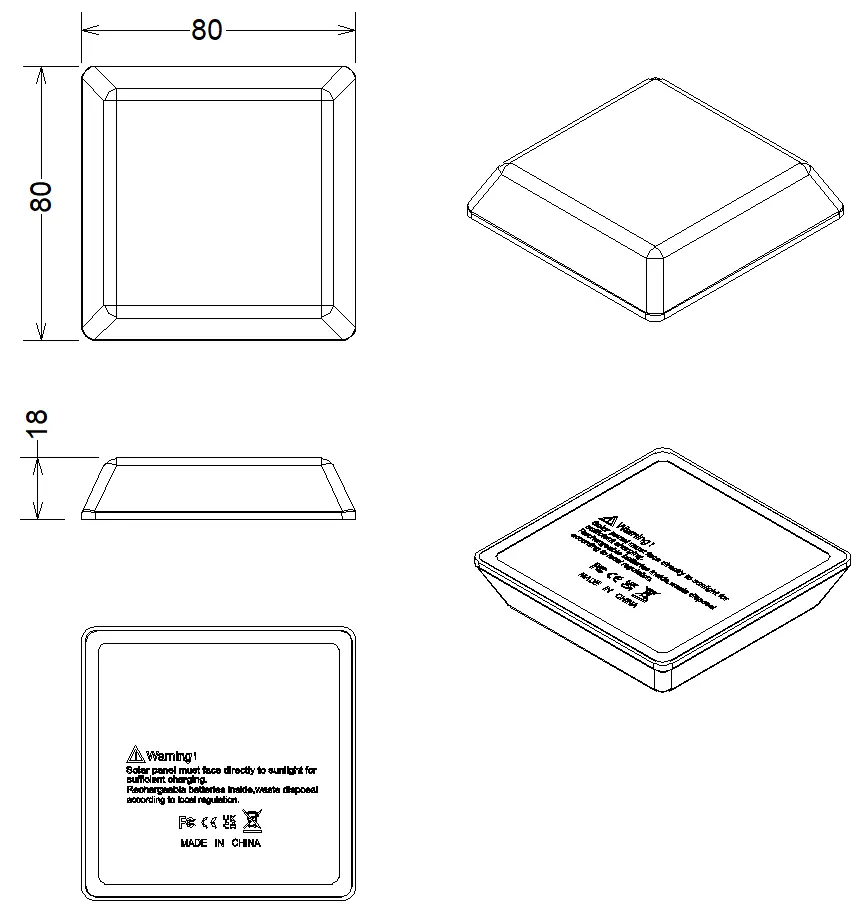
- The product dimensions are 80mm x 80mm with a height of 18mm.
- The solar panel must face directly toward the sun for efficient charging.
- The rear of the unit contains the battery compartment and warning labels regarding high temperatures.
Model compatibility
- Not suitable for indoor use.
- Do not install in areas where temperatures exceed 60°C.

Manual page author
Emily Carter
User documentation editor
Prepares concise manual descriptions and highlights the most useful setup, operation, and maintenance information for readers.