Home / Pet Supplies
NICREW 01933-UFO Aquarium Air Pump Instruction Manual
Comprehensive instruction manual for the NICREW 01933-UFO Aquarium Air Pump. Includes safety guidelines, installation steps for high and low mounting, maintenance procedures, and troubleshooting tips.
Table of contents
Quick Guide from the Manual
This guide provides essential instructions for the NICREW 01933-UFO Aquarium Air Pump. Before first use, it is critical to pre-soak the air stone in clean water for 30 minutes to ensure optimal oxygenation. Always install a check valve if the pump is positioned below the water level to prevent back-siphoning. Ensure the power cord has a drip loop to prevent water from reaching the electrical outlet.
Safety Instructions
Follow these safety precautions to prevent electrical shock and damage to the device:
- Water Safety: Never immerse the pump in water. If it falls into water, disconnect the power immediately before touching it.
- Electrical Safety: Always use a G.F.C.I. (Ground Fault Circuit Interrupter) and surge protector.
- Drip Loop: Ensure the power cord has a U-shaped sag (drip loop) below the socket to prevent water from running down the cord into the outlet.
- Handling: If the power cord or plug is damaged, stop using the device immediately.
Installation
The pump can be installed in two ways depending on its position relative to the aquarium water level:
Low Mount (Below Water Level)
Place the pump on a flat surface lower than the aquarium's water level. You must install a check valve to prevent siphon-backflow in case of power failure.
High Mount (Above Water Level)
Use a non-slip stand to ensure the pump is at least 30 cm above the water level. Do not place the pump directly above the aquarium. If using a dual-outlet pump and only one air source is needed, use a T-connector (not included).
Setup Steps
- Pre-soak the air stone for 30 minutes.
- Cut the air hose into three sections.
- Install the control valve and check valve sequentially.
- Connect the hose to the air stone and the pump outlet.
- Trim any excess hose length.
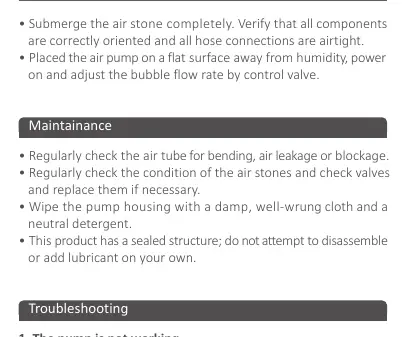
Maintenance
- Regularly inspect the air tube for bends, leaks, or blockages.
- Check the condition of air stones and check valves; replace them if necessary.
- Clean the pump housing using a damp, well-wrung cloth and a neutral detergent.
- Do not disassemble the pump or add lubricant, as it has a sealed structure.
Troubleshooting
- Pump not working: Check the power connection and inspect the air stone and check valve for blockages.
- Insufficient airflow: Inspect tubes and stones for clogs, cracks, or deformation. Ensure input voltage matches the rated voltage. Disconnect and reconnect the air tube to optimize performance.
- Noise: Place the pump on a vibration-damping pad (e.g., sponge or towel). Adjust the control valve to reduce air output.
- Burning odor or popping sounds: Immediately disconnect the power supply, remove flammable items, and contact support at [email protected].
Practical help
Common problems
Pump is not working
Check the power connection and inspect the air stone and check valve for blockages.
Insufficient airflow
Inspect air tubes and stones for clogs, deformation, or cracks. Ensure input voltage matches the rated voltage.
Excessive noise
Place the pump on a vibration-damping pad (sponge or towel) and adjust the control valve to reduce air output.
Burning odor or popping sounds
Immediately disconnect the power supply, remove flammable items, and contact support.
Before use
- Pre-soak the air stone in clean water for 30 minutes.
- Ensure the pump is placed on a flat, dry surface.
- Install a check valve if the pump is below the water level.
- Create a drip loop in the power cord.
- Verify that all hose connections are airtight.
Specs in practice
- High Mount Requirement
- If mounting above the water level, the pump must be at least 30 cm above the water surface.
Images and diagrams
- Fig. 1: Low mount setup showing the pump below the water level with a required check valve.
- Fig. 2 & 3: High mount setup showing the pump on a stand above the water level.
Model compatibility
- If using a dual-outlet pump and only one air source is needed, a T-connector (not included) is required.

Manual page author
Michael Turner
Technical manual editor
Reviews PDF manuals for structure, safety notes, and practical product details so readers can find the right information quickly.