Power / EV Chargers
Installation Manual for QLight Qudo 22kW Charging Box
Comprehensive installation and user guide for the QLight Qudo 22kW EV charging station. Includes wiring diagrams, DIP switch settings, safety instructions, and troubleshooting.
Quick answers from the manual
Quick answer
- The Qudo 22kW charging box is installed by mounting the backplate, wiring the power supply (up to 32A), setting the current limit via internal DIP switches, and attaching the main unit. It supports RFID access control and adjustable power/delay settings. p. 9, 10, 11, 13
Key actions
- Set charging current p. 13
- Switch between Free and Secure mode p. 17
First start
- Turn on the power after installation p. 13
Show 4 more answers Show less
Problems and fixes
Ground fault protection
1 fast flashing and 1 slow flashing
p. 19Maintenance and reset
- Automatic reset of earth fault protection p. 5
Technical specifications
| Parameter | Value | Meaning | Pages |
|---|---|---|---|
| Max current | 32A | Maximum current output | p. 5, 8 |
| Operating Temperature | -30°C to 50°C | Operating range | p. 5 |
Where to find it in the PDF
- Safety Information p. 3, 4
- Specifications p. 5
- Installation p. 9, 10, 11, 12
- Operation p. 14, 15, 16, 17
- Troubleshooting p. 19
Table of contents
Manual images
Click an image to enlargeQuick guide from the manual
The QLight Qudo is a 22kW EV charging station. Installation must be performed by qualified personnel. The unit features built-in RCD Type A + DC 6mA protection and requires an external 40A type A 30mA RCD circuit breaker. The device supports various grid types (TN, IT, TT) and automatically detects the distribution grid.
Important safety information
- Disconnect power before installing or cleaning.
- Do not install near flammable, explosive, or hazardous materials.
- The unit must be earthed through a permanent wiring system.
- Do not use if the device or cable is damaged.
- Operating temperature range: -30°C to 50°C.
- Keep away from children and do not use private power generators.
Product specifications
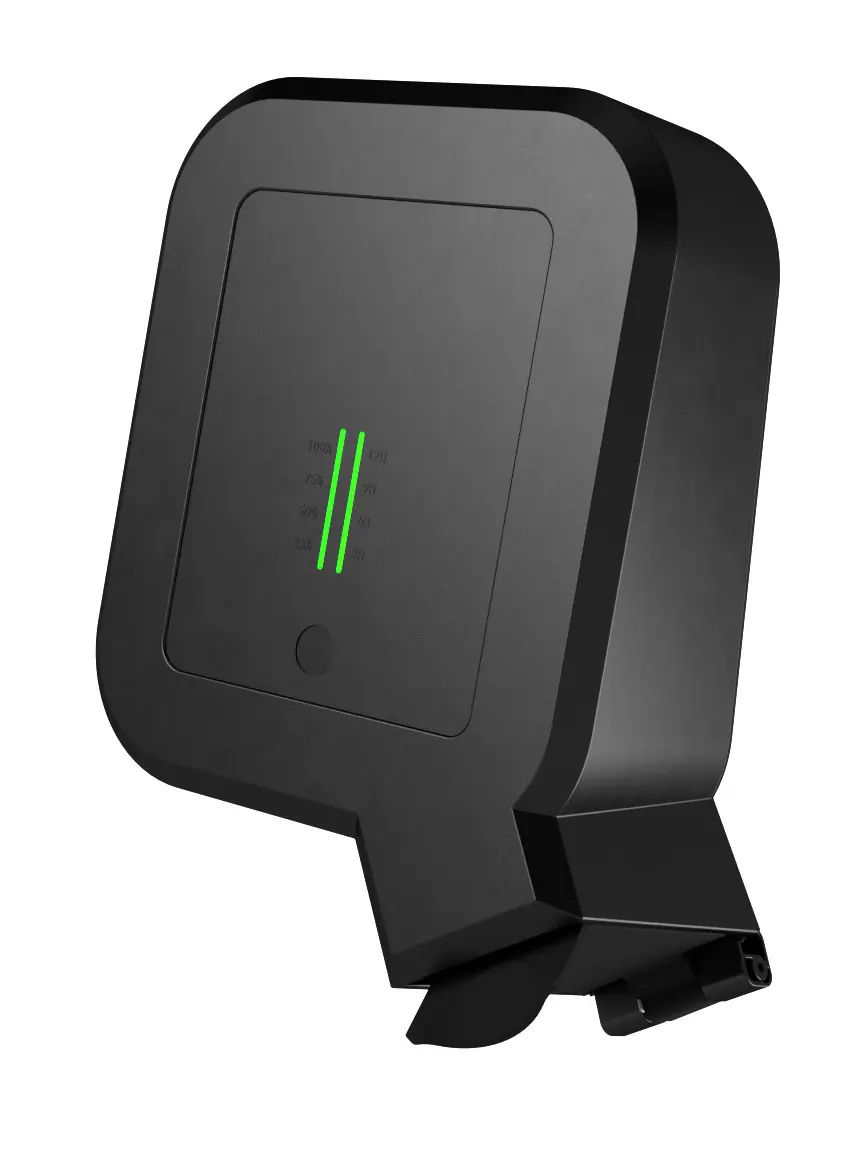
- Dimensions: 302.5 x 211.5 x 116.5 mm
- Weight: 2.2 kg
- Max Output: 22kW at 32A/3-phase (TN)
- Charging Socket: IEC 62196-2 Type 2 Female
- Protection: IP54 (IP22 without cover), IK08, Overvoltage category III
- Terminal Blocks: 2.5-16mm2 (Single), 2.5-10mm2 (Parallel), copper only
Installation
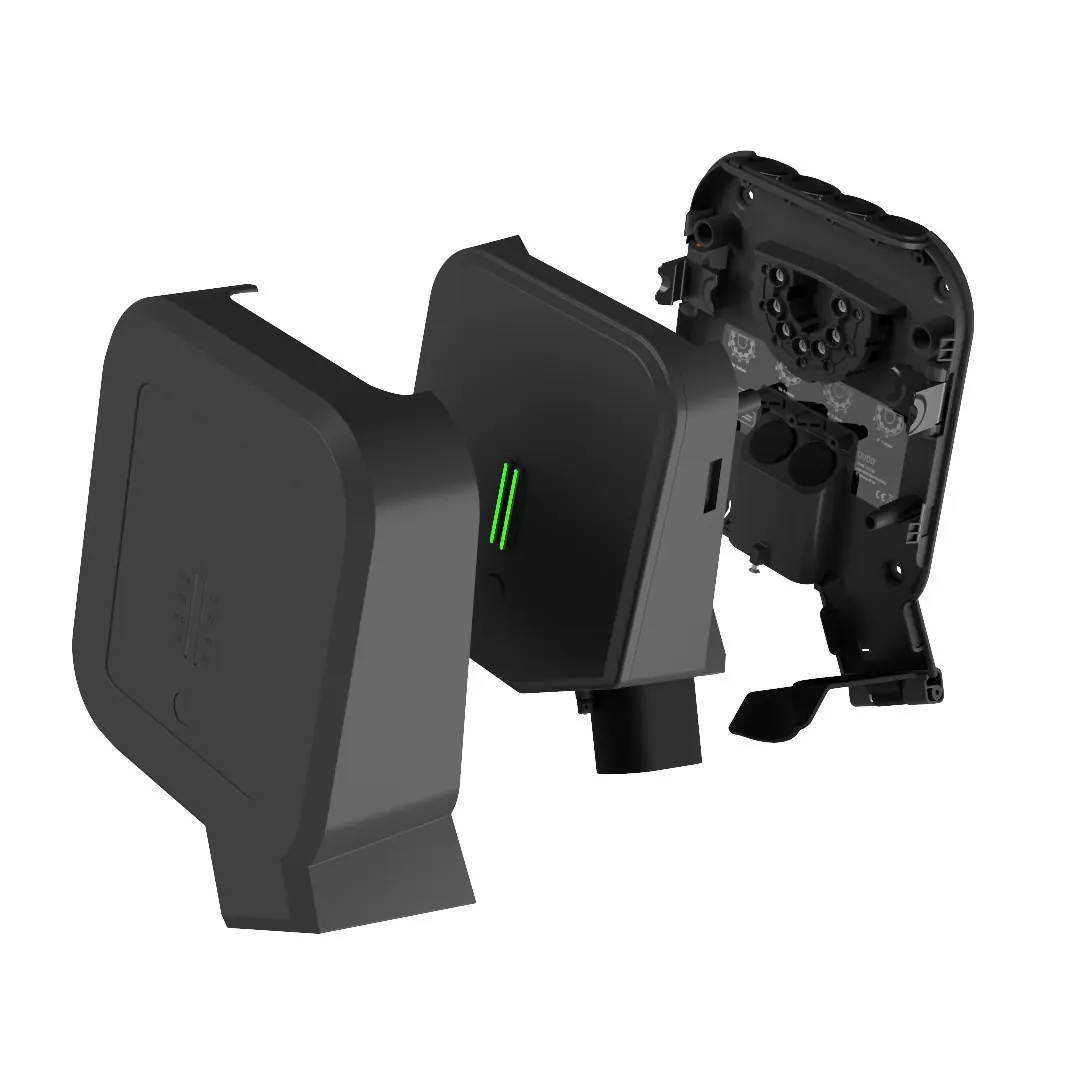
1. Preparation: Loosen the screw, remove the front cover, and release the clips to disconnect the main unit from the backplate.
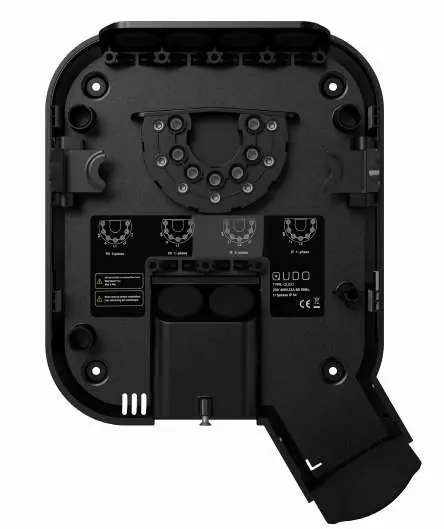
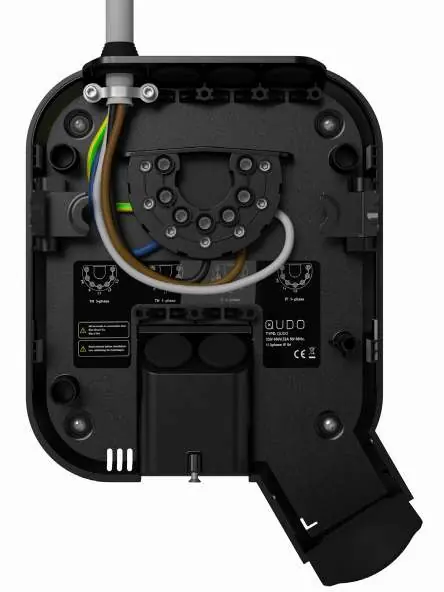
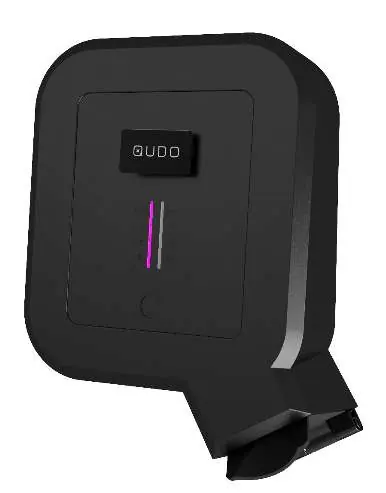
2. Mounting: Fix the backplate to a wall with sufficient load-bearing capacity using the 4 provided screws. Recommended height: 130-150cm.
3. Wiring: Strip cable cores by 12mm. Use cable end sleeves for stranded cable. Tighten screws to 5 Nm. Ensure the cable is secured with the provided strain relief.
4. DIP Switch Settings: Set the maximum charging current using the DIP switch located under the rubber sealing. Refer to the configuration table for settings (0A to 32A).
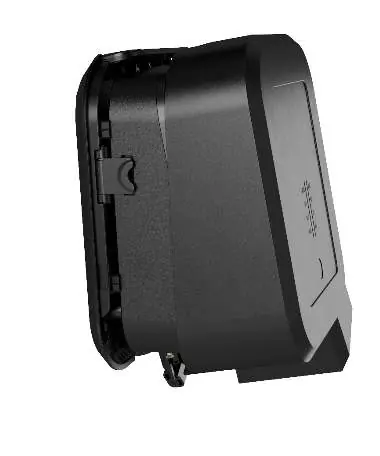
5. Final Assembly: Press the main unit onto the backplate until it clicks, then secure the front cover with the locking screw.
Using Qudo
Charging: Connect the cable to the Qudo and your vehicle. If in secure mode, swipe the Qudo ID card to authorize. Charging adapts automatically.
Power Settings: Press the button once to enter power setting mode (pink light). Press to cycle through 25%, 50%, 75%, 100%. Stop for 4 seconds to save.
Delay Settings: Press the button once, then hold for 1.5 seconds to enter delay mode. Cycle through 0H, 3H, 6H, 9H, 12H. Wait 4 seconds to save.
Modes: Use the mode card to switch between Free mode (1 light bar) and Secure mode (2 light bars).
Troubleshooting
The light bar indicates status and errors. If you encounter issues, check the LED pattern:
- Ground fault protection: 1 fast, 1 slow flash.
- Over current protection: 2 fast, 1 slow flash.
- Thermal protection: 3 fast, 1 slow flash.
- Undervoltage protection: 4 fast, 1 slow flash.
- Self-test failed: 5 fast, 1 slow flash.
- Ground fault: 1 fast, 2 slow flashes.
- Relay fault: 1 fast, 3 slow flashes.
- Other faults: 1 fast, 4 slow flashes.
Practical help
Common problems
Charging does not start
Check if charging is activated in the car, ensure connectors are plugged in, and check the LED light bar for error codes.
Ground fault protection error
Indicated by 1 fast and 1 slow flash. Contact a dealer if the issue persists.
Thermal protection error
Indicated by 3 fast and 1 slow flash. Ensure the unit is not overheating.
Before use
- Ensure the installation circuit has a max 40A fuse.
- Verify the vehicle supports the distribution network (IT 3-phase vs 1-phase).
- Check charging cable and connector for damage or impurities.
- Ensure the unit is installed by qualified personnel.
- Check that the Qudo is within operating temperature (-30°C to 50°C).
Show more Show less
Specs in practice
- Max. current output
- Adjustable between 6A and 32A via DIP switch.
Images and diagrams
- Exploded view shows the assembly of the front cover, main unit, and mounting backplate.
- Wiring diagrams illustrate 3-wire, 4-wire, and 5-wire configurations for TN and TT/IT networks.
- DIP switch table provides the exact switch positions for current limits from 0A to 32A.
Model compatibility
- Compatible with all electric vehicles using Type 2 charging cables.
- Supports TN, IT, and TT networks.
- If the car does not support IT 3-phase, use a 1-phase connection.

Manual page author
Michael Turner
Technical manual editor