Industrial / Garment Printers
Ricoh Ri 1000X Option Platen Setup Instructions
Quick setup guide for Ricoh Ri 1000X option platens, including Hat, Shoe, Sleeve, and Face Covering platens. Learn how to configure Textile Productionserver settings, adjust offsets, and operate the printer.
Table of contents
Manual images
Click an image to enlargeQuick Setup Guide
This guide covers the configuration and operation of optional platens for the Ricoh Ri 1000X printer. Before beginning, ensure you are using genuine Ricoh platens. The primary configuration is performed within the Textile Productionserver software.
Printing Method
To print using an option platen, follow these steps:
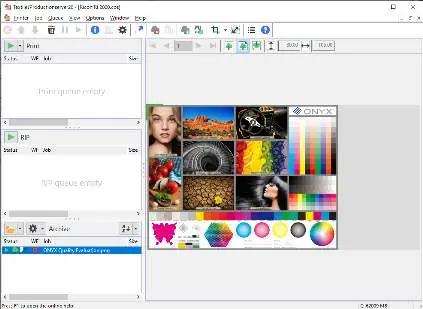
- Start the Textile Productionserver software.
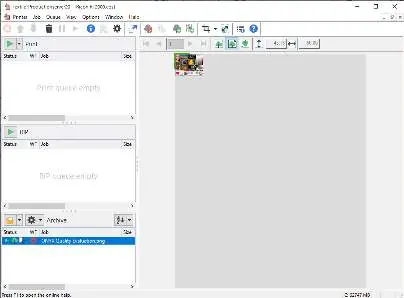
- Input the image file into the software.
- Configure the settings based on the specific platen type attached to the printer.
- Ensure the platen height is adjusted correctly to avoid collision with the printer body.
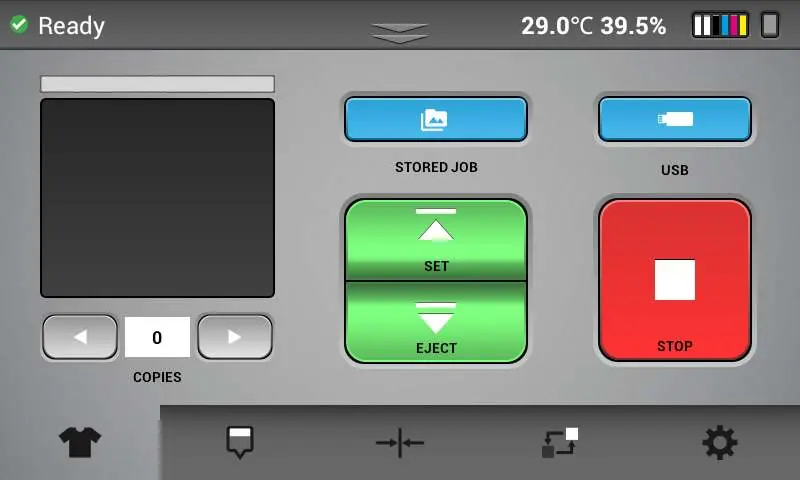
- Press the [SET] button on the printer panel to finalize the setup.
Platen-Specific Settings
Different platens require specific configurations in the Textile Productionserver:
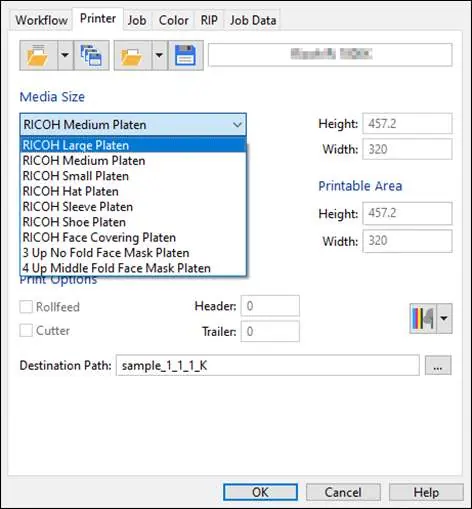
- Hat Platen: Select the appropriate Media size. Note that the image may print inverted; set rotation to 180 degrees if necessary.
- Sleeve Platen: Select the appropriate Media size.
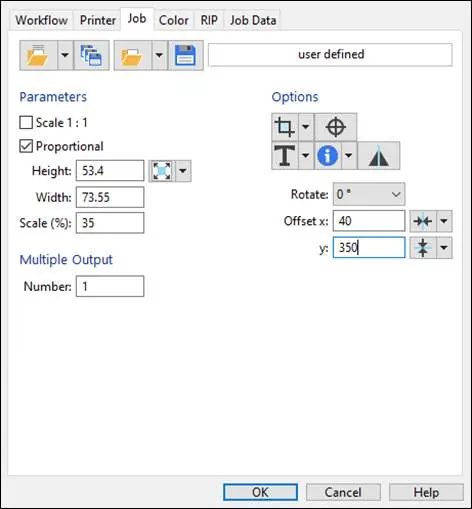
- Shoe Platen: Select the Media size and configure Offset/Scaling settings. Refer to the specific shoe attachment type (Small, Medium, Large) for correct X and Y offset values.
- Face Covering Platen: Select the Media size and configure Offset/Scaling. Be aware of the difference between "Printing on the entire surface" and "Printing one side surface" methods, as these require different offset coordinates.
Printer Operation
After configuring the software settings, ensure the printer is ready. Use the printer panel to confirm settings. Always verify that the platen height is lowered appropriately for the specific option platen to prevent the platen from hitting the printer body during operation.
Important Warnings
- 180-Degree Inversion: If the image prints inverted, adjust the rotation setting to 180 degrees in the software.
- Platen Height: Always lower the platen height according to the option platen used. Failure to do so may result in the platen hitting the printer body.
- Genuine Parts: Use only genuine Ricoh platens and genuine ink for optimal output quality and to avoid damage.
Manufacturer information
Ricoh Company, Ltd.
Practical help
Common problems
Image is printed inverted (180 degrees)
Adjust the rotation setting to 180 degrees in the Textile Productionserver software.
Platen hits the printer body
Ensure you have lowered the platen height according to the specific option platen type being used.
Before use
- Ensure you are using a genuine Ricoh platen.
- Start the Textile Productionserver software.
- Select the correct platen type in the software settings.
- Configure the Media size.
- Set the required Offset/Scaling values for Shoe or Face Covering platens.
- Verify platen height adjustment.
Specs in practice
- Printable Area
- The maximum dimensions available for printing on the selected platen.
Images and diagrams
- The software interface allows for precise control over rotation, scaling, and offset coordinates.
- Shoe and Face Covering platens require specific offset values to ensure the print aligns with the printable area.
Model compatibility
- This document applies only to genuine Ricoh platens.
- Settings vary depending on the platen type (Hat, Sleeve, Shoe, Face Covering).

Manual page author
Michael Turner
Technical manual editor
Reviews PDF manuals for structure, safety notes, and practical product details so readers can find the right information quickly.