Health / Medical Devices
User Manual for Riester EliteVue Otoscope
Comprehensive user guide for the Riester EliteVue otoscope, covering battery installation, charging, instrument head operation, maintenance, and technical specifications.
Quick answers from the manual
Quick answer
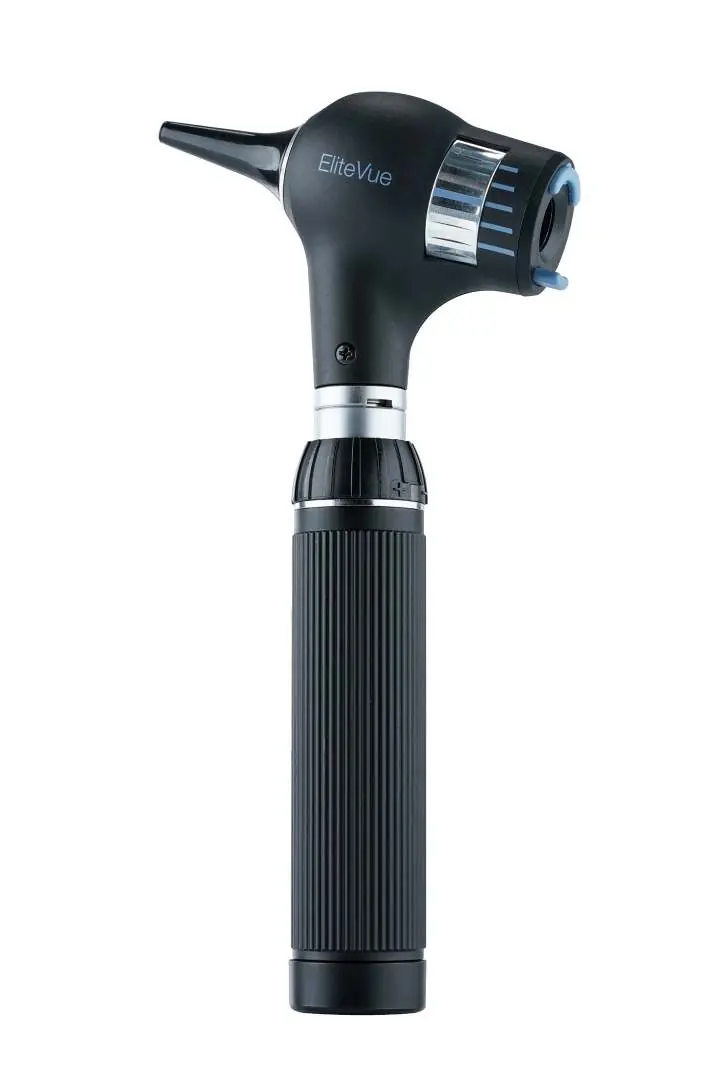
- The Riester EliteVue is a diagnostic otoscope used for illuminating and examining the ear canal and eardrum. It is powered by various battery handle options (Type C or AA) and features rheotronic® light regulation. p. 1, 5, 13
Key actions
- Insert batteries p. 4, 12, 20
- Regulate light intensity p. 5, 13, 21
- Replace lamp p. 6, 13, 22
First start
- Remove red safety foil from batteries before first use. p. 4, 12, 20
Problems and fixes
Device does not charge
Check for liquid ingress; if suspected, do not charge. Ensure correct charger is used.
p. 5, 13, 21Maintenance and reset
- Clean externally with a damp cloth; do not immerse in liquid. p. 6, 14, 22
Technical specifications
| Parameter | Value | Meaning | Pages |
|---|---|---|---|
| Lamp Lifetime (XL) | 15 h | Average lifetime of the XL lamp. | p. 6, 13, 22 |
| Lamp Lifetime (LED) | 10,000 h | Average lifetime of the LED lamp. | p. 6, 13, 22 |
Where to find it in the PDF
- Battery Grips p. 3, 11, 19
- Commissioning p. 4, 12, 20
- EliteVue Operation p. 5, 13, 21
Table of contents
Manual images
Click an image to enlargeQuick guide from the manual
The Riester EliteVue is a high-quality diagnostic instrument designed for the illumination and examination of the ear canal and eardrum. Before first use, ensure you have the correct battery type for your specific handle (Type C or AA) and remove any red safety foil from the battery's positive terminal. The instrument head attaches to the battery handle by aligning the recesses on the head with the lugs on the handle and turning clockwise until it stops.
Battery grips
The EliteVue instrument head is compatible with various Riester battery handles. These handles serve as both a power source and a holder for the instrument head.
- Type C handles: Can be powered by 2x Type C alkaline batteries (IEC LR14) or a Riester ri-accu® rechargeable battery.
- Type AA handles: Can be powered by 2x Type AA alkaline batteries (IEC LR6) or a Riester ri-accu® rechargeable battery.
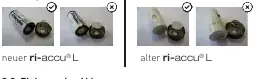
- Charging: Depending on the model, handles can be charged via the ri-charger® base, a plug-in charger, or directly via a wall socket (for specific models). The new ri-accu® USB handle can be charged using a standard USB-C cable.
Instrument head operation
To switch the instrument on, turn the switch ring on the top of the handle clockwise. To switch off, turn the ring anti-clockwise. The rheotronic® feature allows for light intensity regulation; adjust this by moving the switch ring clockwise or anti-clockwise. The light intensity defaults to 100% upon switching on, with an automatic safety shutdown after 180 seconds.
EliteVue specific usage
The EliteVue otoscope is designed for use with Riester ear funnels. To attach L1/L2 funnels, turn clockwise until resistance is felt. For L3 funnels, press onto the metal frame until it clicks; use the blue eject button to remove.
The focusing wheel allows for adjustment of the focus range in the ear canal, providing 5.5x magnification. A pneumatic test can be performed by attaching a ball (not included) to the connection port to introduce air into the auditory canal.
Maintenance and care
The instrument head and handle can be cleaned externally with a damp cloth. Use a disinfectant with proven effectiveness, following the manufacturer's instructions. Wipe with a damp cloth after disinfection to remove residue. Never immerse the instrument in liquids. Reusable ear funnels can be sterilized in a steam sterilizer at 134°C for 10 minutes.
Technical specifications
The EliteVue uses various lamp types depending on the configuration (XL 2.5V/3.5V or LED 2.5V/3.5V). The average lifetime for XL lamps is 15 hours, while LED lamps have an average lifetime of 10,000 hours. Operating environment requires 0° to +40°C and 30% to 70% relative humidity.
Safety and regulatory
The device is intended for professional use only. It is subject to special precautions regarding electromagnetic compatibility (EMC). Do not use the device near flammable gas mixtures. Ensure only Riester-approved accessories are used to maintain safety and performance.
Manufacturer information
Rudolf Riester GmbH
Practical help
Common problems
Light intensity is weak
Replace batteries with new high-quality ones or charge the rechargeable battery.
Device does not work
Check if batteries are inserted correctly (positive side towards the top) and ensure the handle cap is screwed on tightly.
Suspected liquid ingress
Do not charge the device under any circumstances, as this may cause a life-threatening electric shock.
Before use
- Remove the red safety foil from the positive side of the battery (if present).
- Ensure the correct battery type (alkaline or rechargeable) is used for your specific handle.
- Check that the instrument head is securely attached to the handle.
- Verify that the ear funnel is properly seated.
- Ensure the device is clean and free of moisture.
Specs in practice
- 18650 Li-ion Battery
- The type of rechargeable battery used in the ri-accu® USB handle (3.6V, 2600 mAh).
- Type B application part
- Classification indicating the level of protection against electric shock for the patient.
Images and diagrams
- Battery insertion: Unscrew the handle cap, insert batteries with the positive side facing the top, and screw the cap back on.
- Lamp replacement: Unscrew the instrument head, pull out the old lamp, and insert the new one firmly.
- Ear funnel attachment: L1/L2 funnels screw on; L3 funnels click into place and are ejected via a blue button.
Model compatibility
- Compatible with Riester ear funnels (black).
- L3 funnels are compatible with Welch Allyn funnels.
- LED instrument heads are only compatible with specific serial numbers of the ri-former® diagnostic station.

Manual page author
Michael Turner
Technical manual editor
Reviews PDF manuals for structure, safety notes, and practical product details so readers can find the right information quickly.