Home Appliances / Commercial Kitchen Equipment
User Manual for Server EZ-Topper EZT Twin Topping Warmer
Quick guide for the Server EZ-Topper EZT twin topping warmer. Includes setup, operation, cleaning, troubleshooting, and wiring diagrams for your commercial kitchen equipment.
Table of contents
Manual images
Click an image to enlargeQuick Guide
The Server EZ-Topper EZT is a twin topping warmer designed for use with 48 fl oz pouches featuring 16mm center fitments. This unit is intended for commercial use and requires a 120V power source. Always ensure the unit is properly grounded. The thermostat allows for precise temperature control with a maximum setting of 210°F (99°C).
Product Overview
The unit consists of a warmer base, two EZ-Topper pumps, and optional identification knobs. Some models include a magnetic decal for labeling. The base is constructed of stainless steel.
Safety
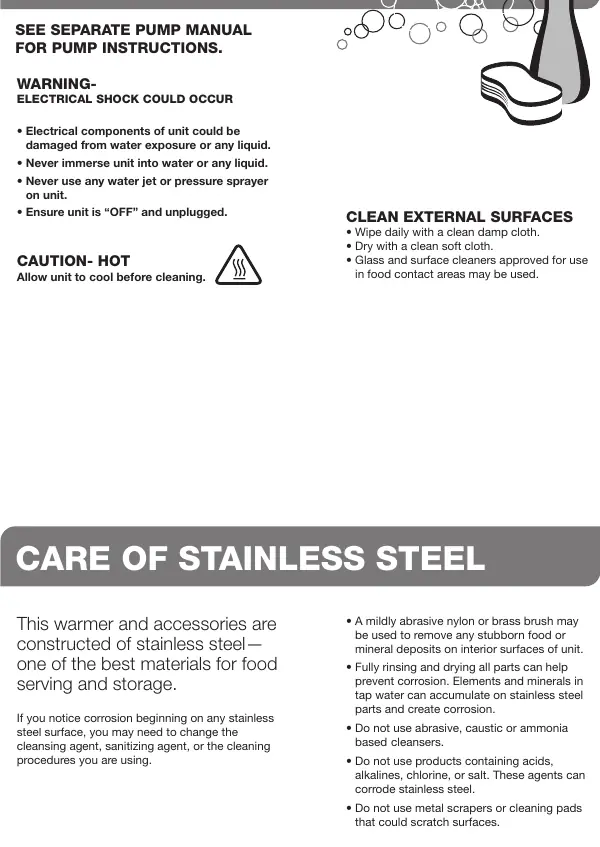
Electrical shock hazard exists. The unit must be earthed or grounded using a three-prong plug. Do not immerse the unit in water or any liquid. Ensure the unit is turned off and unplugged before cleaning. Be aware of food safety regulations regarding storage and serving temperatures.
Unit Setup

- Attach each pump to each pouch: Place the pouch on a countertop with the fitment circle facing upward. Position the pump connector directly over the center of the pouch fitment and press down until it pierces the film. The pump is fully engaged when the top surface of the pouch fitment touches the pump connector rim.
- Install pumps with pouches into base: Place the assembled pumps into the warmer base.
- Plug cord: Connect the power cord to a grounded power source.
- Power on: Press the switch to the ON position.
- Set thermostat: Adjust the thermostat knobs to the food manufacturer's recommended serving temperature. Dial indicators use 5°F increments.
Unit Take-down
- Press the switch to the OFF position.
- Unplug the power cord. Allow the unit to cool before handling.
- Remove the pumps with pouches from the base.
- Detach the pouches from the bottom of the pumps.
- Flush and rinse the pumps thoroughly with hot water.
- Disassemble and clean the pumps according to the separate pump manual.
Cleaning and Care
External Surfaces: Wipe daily with a clean damp cloth and dry with a soft cloth. Approved glass and surface cleaners for food contact areas may be used.
Stainless Steel Care: Do not use abrasive, caustic, or ammonia-based cleansers. Avoid products containing acids, alkalines, chlorine, or salt, as these can cause corrosion. Do not use metal scrapers or cleaning pads. A mildly abrasive nylon or brass brush may be used for stubborn deposits on interior surfaces.
Wiring
The unit is designed for 120V operation. The wiring includes a cord assembly, snap-in rocker switch, thermostat, and heating element. Ensure all ground connections are secure.
Troubleshooting
Unit does not heat: Ensure the cord is securely plugged in, the unit is switched on, and the thermostat knob is set correctly. Verify power is available from the source. Do not allow electrical components to get wet; if moisture is suspected, discontinue use and allow the unit to fully air dry.
Pouch does not evacuate all product: Ensure the pouch is properly connected to the pump.
Service and Support
For service, repair, or returns, contact Server Products customer service to request a Return Authorization Number. Have your model, part, and series numbers ready. Contact information: 262.628.5600 or 800.558.8722. Email: [email protected]. Address: Server Products Inc., 3601 Pleasant Hill Road, Richfield, WI 53076 USA.
Practical help
Common problems
Unit does not heat
Check power connection, ensure switch is ON, verify thermostat setting, and ensure no moisture has entered electrical components.
Pouch does not evacuate all product
Verify that the pouch is properly connected to the pump.
Before use
- Wash all parts properly before use.
- Ensure the unit is earthed/grounded.
- Check that pouches are 48 fl oz with 16mm center fitments.
- Set thermostat to manufacturer's recommended temperature.
- Ensure unit is on a stable surface.
Specs in practice
- Thermostat Range
- Maximum temperature is 210°F (99°C), with dial increments of 5°F.
- Compatibility
- Designed for 48 fl oz pouches with 16mm center fitments.
Images and diagrams
- Wiring diagram illustrates the connection between the cord, switch, thermostat, and heating element for 120V units.
- Setup diagram demonstrates the correct way to pierce the pouch fitment with the pump connector.
Model compatibility
- Compatible with 48 fl oz pouches with 16mm center fitments.
- Designed for 120V USA power supply.

Manual page author
David Miller
Documentation analyst
Organizes user manual content into clear summaries, with attention to model details, product context, and everyday usability.