Plumbing / Sinks Faucets
Installation Guide for Stonebaths Ramp Classic 100 1600mm Wall Hung Basin
Comprehensive installation guide for the Stonebaths Ramp Classic 100 1600mm wall-hung basin. Includes mounting instructions, drilling requirements, and technical specifications.
Table of contents
Manual images
Click an image to enlargeImportant Information
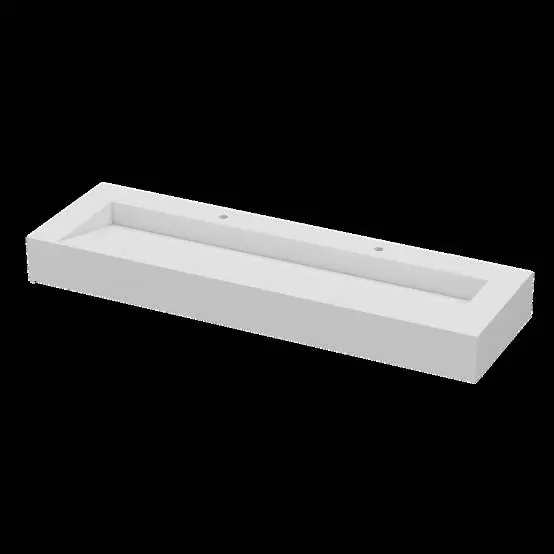
This document provides installation instructions for the Stonebaths Ramp Classic 100 1600mm wall-hung basin. The basin has a net weight of approximately 50kg, so ensure the wall structure is capable of supporting this load. The unit is made of Matte White Solid Surface (12mm/20mm).
Tools and Preparation
Before beginning the installation, ensure you have the following tools and materials ready:
- Drill
- Level
- Pencil
- Screwdriver
- Brackets, screws, and fasteners (included with the basin)
Installation Steps
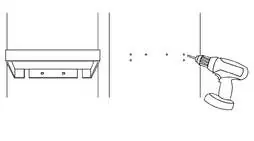
- Predrill: Bracket and screw holes are pre-drilled at the time of manufacture. If necessary, holes can be drilled on-site using a commercial drill and a toughened drill bit at high speed to match the wall studs.
- Mark and Drill Pilot Holes: Determine the desired height for the basin, ensuring the pre-drilled holes align with internal wall studs or nogs. Place the basin against the wall, use a level to ensure it is straight, and mark the location of the bracket screw and fastener holes with a pencil. Drill the pilot holes into the wall.
- Secure the Sink: Secure the sink to the wall using the provided mounting brackets and screws. Insert the first fastener and use a level to ensure the basin is straight. Once aligned, insert the remaining wall fasteners. Use 4 fasteners for basins up to 1500mm; longer basins require 6-8 fasteners.
Plumbing and Finishing
Connect all supply hoses to the faucet and connect the waste. Turn on the water supply to check for any leaking from the water supply lines or sink. Note that Ramp basins with benchtop-mounted faucets may require water pressure restrictors to reduce splash.
Technical Specifications
- Dimensions: 1600 x 460 x 100mm
- Waste Size: 40mm
- Weight: Approximately 50kg
- Warranty: 10-year manufacturer's warranty
Practical help
Common problems
Basin is not straight during installation
Use a level to ensure the basin is perfectly aligned before tightening all fasteners.
Water splashing from benchtop mounted faucets
Install water pressure restrictors to reduce splash, which is particularly important for Junior 100 models.
Difficulty drilling into the basin material
Use a commercial drill and a toughened drill bit at high speed for any necessary on-site drilling.
Before use
- Ensure the wall structure is suitable for a 50kg load
- Gather required tools: drill, level, pencil, screwdriver
- Verify that brackets and screws are included in the package
- Determine the desired installation height
- Check for wall studs or nogs for secure mounting
Specs in practice
- Surface Material
- Matte White Solid Surface (12mm/20mm)
Images and diagrams
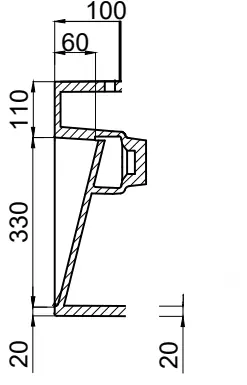
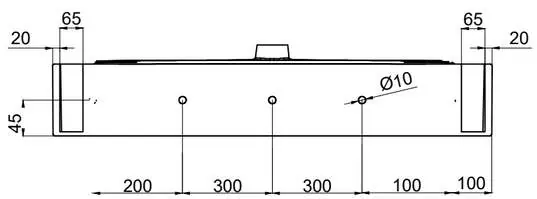
- The diagrams illustrate the dimensions of the basin from top, side, and front views.
- Installation diagrams show the drilling process and the final mounting position.
Model compatibility
- Compatible with benchtop mounted faucets (may require pressure restrictors).
- Suitable for wall-hung installation.

Manual page author
David Miller
Documentation analyst
Organizes user manual content into clear summaries, with attention to model details, product context, and everyday usability.