Electronics / Televisions
Troubleshooting Guide for Toshiba e-STUDIO 2020AC
A comprehensive troubleshooting guide for the Toshiba e-STUDIO 2020AC, covering paper misfeeds, staple jams, toner replacement, and routine maintenance procedures.
Quick answers from the manual
Quick answer
- This manual provides troubleshooting procedures for the Toshiba e-STUDIO 2020AC, including clearing paper misfeeds, resolving staple jams, replacing toner cartridges, and performing routine maintenance. p. 1, 9, 14, 62
Key actions
- Clear paper misfeed p. 14, 17
- Replace toner cartridge p. 69, 72
- Replace waste toner box p. 76, 79
Problems and fixes
Paper misfeed
Follow on-screen guidance to locate and remove paper carefully.
p. 14Show 1 more answers Show less
Where to find it in the PDF
- Troubleshooting p. 9, 14
- Maintenance p. 69, 76, 79, 85
Table of contents
Manual images
Click an image to enlargeQuick guide from the manual
This document provides troubleshooting procedures for the Toshiba e-STUDIO 2020AC. Users should refer to the touch panel for specific error messages and guidance. Always follow safety precautions when clearing jams or performing maintenance.
Clearing a Paper Misfeed
If a paper misfeed occurs, the equipment will stop and display a message on the touch panel. Use the paper misfeed symbol to locate the jam.
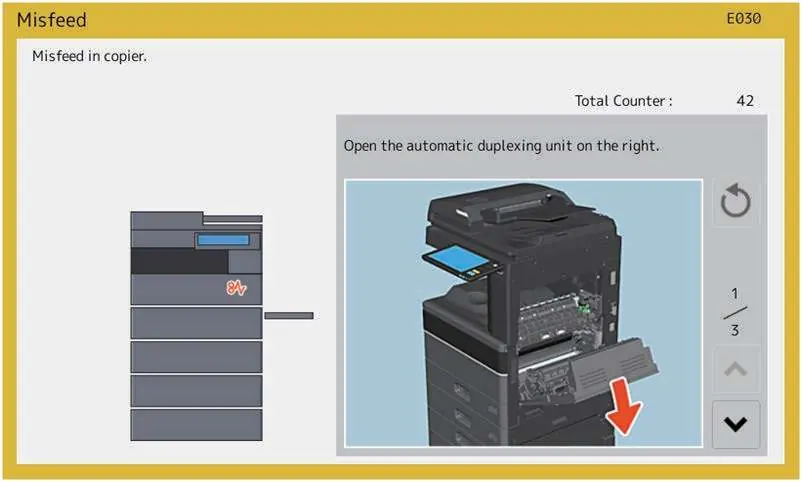
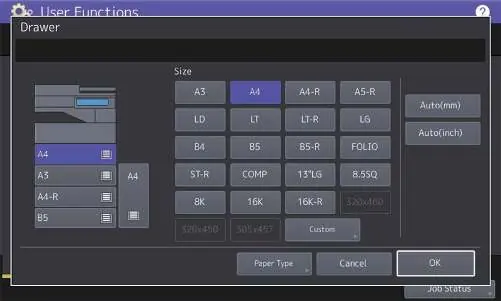
- Remove carefully: Pull the paper slowly with both hands to avoid tearing.
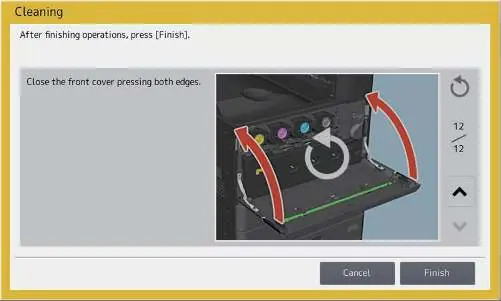
- Check covers: Ensure all covers are closed securely after clearing the jam.
- Do not touch: Avoid touching the fuser unit or metal parts around it as they may be hot.
Replacing Consumables
Follow these steps for replacing key components:
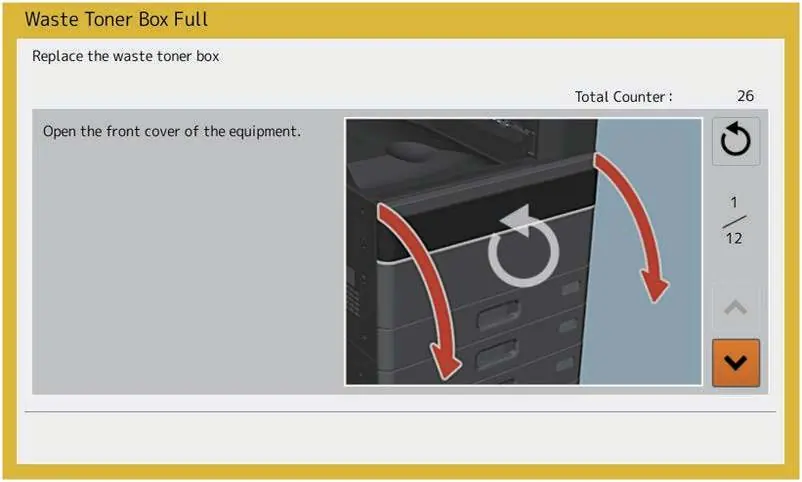
- Toner Cartridge: When the message 'Install New toner cartridge' appears, open the front cover, remove the old cartridge, and insert the new one. Shake the new cartridge before installation.
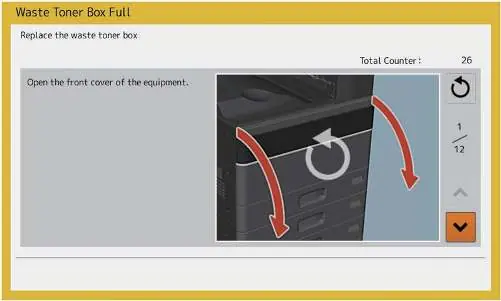
- Waste Toner Box: When the box is full, open the front cover, push down the top latch, and remove the box. Place it on a sheet to avoid spills.
- Staples: If a staple jam occurs, open the finisher, remove the staple cartridge, and clear the jam.
Routine Maintenance
Weekly cleaning is recommended for optimal scanning quality.
- Scanning Area: Wipe the long rectangular glass and original glass with a soft dry cloth. Use water if stains persist.
- Hole Punch Dust Bin: When full, open the Hole Punch Unit cover, pull out the bin, dispose of the punchings, and reinsert.
Practical help
Common problems
Paper misfeed
Follow on-screen guidance to locate and remove paper carefully.
Staple jam
Open finisher, remove staple cartridge, and clear jammed staples.
Toner empty
Replace with new toner cartridge as indicated on the touch panel.
Waste toner box full
Replace the waste toner box following on-screen instructions.
Before use
- Check touch panel for error messages
- Ensure paper is loaded correctly in drawers
- Verify finisher covers are closed
Show more Show less
Images and diagrams
- Paper misfeed symbols on touch panel
- Toner cartridge replacement steps
- Staple cartridge removal
Model compatibility
- Procedures may vary slightly based on installed options (e.g., finisher, hole punch unit)

Manual page author
David Miller
Documentation analyst