Power / Solar Chargers
Vevor 20W Solar Charger User Manual
Quick guide for the Vevor 20W Solar Charger. Includes installation steps, technical specifications, and safety precautions for your photovoltaic module.
Quick answers from the manual
Quick answer
- The Vevor 20W Solar Charger is a photovoltaic module used to convert light energy into electrical energy for applications like home power, street lighting, and small-scale energy storage. p. 4
Key actions
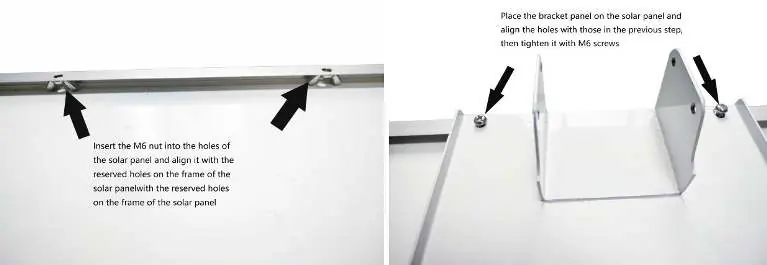
- Install the solar panel on the bracket using the provided screws and nuts. p. 6, 7
First start
- Ensure the installation location is well-lit and unobstructed, then connect the positive and negative poles to your energy storage device. p. 6
Show 3 more answers Show less
Problems and fixes
Radio or TV interference
Reorient the antenna, increase distance from the product, or connect to a different circuit.
p. 3Technical specifications
| Parameter | Value | Meaning | Pages |
|---|---|---|---|
| Peak Power | 20W | Maximum power output | p. 5 |
| Working Voltage | 15V | Operating voltage | p. 5 |
Where to find it in the PDF
- Product Overview p. 4
- Technical Parameters p. 5
- Installation Guide p. 6, 7
Table of contents
Manual images
Click an image to enlargeQuick guide from the manual
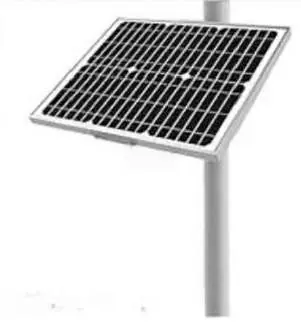
The Vevor 20W Solar Charger is a photovoltaic module designed to convert light energy into electrical energy. It is suitable for households, street lighting, and small-scale energy storage. This guide covers the essential installation steps and technical specifications required for proper operation.
Product Overview
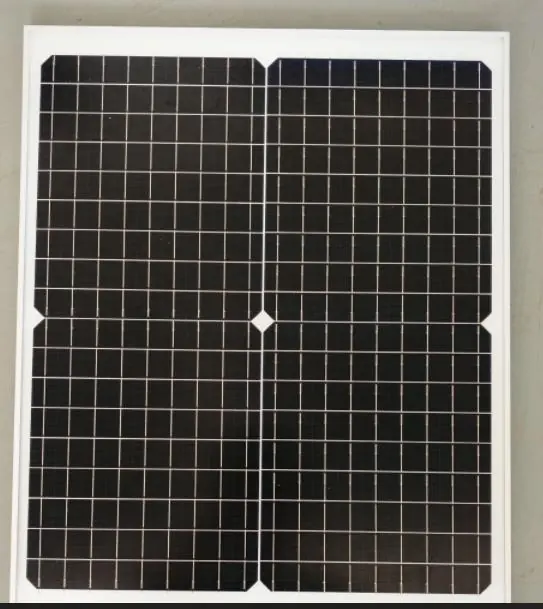
The solar charger features high photoelectric conversion efficiency and is built with high-transmittance tempered glass, making it impact-resistant and anti-aging. Its sealed and waterproof design (IP67) ensures suitability for harsh weather conditions.
Technical Parameters
- Peak power (Pmax): 20W
- Working voltage (Vmpp): 15V
- Working current (Impp): 1.30A
- Battery cell type: Single crystal silicon
- Protection grade: IP67 (Dust-proof and water-proof)
- Temperature range: -40°C to +85°C
Installation Guide
Preparations before installation
- Confirm that the installation location is unobstructed and well-lit.
- Check that the support structure is stable and meets load-bearing requirements.
- Prepare necessary installation tools (bolts, connectors, etc.).
Installation steps
- Fix the components on the bracket and ensure all screws are tightened.
- Connect the positive and negative poles of the connector to the energy storage device or equipment.
- Check the insulation of the circuit and the reliability of the connection.
Precautions
- Avoid scratches or impacts on the component surface during installation.
- Ensure positive and negative poles are connected correctly to prevent short circuits.
- Tools required for installation must be purchased by the customer.
Manufacturer information
VEVOR
Practical help
Common problems
Short circuit
Ensure positive and negative poles are connected correctly.
Radio or TV interference
Reorient or relocate the receiving antenna, increase the distance between the product and receiver, or connect to a different circuit.
Before use
- Verify the installation location is unobstructed and well-lit.
- Check that the support structure is stable and meets load-bearing requirements.
- Ensure all necessary installation tools are available.
- Verify circuit insulation and connection reliability.
Show more Show less
Specs in practice
- Peak power (Pmax)
- The maximum power output of the solar panel (20W).
- Working voltage (Vmpp)
- The operating voltage of the panel (15V).
- Protection grade (IP67)
- Indicates the device is dust-proof and water-proof.
Images and diagrams
- The manual includes visual steps for mounting the solar panel onto a support bracket.
- Diagrams illustrate the alignment of the bracket panel with the solar panel frame holes.
- Visuals show the use of M6 screws and nuts for securing the assembly.
Model compatibility
- When paired with an MPPT controller, the system can automatically identify and adjust the voltage.

Manual page author
Emily Carter
User documentation editor