Computers / Computer Cases
User Manual for VEVOR 230B Computer Case
A comprehensive guide for the VEVOR 230B computer case. This manual provides step-by-step instructions for panel removal, fan installation, power supply mounting, storage drive setup, motherboard installation, and graphics card mounting.
Quick answers from the manual
Quick answer
- The VEVOR 230B is a computer case. Installation involves removing side and front panels, mounting fans, the power supply, storage drives, the motherboard, and the graphics card. p. 4, 6, 7, 8
Key actions
- Remove side and front panels p. 6
- Install fans p. 7, 8
- Install motherboard p. 9
Where to find it in the PDF
- Installation Steps p. 6, 7, 8, 9
Table of contents
Manual images
Click an image to enlargeQuick guide from the manual
This document provides assembly instructions for the VEVOR 230B computer case. Before beginning, ensure you have all necessary components and tools. Please read all instructions carefully to reduce the risk of injury. Note that product appearance may vary based on the unit received.
Product Overview
The case features a standard I/O interface located on the top/front panel. The interface includes:
- Power button
- Cue Light
- HD Audio jacks
- USB 2.0 ports
- Reset button
- LED button
- USB 3.0 port
Installation Guide
The installation process involves several key steps to prepare the chassis and mount components:
Panel Disassembly
- Right Panel: Remove the screws to open the right iron plate.
- Left/Front Panel: Remove the screws to open the left glass plate and remove the front panel.
Fan Installation
- Top Fan: Align the fan with the top mounting holes and secure with screws.
- Back Fan: Align the fan with the rear mounting holes and secure with screws.
- Front Panel Fan: Align the fans with the front panel mounting holes and secure with screws.
Component Installation
Power Supply
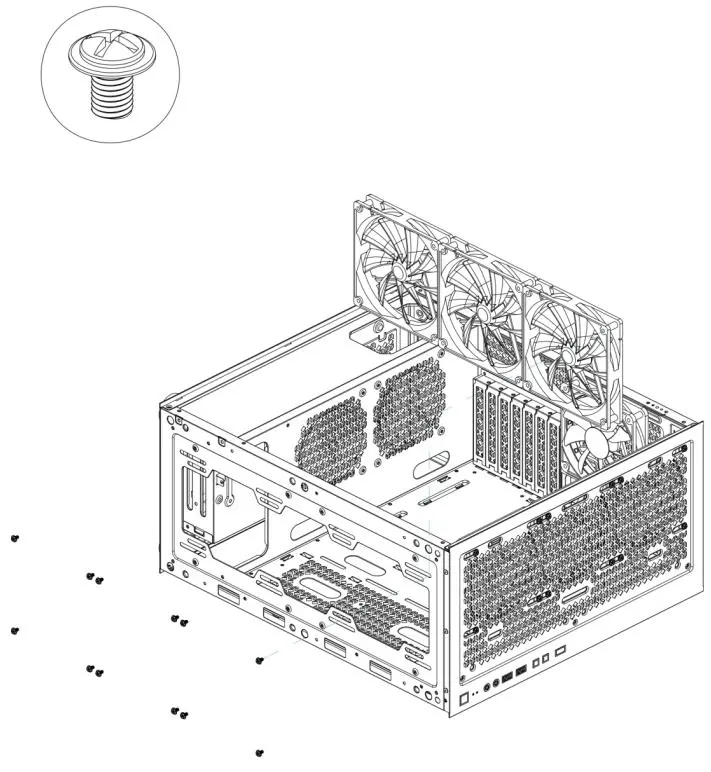
Position the power supply unit in the designated area at the bottom of the case and secure it with the provided power screws.
Storage Drives (SSD and HDD)
Mount your SSD and HDD drives into the drive bays or mounting brackets provided within the case, securing them with the appropriate screws.
Motherboard
Install the copper pillars into the motherboard tray, then place the motherboard on top and secure it using the motherboard screws.
Graphics Card
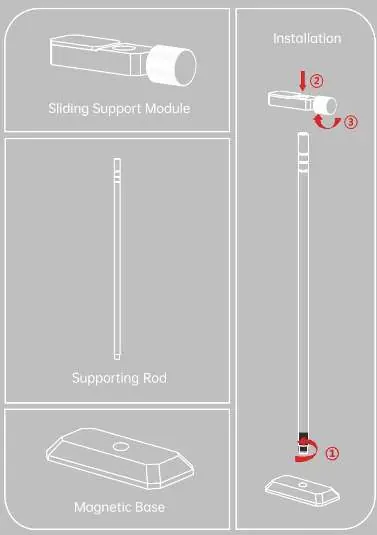
Insert the graphics card into the PCIe slot on the motherboard. For added stability, install the included graphics card support bracket by assembling the magnetic base, supporting rod, and sliding support module.
Manufacturer information
VEVOR
Practical help
Before use
- Read all instructions carefully before operating.
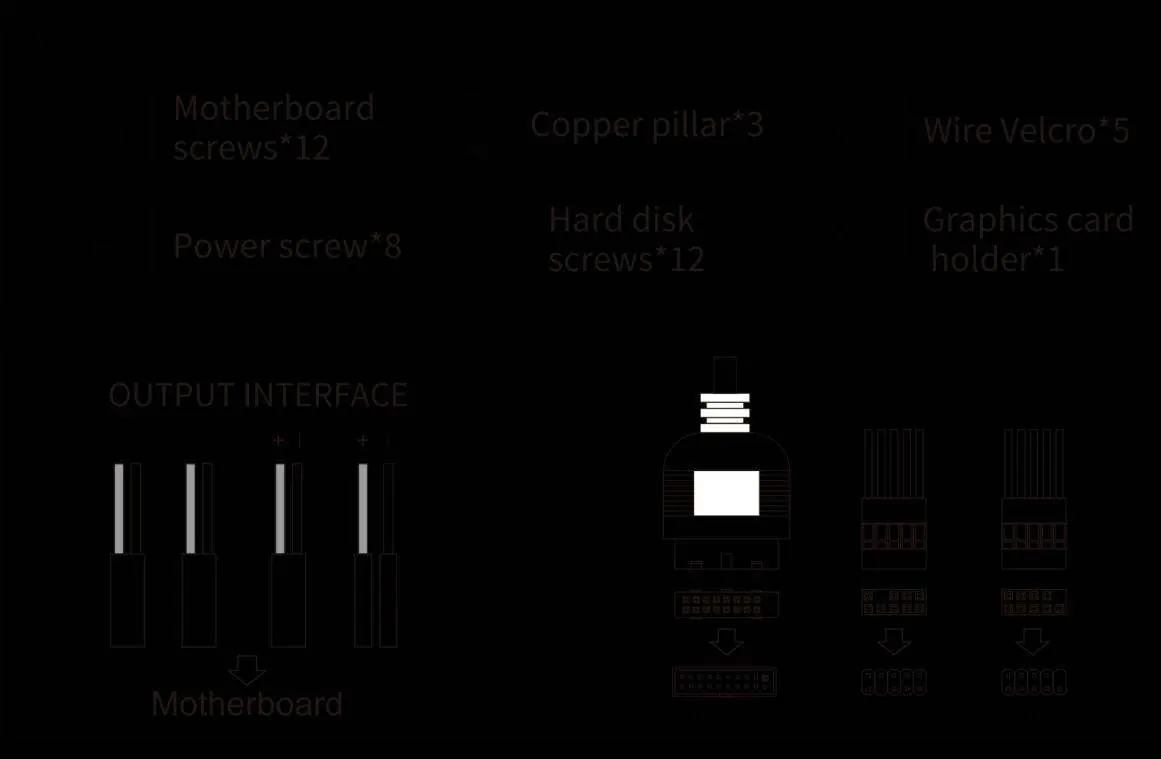
- Ensure you have all accessories: motherboard screws (12), power screws (8), hard disk screws (12), copper pillars (3), wire velcro (5), and graphics card holder (1).
- Prepare your components (motherboard, PSU, drives, fans) before starting assembly.
- Ensure the workspace is clean and well-lit.
Images and diagrams
- I/O Interface: Shows the layout of the power button, audio jacks, USB ports, and reset/LED buttons.
- Panel Removal: Illustrates the removal of the right iron plate, left glass plate, and front panel.
- Component Installation: Provides visual guides for screw locations and component orientation for fans, PSU, drives, and motherboard.
Show more Show less
Model compatibility
- Product appearance is subject to the specific unit received.
- The manufacturer reserves the right to make technology or software updates without prior notice.

Manual page author
David Miller
Documentation analyst