Computers / Computer Cases
User Manual for VEVOR 211I Computer Case
Comprehensive user guide for the VEVOR 211I computer case. Includes assembly instructions, component installation steps, I/O panel layout, and hardware compatibility details.
Quick answers from the manual
Quick answer
- The VEVOR 211I is a computer case. Installation involves removing side panels, installing fans/water cooling, power supply, storage drives, motherboard, and graphics card. p. 4, 6, 7, 8
Key actions
- Disassemble the case by removing the left glass plate, front plate, and right iron plate. p. 6
- Install the motherboard using the provided copper pillars and screws. p. 9
Where to find it in the PDF
- Parts List and Wiring p. 4
- I/O Panel Layout p. 5
- Installation Procedures p. 6, 7, 8, 9
Table of contents
Manual images
Click an image to enlargeQuick guide from the manual
This document provides assembly and installation instructions for the VEVOR 211I computer case. It covers the necessary steps to prepare the chassis, install cooling systems, power supply, storage drives, motherboard, and graphics card.
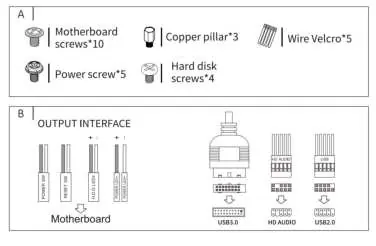
Device Overview
The VEVOR 211I computer case features a modular design with accessible side panels. The front I/O panel includes essential connectivity ports and control buttons for system operation.
I/O Panel Layout
The front I/O interface consists of the following components:
- Power Button: Turns the system on/off.
- Cue Light: System status indicator.
- HD Audio: Headphone and microphone jacks.
- USB 2.0: Standard USB 2.0 ports.
- Reset Button: Restarts the system.
- LED: LED control/indicator.
- USB 3.0: High-speed USB 3.0 port.
Installation Steps
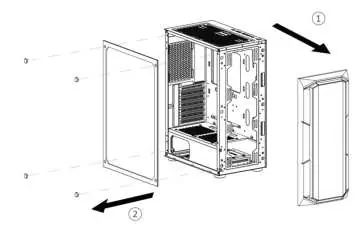
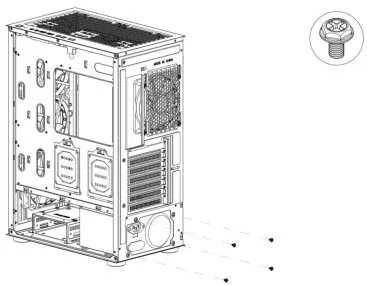
Disassembly
Before installing components, remove the side panels:
- Open the left glass plate.
- Remove the front plate.
- Open the right iron plate.
Cooling System Installation
The case supports multiple fan and water cooling configurations:
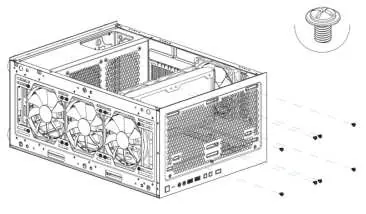
- Front/Back Panel Fan: Install fans using the provided mounting points.
- Top Water Cooling: Mount the radiator and fans to the top bracket.
- Top Fan: Install additional exhaust fans on the top panel.
Component Installation
- Power Supply: Secure the power supply unit into the designated bottom mount.
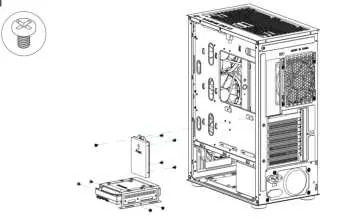
- Storage Drives (SSD/HDD): Mount drives into the drive bays using the provided screws.
- Motherboard: Install the motherboard onto the standoffs (copper pillars) and secure with screws.
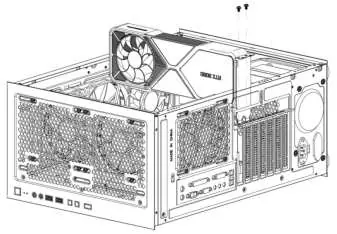
- Graphics Card: Insert the graphics card into the PCIe slot and secure it to the rear bracket.
Manufacturer information
VEVOR
Practical help
Before use
- Verify all components (motherboard, PSU, GPU) are compatible with the case dimensions.
- Ensure you have a Phillips head screwdriver for installation.
- Check that all necessary cables are routed through the cable management holes.
- Read all safety warnings before beginning assembly.
Specs in practice
- I/O Interface
- The front panel connections including Power, Reset, USB 3.0, USB 2.0, and HD Audio.
Show more Show less
Images and diagrams
- The manual provides exploded views for component installation.
- Wiring diagrams show connections for motherboard headers.
Model compatibility
- Ensure your motherboard, power supply, and graphics card fit the case specifications.

Manual page author
Emily Carter
User documentation editor