Garden / Pool Equipment
User Manual for Vevor Swimming Pool Membrane
A comprehensive guide for the Vevor Swimming Pool Membrane, covering safety precautions, product specifications, and step-by-step installation instructions for various pool sizes.
Quick answers from the manual
Quick answer
- The Vevor Swimming Pool Membrane is a safety cover designed to be installed over a pool. Installation involves draping the cover, marking anchor points, drilling holes into the deck, and securing the cover using tension springs and anchors. p. 4, 5, 6
Key actions
- Install anchors p. 5, 6
- Attach springs p. 5, 6
First start
- Prepare pool p. 4
Show 2 more answers Show less
Technical specifications
| Parameter | Value | Meaning | Pages |
|---|---|---|---|
| Drill bit size | 3/4 inch | Required for drilling anchor holes | p. 5 |
| Drill depth | 1 7/8 inch | Required depth for anchor holes | p. 5 |
Where to find it in the PDF
- Safety precautions p. 3
- Product Description p. 4
- Product Assembly p. 5, 6
Table of contents
Manual images
Click an image to enlargeQuick guide from the manual
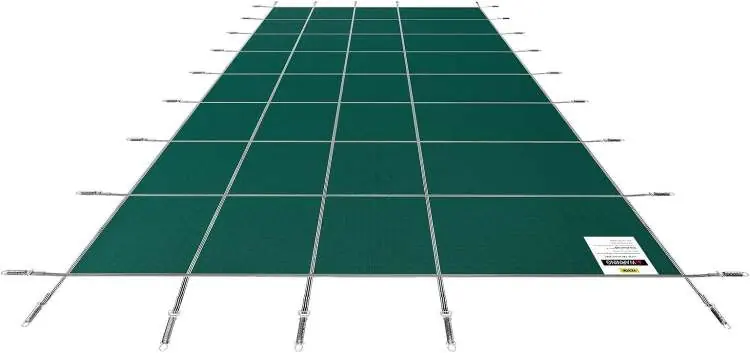
This manual provides instructions for the installation and safe use of the Vevor Swimming Pool Membrane. Before beginning, ensure the pool water is at a normal level to allow the cover to float during installation. The process involves draping the cover, marking anchor points, drilling holes into the deck, and securing the cover using tension springs and anchors.
Safety precautions
- Hazardous areas: Do not use or store the pool cover in hazardous locations.
- Inspection: Check the cover for proper working order and safety before each use.
- Usage: Use only as intended. The cover is not suitable for sweeping off corrosive substances.
- Supervision: The cover is not intended for use by persons (including children) with reduced physical, sensory, or mental abilities unless supervised.
Product Description
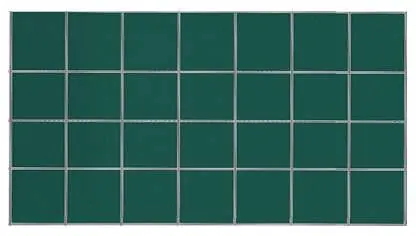
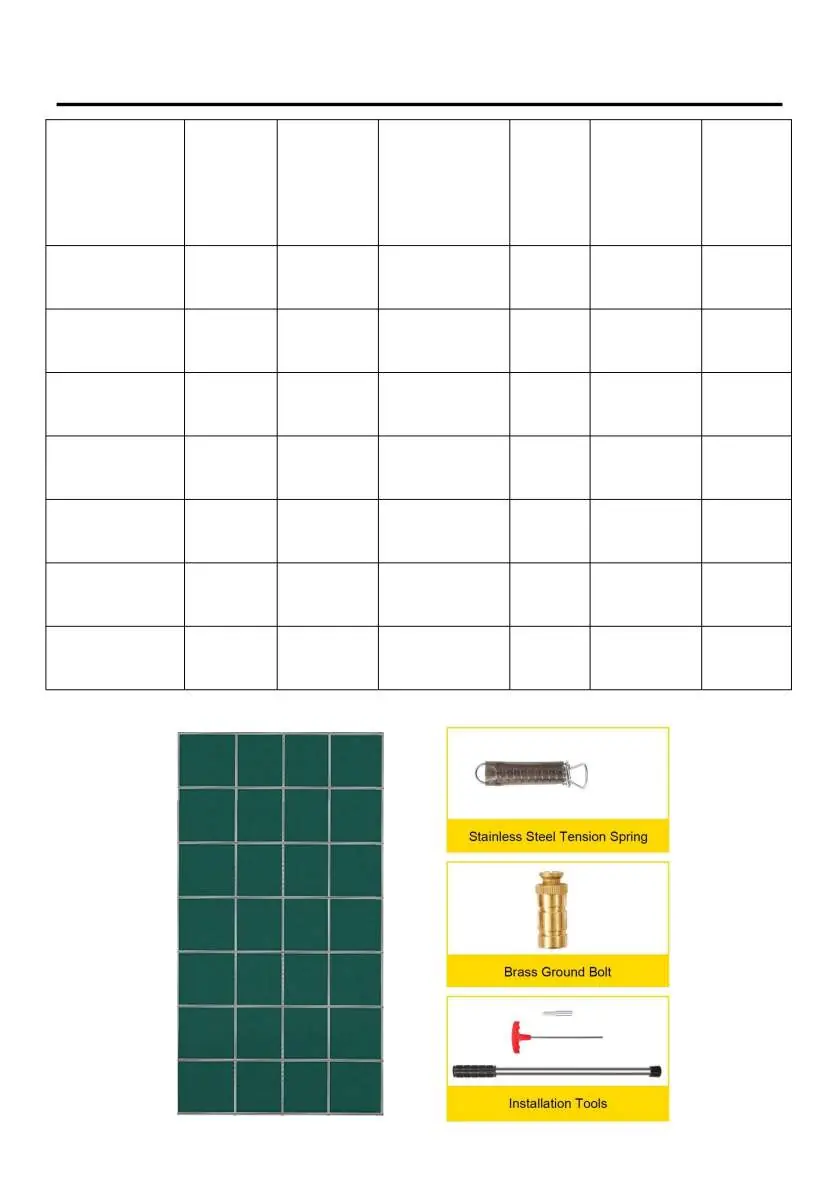
The Vevor Swimming Pool Membrane is available in several sizes. Each kit includes brass ground bolts, stainless steel tension springs, and installation tools. Refer to the product table for specific quantities of components based on your model size.
Product Assembly
1. Preparation: Leave the pool water at a normal height. Unfold the cover, ensuring it is right-side up with protective strips on the bottom (poolside). Drape the cover over the pool, adjusting for equal overlap on all sides. Secure the cover temporarily using water bags or 5-gallon buckets on the straps.

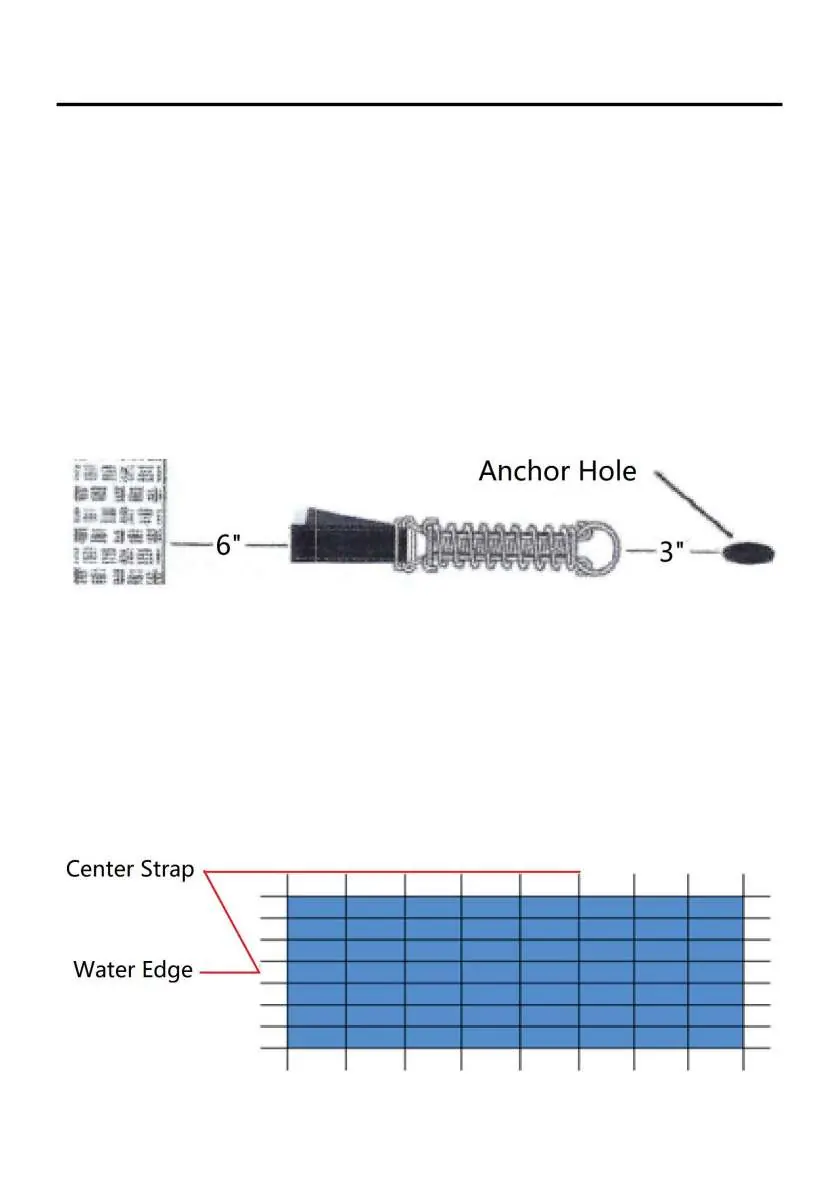
2. Marking: Find the center strap on each side. Mark a point 3 inches beyond the uncompressed spring (approximately 18 inches from the cover's edge). Use these marks to snap a chalk line along the entire length of the pool to ensure anchors are installed parallel.
3. Drilling and Anchoring: Install the first four center anchors. Use a hammer drill with a 3/4-inch bit to drill 1 7/8 inches into the deck. Clean the hole, spray the casing and tamping tool with silicone, and tamp the anchor into place.
4. Securing: Use the supplied installation rod to attach the spring to the anchor. Slip the notched end of the rod through the spring, place the notch over the anchor, and use leverage to pull the rod away from the pool, allowing the spring to slide over the anchor.
5. Finalizing: Proceed to the opposite side of the pool and repeat the process. Once center straps are secured, install the remaining straps, working from the center outwards.
Manufacturer information
VEVOR
Practical help
Common problems
Cover not fitting properly
Ensure the cover is stretched evenly and the overlap is equal on all sides.
Difficulty installing anchors
Ensure the drill is perpendicular to the deck surface and the hole is drilled to the correct depth of 1 7/8 inches.
Before use
- Check that the cover is in proper working order
- Ensure the cover is right-side up with protective strips on the bottom
- Maintain normal water level in the pool
Show more Show less
Specs in practice
- Brass Ground Bolt
- The anchor component installed into the deck.
- Stainless Steel Tension Spring
- Used to secure the cover straps to the anchors.
Images and diagrams
- The manual includes diagrams showing the installation rod usage, anchor hole drilling, and strap tensioning.
Model compatibility
- The cover is not suitable for sweeping off corrosive substances.

Manual page author
Michael Turner
Technical manual editor