Furniture / Storage Cabinets
Assembly Instructions for Vingli 2-Drawer Mobile File Cabinet
A comprehensive assembly guide for the Vingli 2-Drawer Mobile File Cabinet. This manual includes a complete list of components and hardware, step-by-step assembly instructions, safety warnings regarding tip-over prevention, and...
Quick answers from the manual
Quick answer
- This manual provides step-by-step assembly instructions for the Vingli 2-Drawer Mobile File Cabinet, including hardware lists, safety warnings, and troubleshooting for drawer alignment. p. 1, 4, 5, 16
Key actions
- Assemble the cabinet frame and drawers using the provided hardware and steps 1-20. p. 7, 8, 9, 10
First start
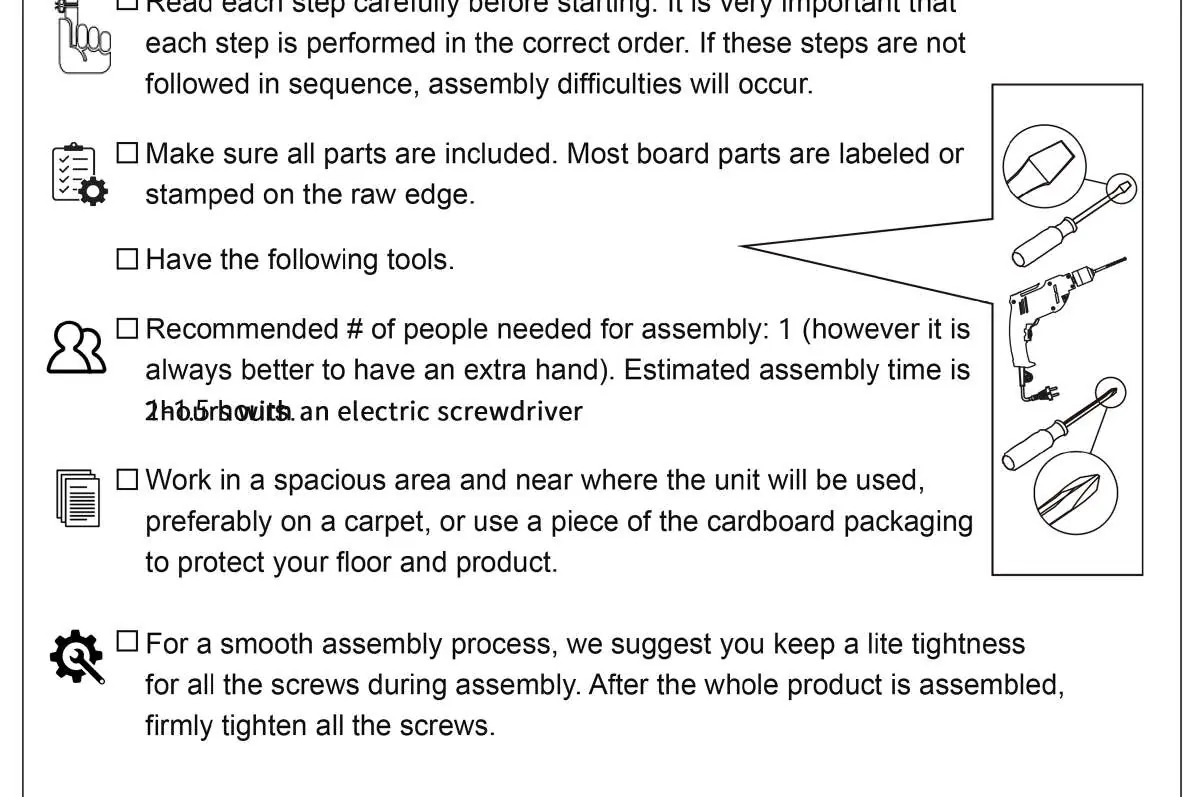
- Prepare a spacious area, verify all parts, and use an electric screwdriver for assembly. p. 3
Show 2 more answers Show less
Problems and fixes
Drawer not closing flush
Check slide rail assembly and alignment. Re-insert drawer if necessary.
p. 17Where to find it in the PDF
- Assembly Instructions p. 3, 4, 5, 6
- Safety Warnings p. 3, 18
Table of contents
Manual images
Click an image to enlargeQuick guide from the manual
This document provides assembly instructions for the Vingli 2-Drawer Mobile File Cabinet. Before starting, ensure you have a spacious area to work, preferably on a carpet or cardboard to protect the floor. It is recommended to have an electric screwdriver and at least one person for assembly. Estimated assembly time is approximately 2 hours.
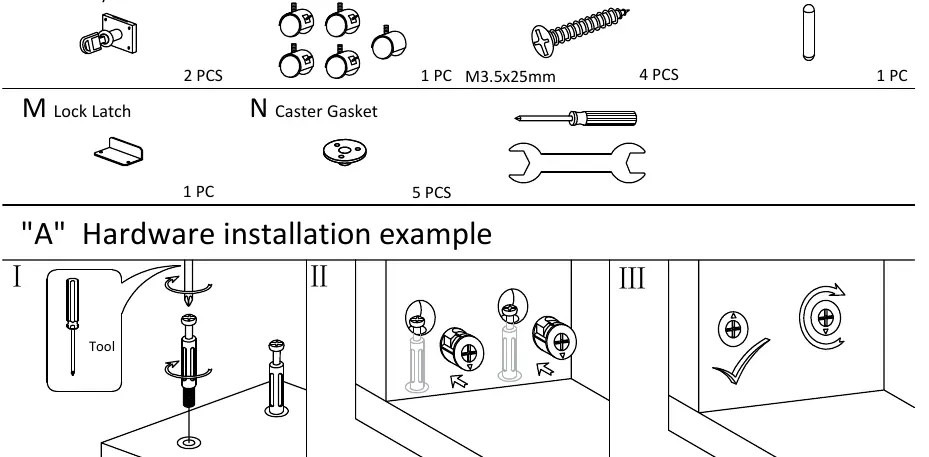
Components and Hardware
The cabinet consists of 16 numbered board components and various hardware accessories, including cam bolts, cam locks, screws, handles, drawer slides, and hanging rods. Verify all parts are present before beginning assembly. Board parts are labeled or stamped on the raw edge.
Assembly Instructions
The assembly process is divided into 20 steps:
- Steps 1-2: Install the lock latch and drawer slides onto the side panels.
- Steps 3-5: Assemble the main cabinet frame using cam bolts and cam locks.
- Steps 6-8: Attach the bottom panel and casters.
- Steps 9-14: Assemble the drawers, including the drawer sides, back, base, and hanging rods.
- Steps 15-16: Attach handles and locks to the drawer fronts.
- Steps 17-18: Finalize drawer components.
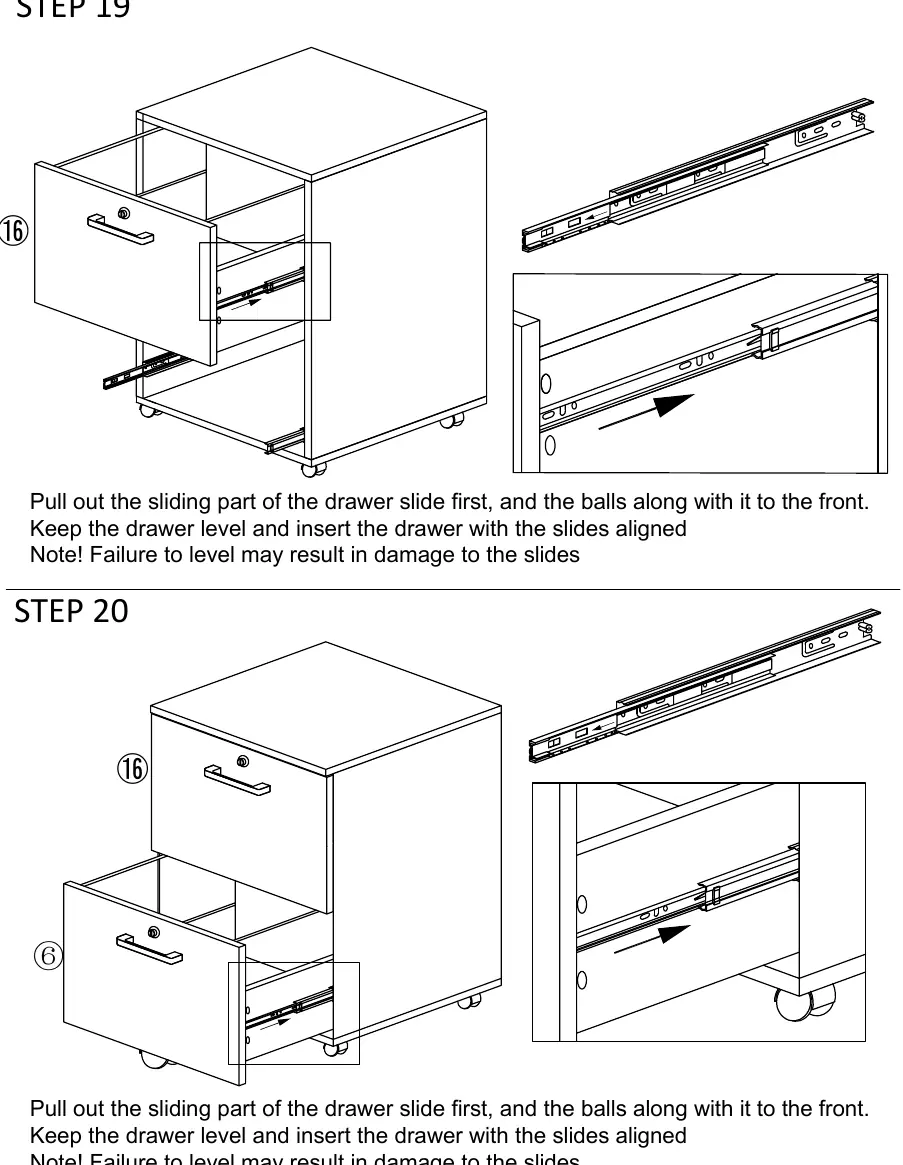
- Steps 19-20: Insert the assembled drawers into the cabinet frame. Ensure the drawer slides are aligned correctly to avoid damage.
Safety and Warnings
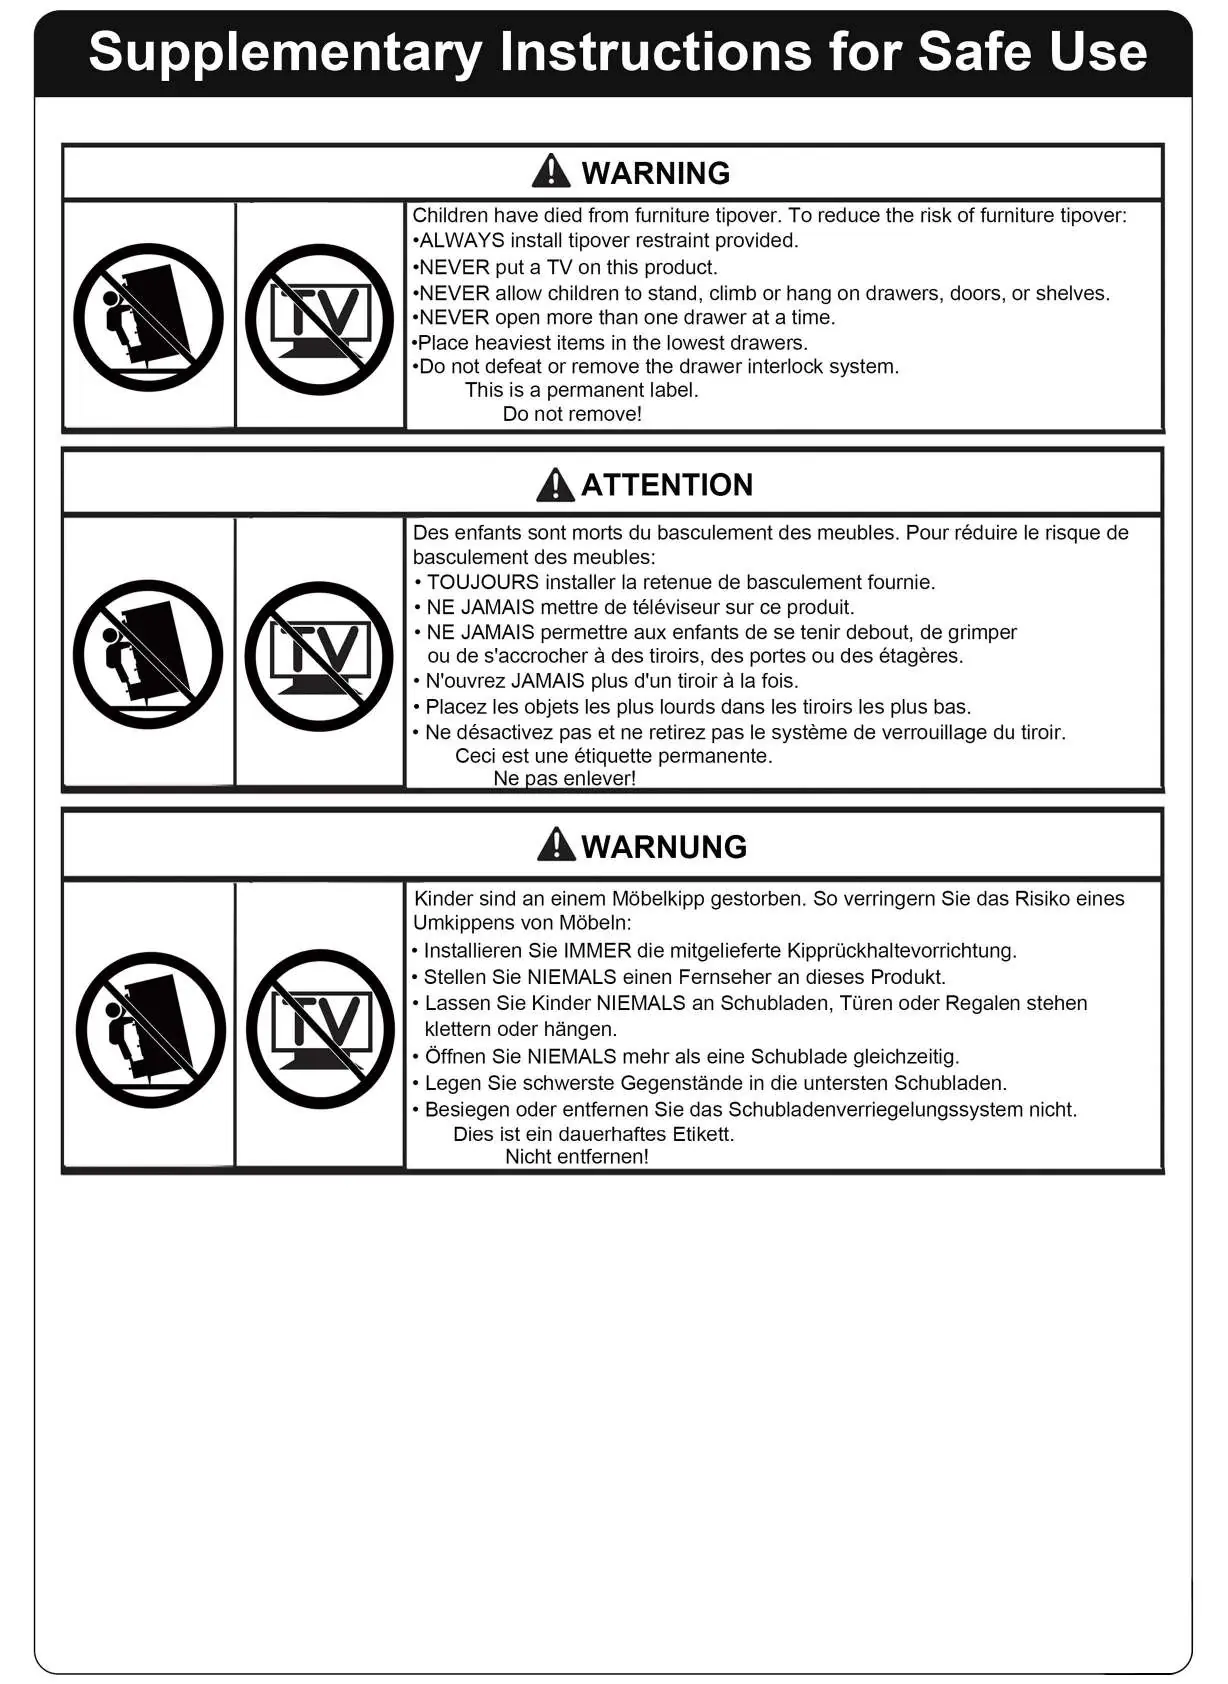
Important: Serious or fatal crushing injuries can occur from furniture tip-over. To prevent this, the unit must be permanently fixed to the wall. Do not allow children to climb on the unit. Never open more than one drawer at a time. Place the heaviest items in the lowest drawers.
Troubleshooting
If you encounter issues with drawers not closing flush, it is usually due to the assembly of the drawer slides. Check if the slide rail is damaged or if the holes for the slide rail were assembled incorrectly. If the slide rail is stuck, remove the drawer and re-insert it, ensuring the inner slides are attached correctly to the outer slides.
Practical help
Common problems
Drawer not closing flush
Check if the slide rail is damaged (e.g., balls fallen out) or if the rail was assembled incorrectly. Remove the drawer and re-insert it, ensuring proper alignment.
Difficulty screwing into panels
Ensure you are using the correct screws and that they are being inserted into the pre-drilled holes.
Before use
- Read each step carefully before starting.
- Verify all parts are included and labeled.
- Prepare a spacious work area, preferably on a carpet or cardboard.
- Have an electric screwdriver ready.
- Ensure at least one person is available for assembly.
Show more Show less
Specs in practice
- Assembly Time
- Estimated 2 hours with an electric screwdriver.
- Compatibility
- Drawer hanging rods support both A4 and letter-size documents.
Images and diagrams
- Steps 1-20 provide visual guidance on hardware placement and board orientation.
- The manual includes specific diagrams for 'A' hardware installation (cam bolts/locks) and 'G' hardware disassembly.
Model compatibility
- The unit is designed for indoor use.
- Requires permanent wall fixation to prevent tip-over.

Manual page author
Emily Carter
User documentation editor