Electronics / Speakers & Soundbars
User Guide for Void Acoustics Venu 210i V2
Comprehensive user guide for the Void Acoustics Venu 210i V2 active loudspeaker. Includes setup, wiring, DSP configuration, mounting instructions, and technical specifications.
Quick answers from the manual
Quick answer
- The Venu 210i V2 is a 1500 W self-powered, double 10" reflex-loaded low-frequency enclosure with built-in DSP. It features speakON outputs for mid-high enclosures and network-based control via Armonía Plus. p. 6
Key actions
- Selecting a Preset p. 12
- Mounting the Top Hat p. 19
First start
- Connect power, connect audio input (XLR/Jack), connect mid-high speakers via speakON, configure DSP via Armonía Plus. p. 9, 11, 14
Show 4 more answers Show less
Problems and fixes
Device not discovered by Armonía Plus
Adjust PC network card subnet to match the device IP range.
p. 16Maintenance and reset
- Toggle power management by pressing and holding the Preset Select button for at least 3 seconds. p. 13
Technical specifications
| Parameter | Value | Meaning | Pages |
|---|---|---|---|
| Power | 3000 W RMS | 1500 W + 2 x 750W | p. 6 |
| Frequency Response | 40 Hz – 150 Hz | p. 7 |
Where to find it in the PDF
- Safety and Regulations p. 4
- Cable and Wiring p. 9, 10
- DSP and Software p. 11, 12, 13, 14
- Mounting p. 19
Table of contents
Manual images
Click an image to enlargeQuick guide from the manual
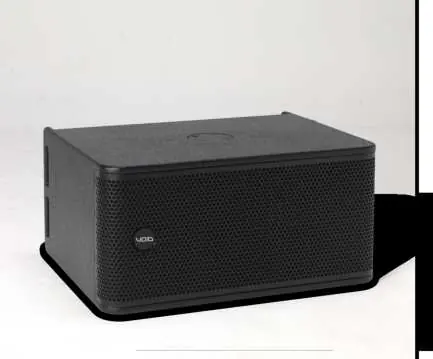
The Void Acoustics Venu 210i V2 is a 1500 W self-powered, double 10" reflex-loaded low-frequency enclosure. It features built-in DSP, network control via Armonía Plus, and speakON outputs to power up to four mid-high enclosures. Before use, ensure the unit is inspected for transit damage and that your power source is compatible (AC 100 V - 240 V).
Unpacking and Checking
Upon receiving your Venu 210i V2, inspect the shipment for any signs of contamination or transit damage. The unit is double-boxed; take care when removing staples to avoid injury or damage to the finish. If the shipment is incomplete or damaged, contact your dealer immediately.
Cable and Wiring
For permanent installations, use installation-grade Low Smoke Zero Halogen (LSZH) cables with Oxygen Free Copper (OFC) of grade C11000 or above. Ensure compliance with IEC standards for fire retardancy and smoke density.
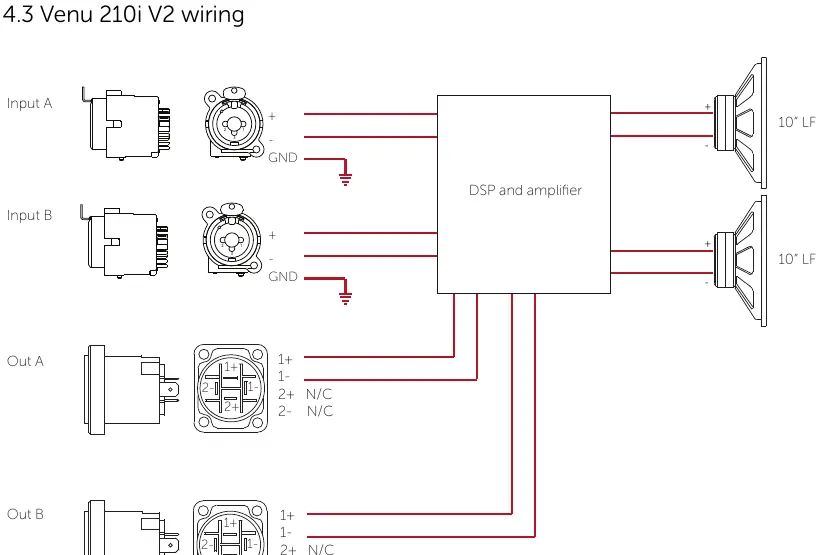
- Input Connectors: The unit features Combi Jack/XLR inputs.
- Output Connectors: Neutrik speakON sockets are provided for connecting mid-high enclosures.
- Electrical Safety: Do not access the inside of the equipment. Refer all servicing to qualified personnel.
Venu 210i V2 DSP
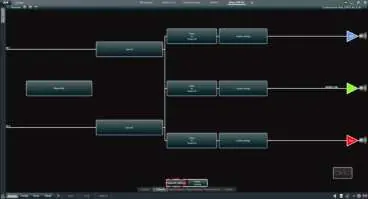
The integrated DSP allows for advanced signal processing and loudspeaker control.
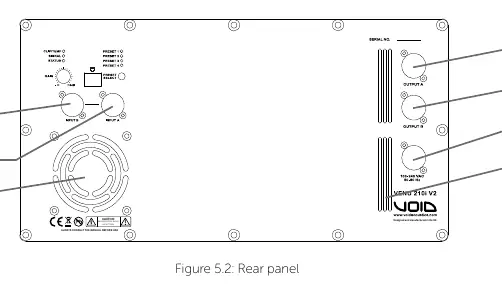
Selecting Presets
- Apply power to the amplifier.
- Wait 15 seconds for initialization.
- Press the preset button.
- The selected preset light will flash.
- Once the LED becomes steady, the amplifier is ready.
Software Configuration
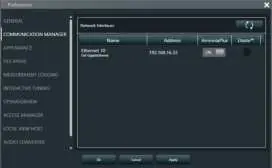
To access advanced DSP settings, download and install Armonía Plus from the Void Acoustics website. Connect the Venu 210i V2 to your PC or router via an ethernet cable. Use the 'Match' and 'Discovery' functions in Armonía Plus to detect the device and enable synchronization.
Network Troubleshooting
If the device is not discovered, ensure the PC network card is on the same subnet as the Venu 210i V2. You may need to temporarily set a static IP on your PC to match the device range.
Mounting
The Venu 210i V2 supports mounting via an optional Heavy Duty Top Hat (IT2041 for Black, IT2042 for White).
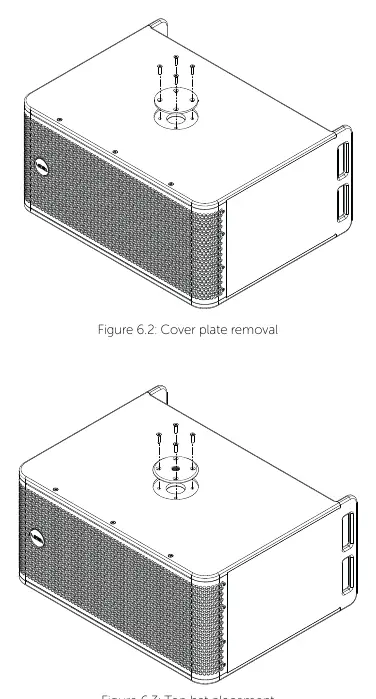
- Remove the four M6 bolts from the cover plate.
- Remove the cover plate.
- Insert the Heavy Duty Top Hat.
- Replace and tighten the four M6 bolts.
Service
No user-serviceable parts are inside. For repairs, obtain a Return Authorisation Number (R.A.N.) from your dealer. When shipping, use the original packaging and include a detailed description of the fault.
Practical help
Common problems
Device not discovered by Armonía Plus
Check that the PC network card subnet matches the device IP range. Adjust PC network settings to be compatible.
High amplifier temperature (Yellow Clip/temp LED)
Reduce system gain.
Output signal clipping (Red Clip/temp LED)
Reduce system gain.
Before use
- Inspect shipment for transit damage.
- Ensure power source is AC 100 V - 240 V.
- Use LSZH, Oxygen Free Copper (OFC) cables for permanent installations.
- Download and install Armonía Plus software.
- Ensure the unit is placed on a flat surface using a lint-free product to protect the finish.
Show more Show less
Specs in practice
- Frequency Response
- 40 Hz – 150 Hz (±3 dB).
- Input Impedance
- 10 kΩ balanced.
Images and diagrams
- Wiring diagram (Page 9) details input/output pinouts.
- Rear panel diagram (Page 11) identifies connectors, LEDs, and controls.
- Mounting diagram (Page 19) illustrates top hat installation steps.
Model compatibility
- Compatible with Armonía Plus software for DSP control.
- Requires M20 Heavy Duty Top Hat for mounting.

Manual page author
Michael Turner
Technical manual editor