Home Appliances / Commercial Kitchen Equipment
Operator's Manual for Vollrath Tomato Pro, Econo Pro, and Tomato King
Quick guide for the Vollrath Tomato Pro, Econo Pro, and Tomato King. Learn how to operate, clean, adjust blade tension, and replace blade assemblies safely.
Table of contents
Manual images
Click an image to enlargeQuick Guide from the Manual
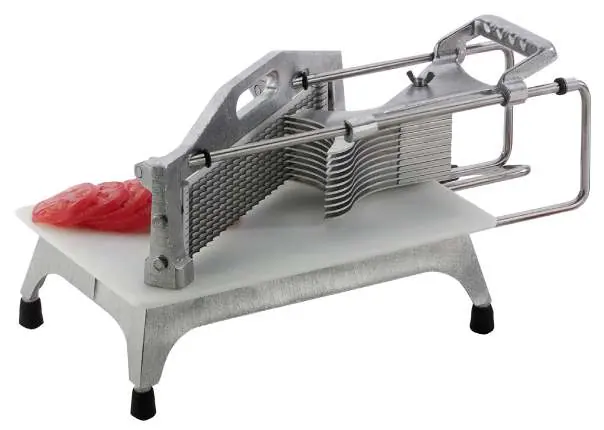
This manual covers the operation and maintenance of the Vollrath Tomato Pro, Econo Pro, and Tomato King slicers. These units are designed specifically for slicing tomatoes, mushrooms, and strawberries. Using the equipment for hard foods like onions or lemons will cause blade breakage. Always inspect the equipment for clean, sharp blades before each use and ensure the pusher head sits correctly on the rubber bumpers.
Safety Precautions
The blades are extremely sharp and pose a risk of cuts and amputation. Handle with caution and ensure only trained personnel operate or maintain the equipment. Always check for proper blade tightness before use by strumming the dull side of the blade to identify a uniform vibration.
Operation
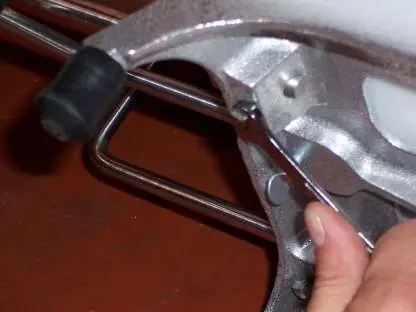
- Place the slicer on a stable table or counter. Position the Tomato Pro Positive Stop Pivot Arm over the edge to hold the equipment securely.
- Use the Tomato King Scooper to remove the stem scar from the tomato.
- For best results, ensure tomatoes are clean and wet. Spray the plastic platform and blades with water to reduce friction.
- Place the tomato top-down on the platform against the pusher head and blade.
- Push the pusher head quickly through the blades and catch the slices at the rear.
Cleaning and Maintenance
Clean the equipment immediately after every use to prevent corrosion from food acids.
- Retract the handle to the most open position.
- Rinse or spray the equipment thoroughly with HOT water. You may immerse it in warm soapy water first.
- Do not use scrub pads or wipe across the sharp edges of the blades.
- Do not use a dishwasher or alkaline chemicals.
- Allow the equipment to air dry.
- Lubricate sliding parts with mineral oil or Petro Gel after each use. Do not use cooking oil, as it will become sticky and damage the bearings.
Replacing Blade Assembly
We recommend changing the complete blade assembly rather than individual blades. Never mix old and new blades in the same assembly.
- Work on a flat, dry surface.
- For Tomato King: Close the pusher head so fingers are through the blades against the pin stop.
- For Tomato Pro and Econo Pro: Pull the pusher head assembly back away from the blades against the back stop.
- Remove the four blade block screws (two at each end). Retain the rubber seals mounted on the screws.
- Install the new assembly, ensuring the sharp side faces the pusher head.
Adjustments
If the pusher head fingers do not slide effortlessly through the blades, adjustments are required.
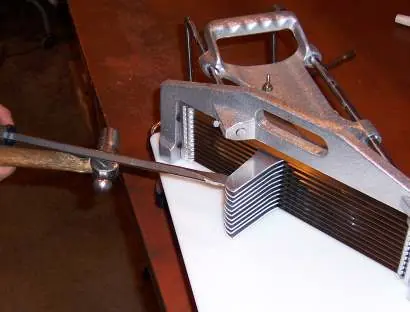
- Pusher Head Fingers: Insert a screwdriver between the slots in the Pusher Head Assembly. Gently tap the screwdriver up or down to align the fingers.
- Pusher Head Assembly: Loosen the set screws on the guide rods to adjust the location of the pusher head, then retighten.
- Blade Tightening: Tighten screws in an alternating sequence (Top Right, Bottom Left, Bottom Right, Top Left) by 1/2 turn at a time until tight.
Troubleshooting
If the equipment does not slice cleanly, check for dull blades, incorrect blade tension, misaligned fingers, or the use of improper food items. If blades are broken, bent, or nicked, they must be replaced.
Service and Repair
For technical service, contact Vollrath at 1-800-628-0832 or email [email protected]. Have your item number, model number, and serial number ready.
Practical help
Common problems
Broken blades
Ensure only recommended foods are used, check blade tension, align fingers, do not mix old and new blades, and replace dull blades.
Pusher head fingers hitting blades
Adjust the pusher head fingers using a screwdriver to align them between the blades, or adjust the pusher head assembly position on the guide rods.
Blades dulling quickly
Clean equipment immediately after every use to remove food acids; do not use scrub pads on blades.
Before use
- Check equipment cleanliness.
- Check for broken, nicked, or dull blades.
- Ensure pusher head sits completely on rubber bumpers.
- Check blade tightness by strumming the dull side of the blade.
- Ensure the unit is positioned securely on the table edge.
Specs in practice
- Blade Assembly
- The cutting component; must be replaced as a complete set to prevent breakage.
Images and diagrams
- Exploded View: Shows the assembly of parts for Tomato Pro/Econo Pro and Tomato King.
- Pusher Head Adjustment: Shows how to use a screwdriver to align fingers between blades.
Model compatibility
- Intended for slicing tomatoes, mushrooms, and strawberries.
- Do not use for hard foods like onions or lemons as this will break the blades.

Manual page author
Emily Carter
User documentation editor
Prepares concise manual descriptions and highlights the most useful setup, operation, and maintenance information for readers.