Automotive / Car Audio
Installation Guide for ACV 2-DIN Radio Fascia Plate
Step-by-step installation guide for ACV 2-DIN radio fascia plates, compatible with Nissan NV400, Opel Movano B, and Renault Master III. Includes assembly instructions, dashboard removal steps, and mounting details.
Quick answers from the manual
Quick answer
- This guide provides instructions for installing ACV 2-DIN radio fascia plates in specific Nissan, Opel, and Renault vehicles. p. 1
Key actions
- Remove existing radio trim p. 2, 3
- Unscrew original radio unit p. 3, 4
- Assemble new fascia with brackets p. 1, 10
Technical specifications
| Parameter | Value | Meaning | Pages |
|---|---|---|---|
| Compatibility | Nissan NV400 (X62), Opel Movano B (X62), Renault Master III (M) | Supported vehicle models | p. 1 |
Where to find it in the PDF
- Parts List and Compatibility p. 1
- Installation Steps p. 2, 3, 4, 5
- Assembly Diagrams p. 10
Table of contents
Manual images
Click an image to enlargeImportant Information
This guide provides instructions for the installation of ACV 2-DIN radio fascia plates. Before beginning, ensure you have the correct tools, specifically a TX20 screwdriver and a Phillips screwdriver. The installation involves removing the existing dashboard trim, disconnecting the original radio, and assembling the new fascia plate with the provided mounting brackets.
Compatibility
This product is designed for the following vehicles:
- Nissan NV400 (X62) from 07/2020
- Opel Movano B (X62) from 10/2019
- Renault Master III (M) from 10/2019
Installation Steps
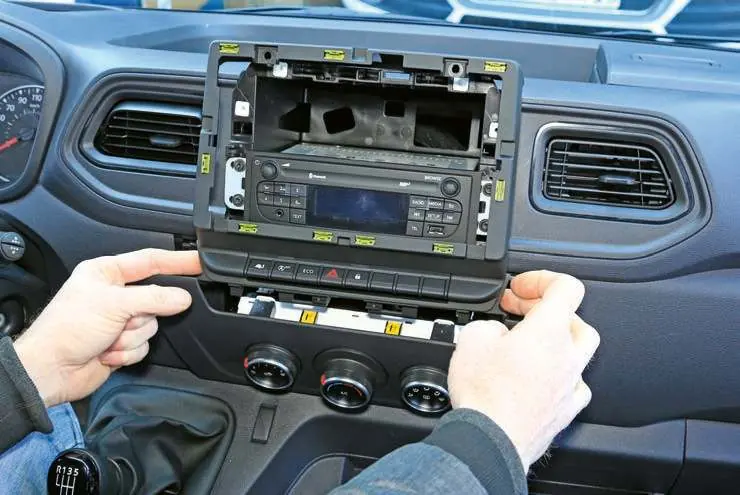
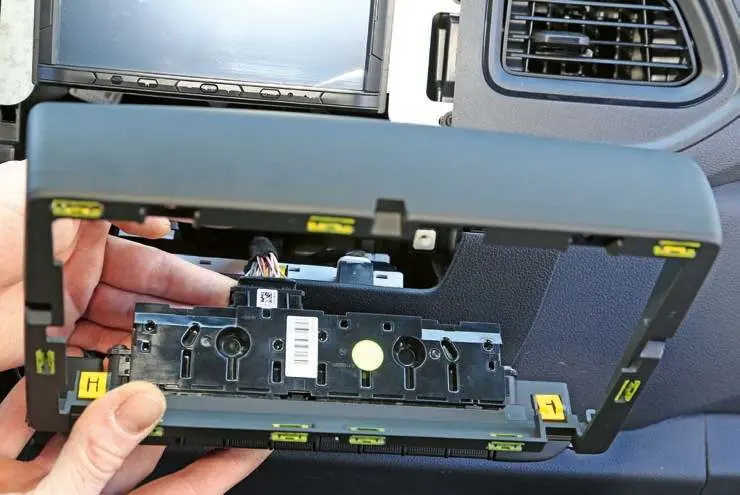
1. Dashboard Removal
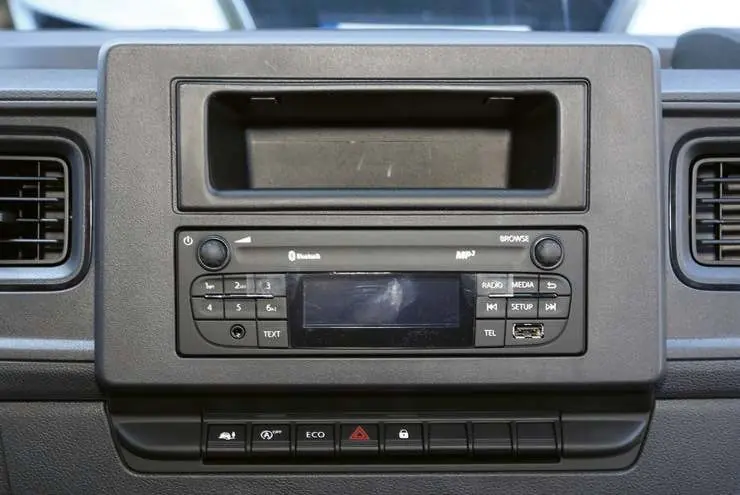
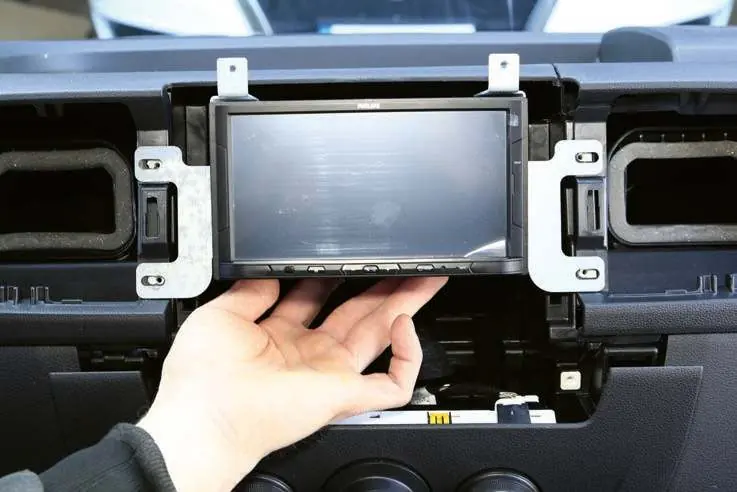
Carefully remove the existing dashboard trim panel to expose the radio unit. Use appropriate trim removal tools to avoid damaging the dashboard surface.
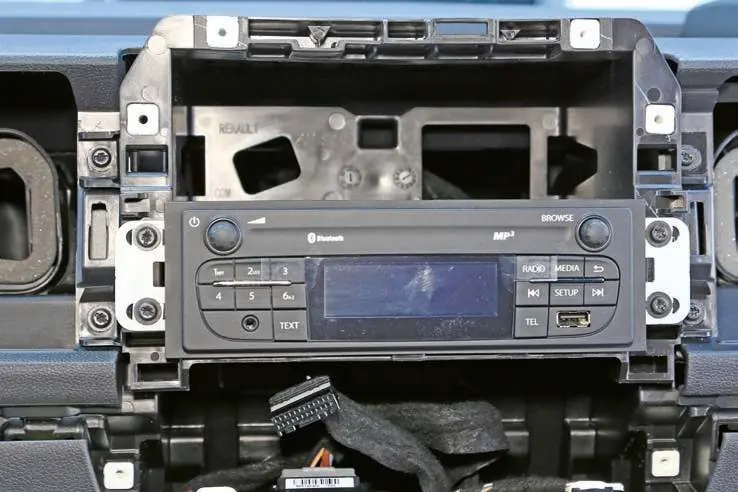
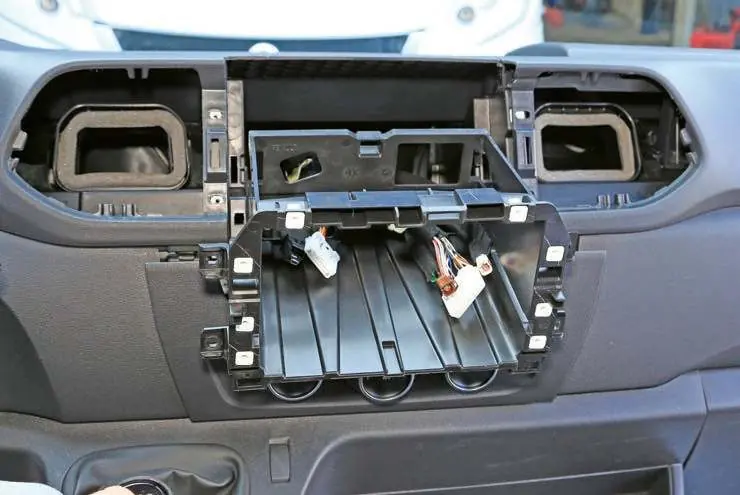
2. Radio Removal
Locate and remove the four TX20 screws securing the original radio unit. Carefully pull the radio out and disconnect all wiring harnesses and antenna cables.
3. Assembly
Assemble the new ACV fascia plate by attaching the left and right mounting brackets (B and C) to the fascia (A). If your kit includes a pocket (D), attach it according to the specific model diagram provided in the kit. Use the supplied M5x8 screws to secure the brackets.
4. Mounting
Connect the wiring harnesses to your new head unit. Slide the assembled fascia and head unit into the dashboard opening. Secure the unit using the original mounting points and screws. Finally, snap the trim panel back into place.
Practical help
Common problems
Radio unit does not fit securely
Ensure the mounting brackets (L/R) are correctly oriented and all M5x8 screws are tightened.
Trim panel does not snap into place
Check for any pinched wires behind the unit and ensure the fascia is aligned correctly with the dashboard clips.
Before use
- Verify vehicle compatibility (Nissan NV400, Opel Movano B, Renault Master III)
- Ensure you have a TX20 screwdriver
- Ensure you have a Phillips screwdriver
- Check that all parts (Facia, Brackets, Screws) are present as listed in the manual
Images and diagrams
- The diagrams illustrate the removal of the original dashboard trim and the installation of the new ACV fascia plate.
- Brackets (L/R) must be attached to the head unit before final installation.
Model compatibility
- Compatible with Nissan NV400 (X62) 07/2020>
- Compatible with Opel Movano B (X62) 10/2019>
- Compatible with Renault Master III (M) 10/2019>

Manual page author
Michael Turner
Technical manual editor
Reviews PDF manuals for structure, safety notes, and practical product details so readers can find the right information quickly.