Automotive / Car Audio
Installation Guide for ACV Radio Faceplate Fiat Ducato
Step-by-step installation guide for ACV radio faceplate kits (381094-39-1-1 and 281094-39-1-1) for Fiat Ducato (ZAF 250). Includes instructions for removing the OEM storage compartment and installing the new 2-DIN head unit assembly.
Quick answers from the manual
Quick answer
- This manual provides instructions for installing ACV radio faceplates (381094-39-1-1 and 281094-39-1-1) into a Fiat Ducato (ZAF 250) vehicle. p. 1
Key actions
- Remove OEM storage compartment p. 3
- Install new radio faceplate p. 4
Where to find it in the PDF
- Parts and Assembly p. 1
- Installation Steps p. 3, 4
Table of contents
Manual images
Click an image to enlargeQuick guide from the manual
This document provides instructions for installing ACV radio faceplates into a Fiat Ducato (ZAF 250) vehicle produced from 11/2021. The process involves removing the existing OEM storage compartment and replacing it with the new faceplate assembly. Important: You must retain the four original TX25 screws from the OEM compartment, as they are required to secure the new unit.

Installation steps


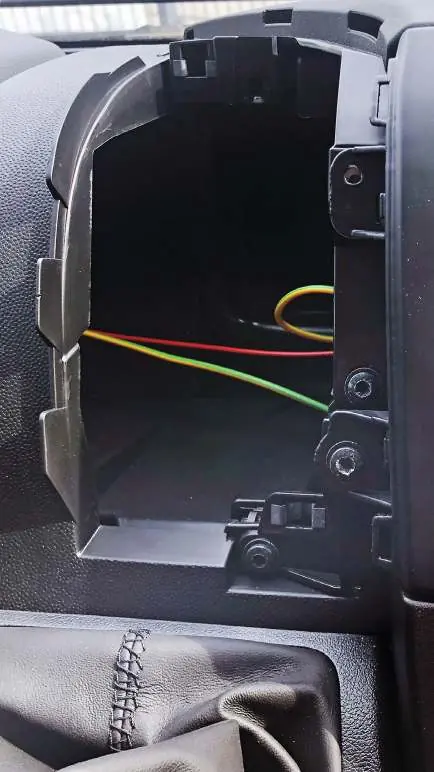
1. Removing the OEM storage compartment
Before starting, ensure the vehicle is turned off. Locate the four TX25 screws securing the OEM storage compartment in the dashboard. Unscrew and remove these four screws. Keep them safe, as they will be needed to install the new faceplate. Carefully remove the OEM storage compartment from the dashboard.

2. Assembling the radio faceplate
Prepare the new radio faceplate assembly. Depending on your specific kit (381094-39-1-1 or 281094-39-1-1), attach the mounting frames to the facia plate using the screws provided in the kit. Ensure the head unit is securely mounted to the faceplate before proceeding to the vehicle installation.
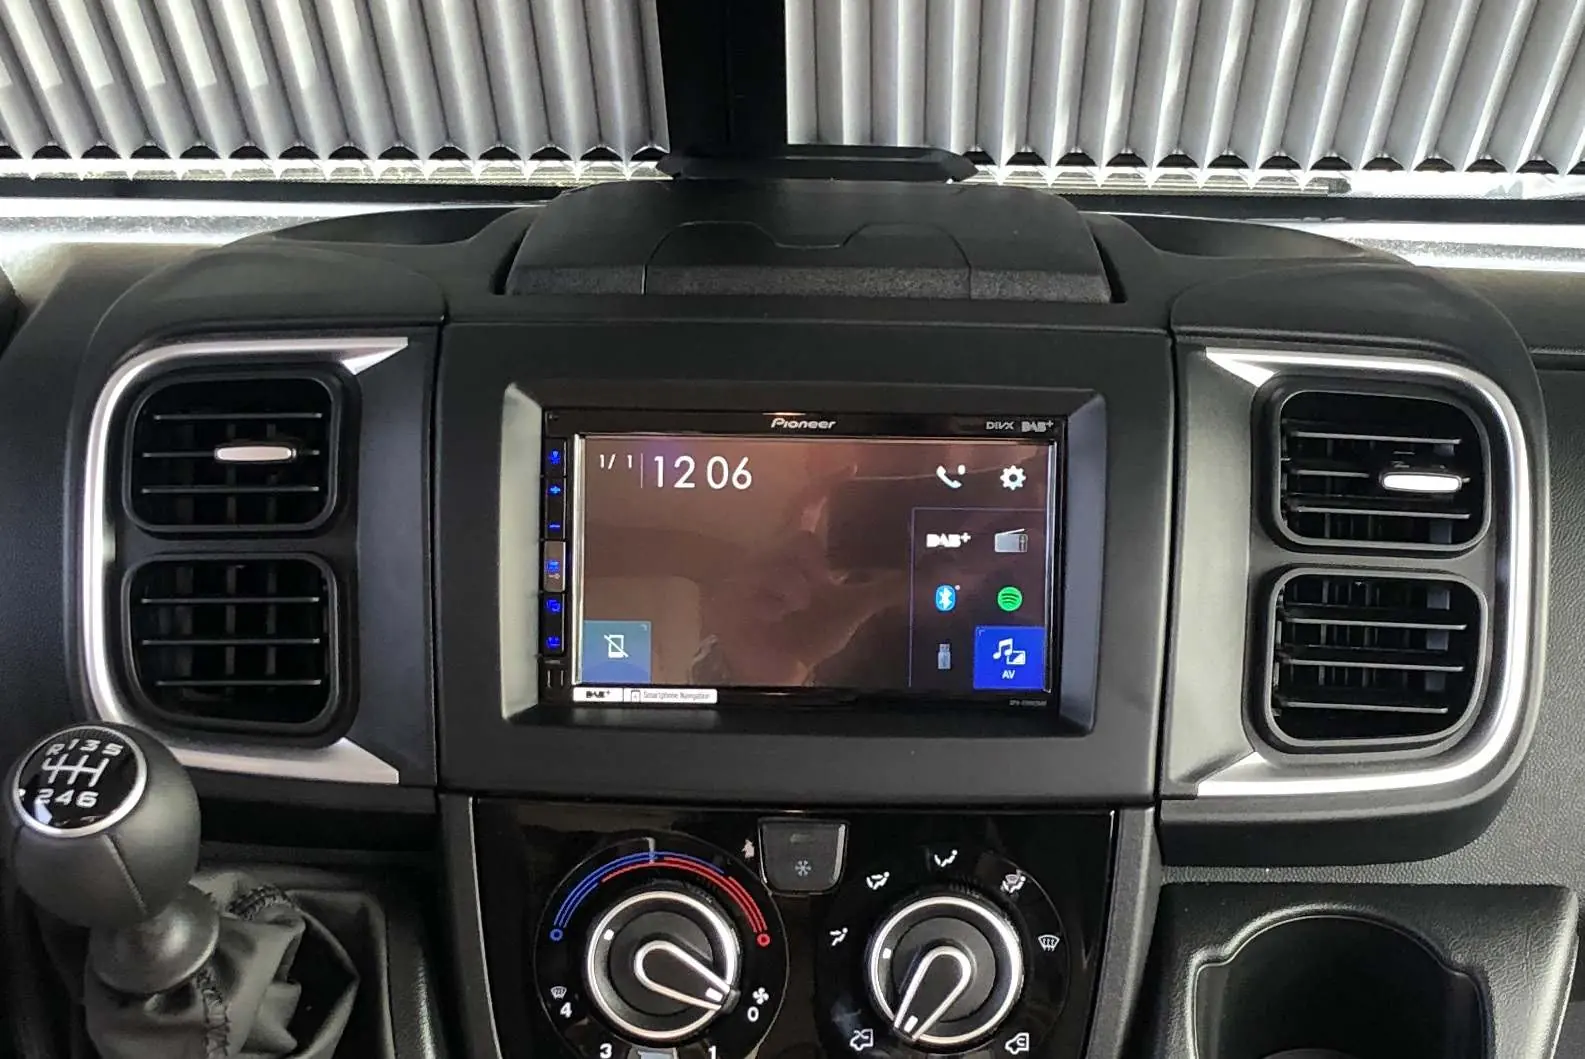
3. Installing the new unit
Insert the pre-assembled radio faceplate and head unit into the dashboard opening. Align the unit with the mounting points. Secure the assembly using the four original TX25 screws that were removed in the first step. Complete the assembly by ensuring all panels are flush and secure.
Practical help
Common problems
Difficulty removing the OEM compartment
Ensure all 4 TX25 screws are fully unscrewed before attempting to pull the compartment out.
Before use
- Verify vehicle compatibility (Fiat Ducato ZAF 250, 11/2021+)
- Ensure you have a TX25 screwdriver
- Check that all parts from the kit are present
- Ensure the head unit is pre-mounted to the faceplate before installation
Images and diagrams
- The diagrams illustrate the removal of the OEM storage compartment using 4x TX25 screws.
- The exploded views show the correct assembly of the mounting frames to the facia plate using the provided screws.
Model compatibility
- Compatible with Fiat Ducato (ZAF 250) from 11/2021 with open dash.

Manual page author
Emily Carter
User documentation editor
Prepares concise manual descriptions and highlights the most useful setup, operation, and maintenance information for readers.