Lighting / Fixtures
User Manual for Artika Sparkle LED Flush Mount Light 15FM-SPR-HD2
Quick guide for the Artika Sparkle LED Flush Mount Light (15FM-SPR-HD2). Includes installation steps, wiring instructions, remote control setup, and safety warnings.
Table of contents
Manual images
Click an image to enlargeQuick guide from the manual
The Artika Sparkle LED Flush Mount Light is designed for indoor residential use. Important: This unit is not compatible with wall dimmers. All dimming and color temperature adjustments must be performed using the included remote control. Ensure the main electrical supply is turned off at the circuit breaker before beginning installation.
Included hardware
- External tooth lock washers (x2)
- Junction box screws (x2)
- Wire connectors (x3)
- Light fixture (x1)
- Light diffuser (x1)
- Remote control (x1)
You will need a screwdriver for installation.
Installation
Step 1: MountingSecure the mounting screws into the junction box using the provided external tooth lock washers.
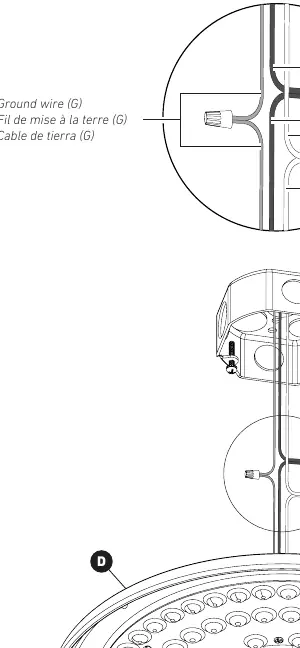
Step 2: WiringConnect the wires using the provided wire connectors. Match the wires as follows: Black (L) to Black (L), White (N) to White (N), and Ground (G) to Ground (G).
Step 3: Fixture InstallationAttach the light fixture to the mounting screws and secure it in place.
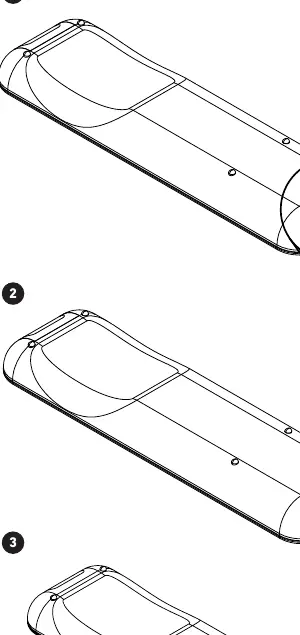
Step 4: Final AssemblyAttach the light diffuser to the fixture.
Remote control operation
To activate the remote control, pull the plastic tab from the battery compartment. The remote uses a CR2032 battery. To replace the battery, slide the compartment open, remove the old battery, and insert a new one.
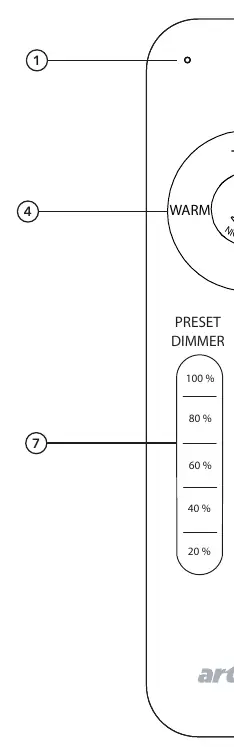
The remote allows you to:
- Turn the light on and off
- Adjust light intensity (dimming)
- Adjust light color temperature (Warm to Cool)
- Use preset buttons for quick adjustments
Safety and warnings
This product must be installed by a certified electrician in accordance with local building and electrical codes. Do not use this product outdoors. Failure to follow installation instructions voids the warranty.
Manufacturer information
Artika
Practical help
Common problems
Light does not turn on
Ensure the wall switch is turned on and the circuit breaker is not tripped. Verify the remote control battery is installed correctly.
Light flickers or dimming does not work
Ensure no wall dimmer is installed. This unit is only compatible with the included remote control for dimming functions.
Before use
- Turn off power at the circuit breaker
- Verify you have a screwdriver
- Ensure the junction box is compatible
- Remove the battery pull tab from the remote control
Specs in practice
- Indoor use only
- Do not install in outdoor locations or damp environments.
Images and diagrams
- The wiring diagram illustrates connecting the black supply wire to the black fixture wire, white to white, and ground to ground using the provided wire connectors.
Model compatibility
- Not compatible with wall dimmers.
- Use only the provided remote control for dimming and color temperature adjustment.

Manual page author
Emily Carter
User documentation editor
Prepares concise manual descriptions and highlights the most useful setup, operation, and maintenance information for readers.