Tools / Drills
Owner's Manual for Bauer 64121 2-Speed Right Angle Drill Kit
Get the most out of your Bauer 64121 2-Speed Right Angle Drill Kit with this comprehensive owner's manual. Includes setup instructions, safety guidelines, operating procedures, maintenance tips, and troubleshooting advice.
Quick answers from the manual
Quick answer
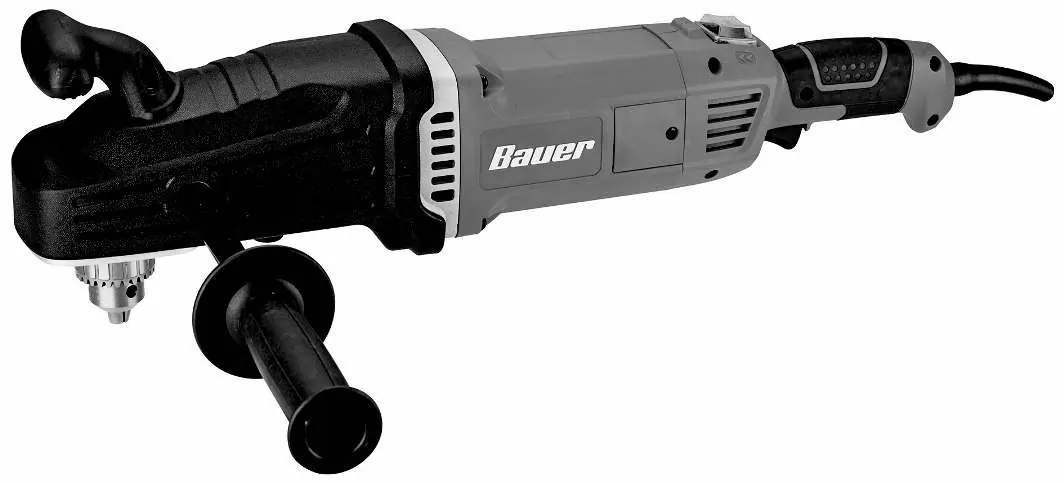
- The Bauer 64121 is a 13A, 2-speed right angle drill. It features an adjustable side handle, a mechanical clutch for safety, and variable speed settings (450 RPM or 1750 RPM). p. 1, 8, 9
Key actions
- Install side handle p. 8
- Adjust speed p. 10
- Change direction p. 10
First start
- Ensure the trigger is off, plug into a grounded outlet, and verify the speed setting before beginning work. p. 10, 11
Problems and fixes
Tool will not start
Check power source, reset thermal breaker, or check for internal damage.
p. 13
Tool operates slowly
Do not force the tool; check extension cord size.
p. 13Maintenance and reset
- If the thermal reset breaker trips, turn off the tool, allow it to cool, and press the reset button on the tool. p. 13
Technical specifications
| Parameter | Value | Meaning | Pages |
|---|---|---|---|
| Electrical Rating | 120VAC / 13A | Power requirements | p. 8 |
| Chuck Capacity | 5/64" - 1/2" | Bit size range | p. 8 |
Where to find it in the PDF
- Safety Information p. 2, 3, 4, 5
- Specifications p. 8
- Operation p. 10, 11
- Parts List and Diagram p. 14, 15
Table of contents
Manual images
Click an image to enlargeQuick Guide from the Manual
The Bauer 64121 is a 13A, 2-speed right angle drill designed for heavy-duty drilling. Before using the tool, ensure the trigger is in the off-position and the tool is unplugged. Always wear ANSI-approved safety glasses and use the auxiliary handle for control. If the drill bit binds, release the trigger immediately to prevent injury.
Safety Information
General Power Tool Safety: Keep your work area clean and well-lit. Do not operate in explosive atmospheres. Keep children and bystanders away.
Electrical Safety: Ensure the power tool plug matches the outlet. Do not modify the plug. Use a grounded outlet or a double-insulated tool. If operating outdoors, use an extension cord marked for outdoor use.
Vibration Safety: Prolonged exposure to vibration can cause injury. Wear suitable gloves, use tools with the lowest vibration when possible, and include vibration-free periods in your work day.
Specifications
- Electrical Rating: 120VAC / 13A
- Chuck Capacity: 5/64 inch - 1/2 inch
- Spindle Size: 5/8-16 UNF
- Low Speed: 450 RPM
- High Speed: 1750 RPM
Setup and Assembly
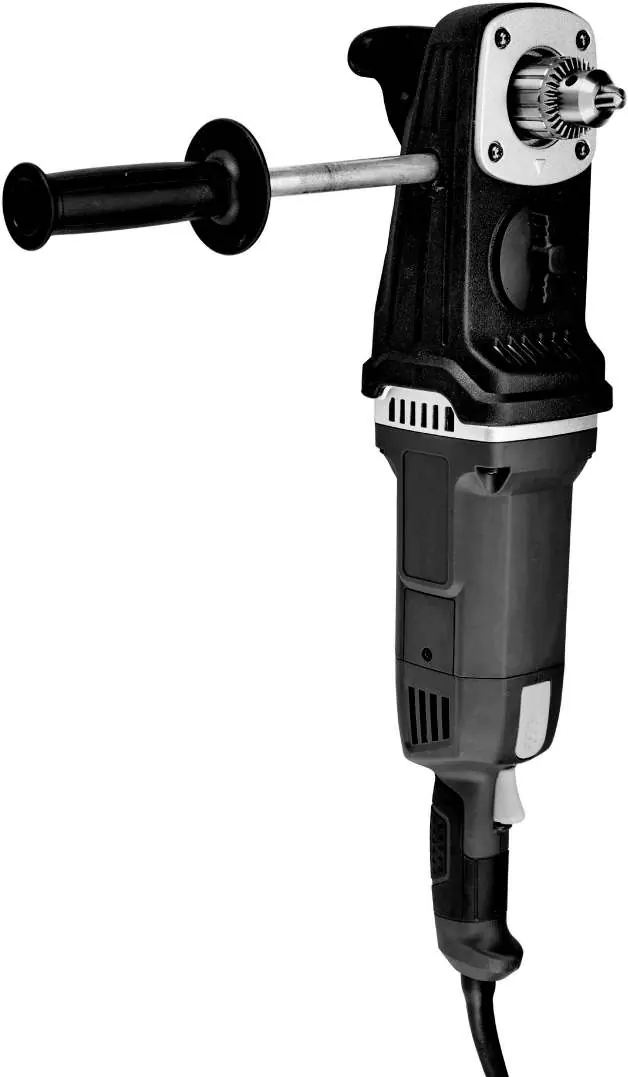
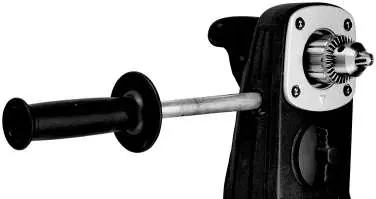
Side Handle Assembly: Thread the side handle securely into either side of the drill depending on your preference and the work environment.

Bottom Handle Adjustment: You can adjust the bottom handle position by pressing the Handle Rotation Button and rotating the handle simultaneously.
Operation
Drill Bit Installation:
- Wear heavy-duty work gloves.
- Insert the chuck key into the chuck and turn counterclockwise to open the jaws.
- Place the bit into the chuck.
- Turn the key clockwise until the bit is held securely and centered.
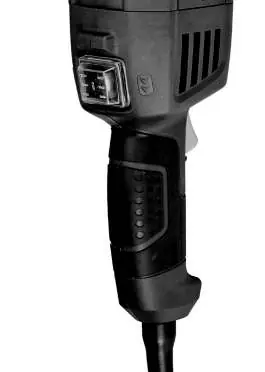
Setting Speed and Direction:
- Speed: Rotate the Speed Switch to L (Low) or H (High). Ensure it is fully engaged in the position; do not set between speeds or while the drill is running.
- Direction: Press the Direction Switch to the left or right to select Forward or Reverse.
Maintenance
Before Each Use: Inspect the tool for loose hardware, misalignment, binding of moving parts, damaged cords, or cracked parts.
After Use: Wipe external surfaces with a clean cloth.
Servicing: All repairs should be performed by a qualified technician using identical replacement parts.
Practical help
Common problems
Tool will not start
Check that the power cord is plugged in, the outlet has power, the thermal reset breaker is not tripped, and there is no internal damage.
Tool operates slowly
Avoid forcing the tool to work too fast. If using an extension cord, ensure it has the proper diameter for its length and load.
Overheating
Allow the tool to work at its own rate, keep bits sharp, and ensure motor housing vents are not blocked.
Before use
- Inspect the tool for loose hardware or damaged parts.
- Ensure the trigger is in the off-position before plugging in.
- Wear ANSI-approved safety glasses with side shields.
- Secure the workpiece using a vise or clamps.
- Verify the speed switch is fully engaged in the L or H position.
Specs in practice
- Electrical Rating
- 120VAC / 13A power requirement.
- Chuck Capacity
- Accepts drill bits from 5/64 inch to 1/2 inch.
Images and diagrams
- The Assembly Diagram illustrates the internal components and part numbers for maintenance reference.
- The Functions diagram identifies the location of the side handle, chuck, speed switch, direction switch, and handle rotation button.
Model compatibility
- Use only identical replacement parts for repairs.
- Do not use this tool for mixing materials.
- Use only ANSI-approved eye protection and NIOSH-approved breathing protection.

Manual page author
Emily Carter
User documentation editor
Prepares concise manual descriptions and highlights the most useful setup, operation, and maintenance information for readers.