Furniture / Storage Cabinets
Assembly Instructions for Belleze 014-HG-40011 Embossed Buffet Cabinet
Complete assembly guide for the Belleze 014-HG-40011 Embossed Buffet Cabinet. Includes step-by-step installation procedures, hardware lists, door adjustment instructions, and maintenance guidelines.
Table of contents
Manual images
Jump to the sectionQuick guide from the manual
The assembly of the Belleze 014-HG-40011 Embossed Buffet Cabinet is estimated to take approximately 90 minutes and requires two people. Before beginning, ensure you have a clear, flat workspace, preferably on a carpet or rug to prevent damage to the panels. The unit has specific weight limitations: the top panel can support a maximum of 80 lb, and each internal storage shelf can support a maximum of 20 lb.
Safety and preparation
For your safety and to prevent damage, please observe the following:
- Keep pets and children away from the assembly area due to small components that pose a choking hazard.
- Assemble the unit on a soft surface like a carpet or the empty shipping carton.
- Ensure all parts are present and undamaged before starting. Do not discard packaging until assembly is complete.
- Hand-tighten hardware; avoid over-tightening to prevent damage to the MDF material.
- The furniture must be permanently fixed to a wall stud using the included anti-tipping device to prevent tipping.
Package contents
The package includes various panels (Top, Bottom, Lateral, Medial, Back, Shelves, Doors, and Base panels) and a comprehensive hardware kit (cam bolts, wood dowels, screws, hinges, and handles). Refer to the parts list in the manual to verify all items are included before starting.
Assembly instructions
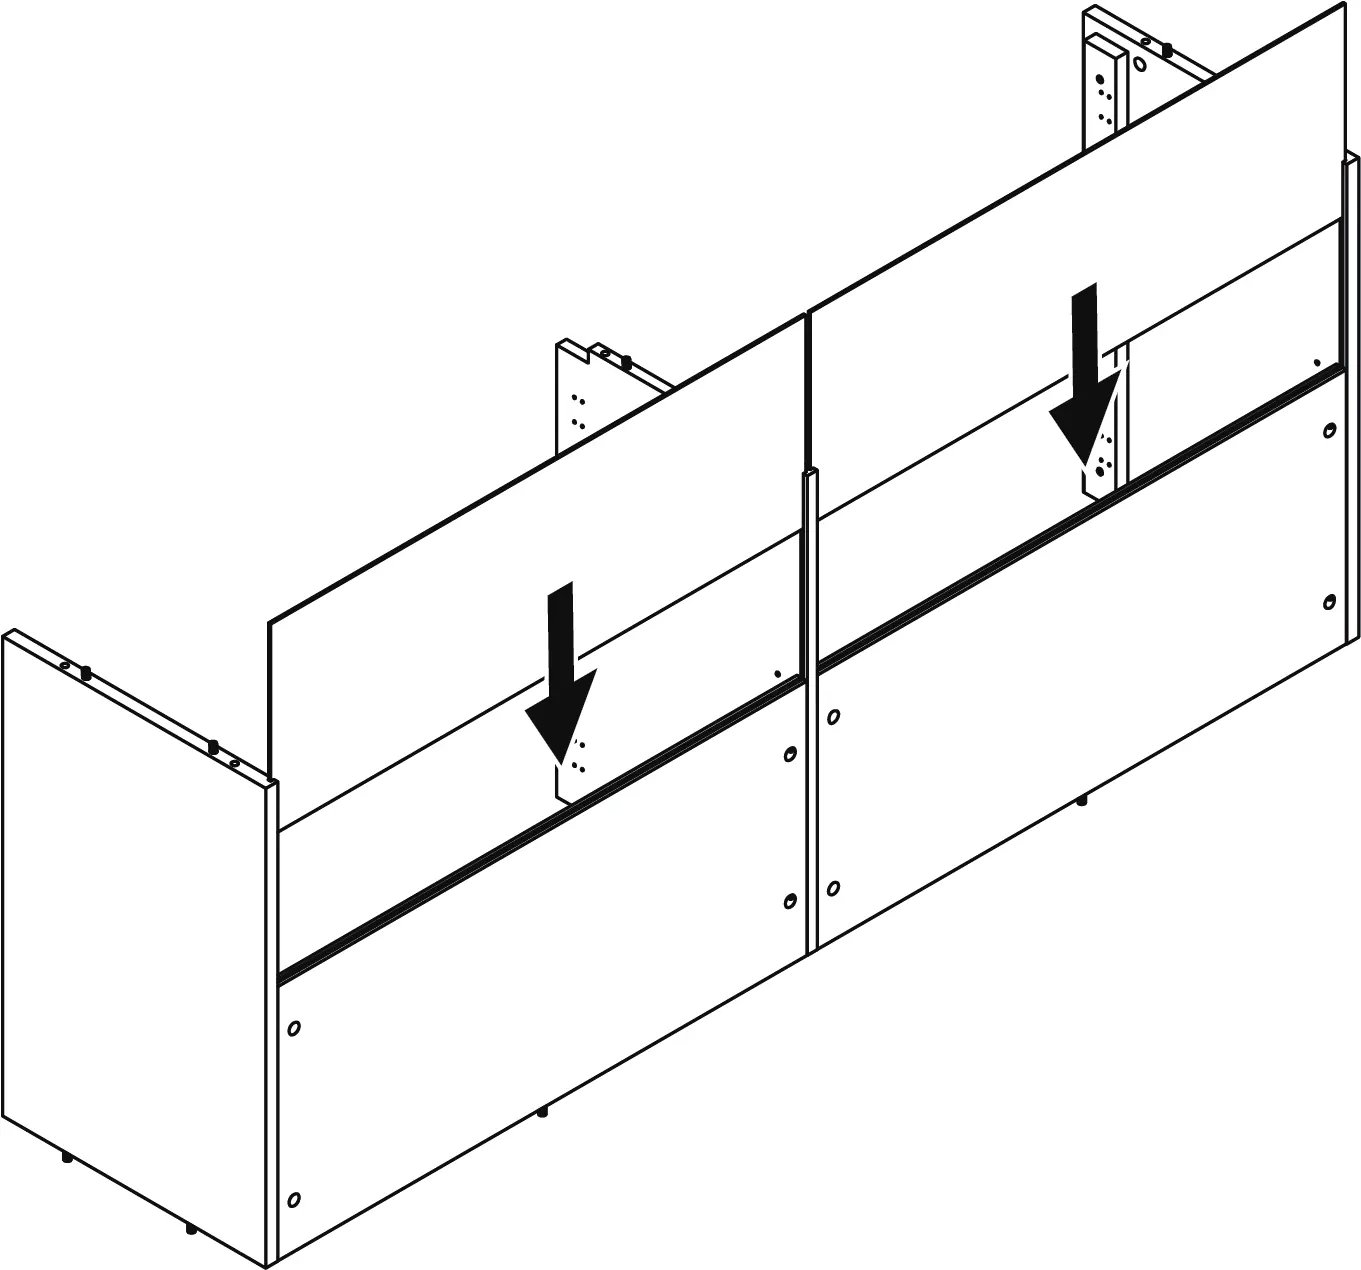
The assembly process involves 33 steps. Key phases include:
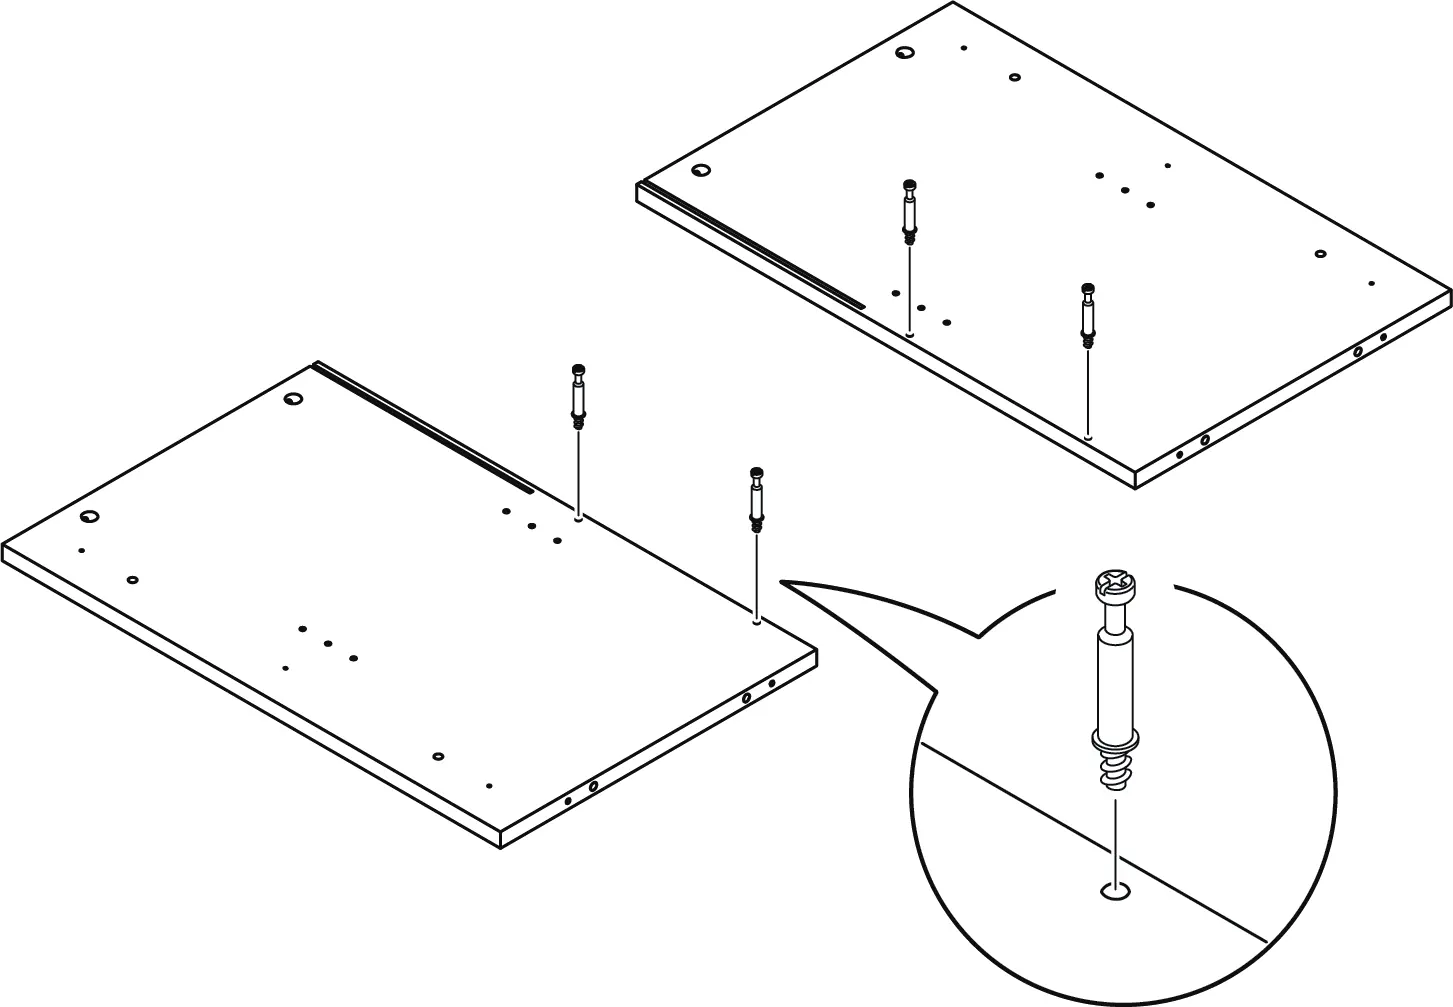
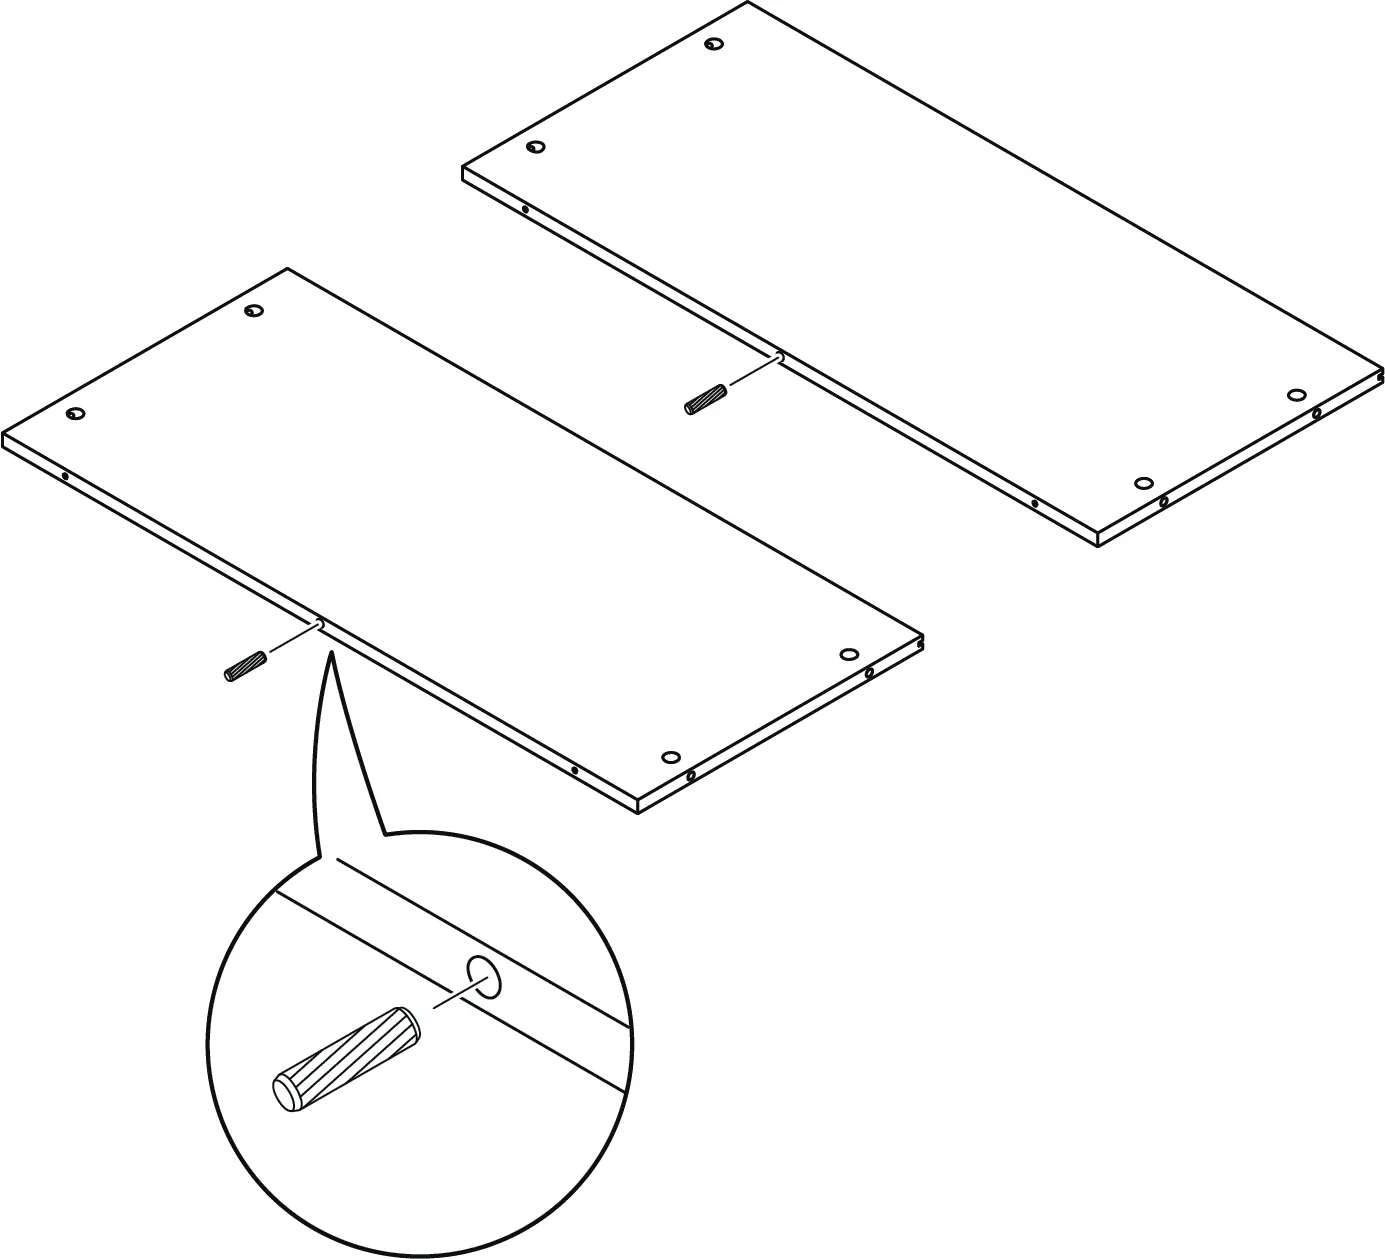
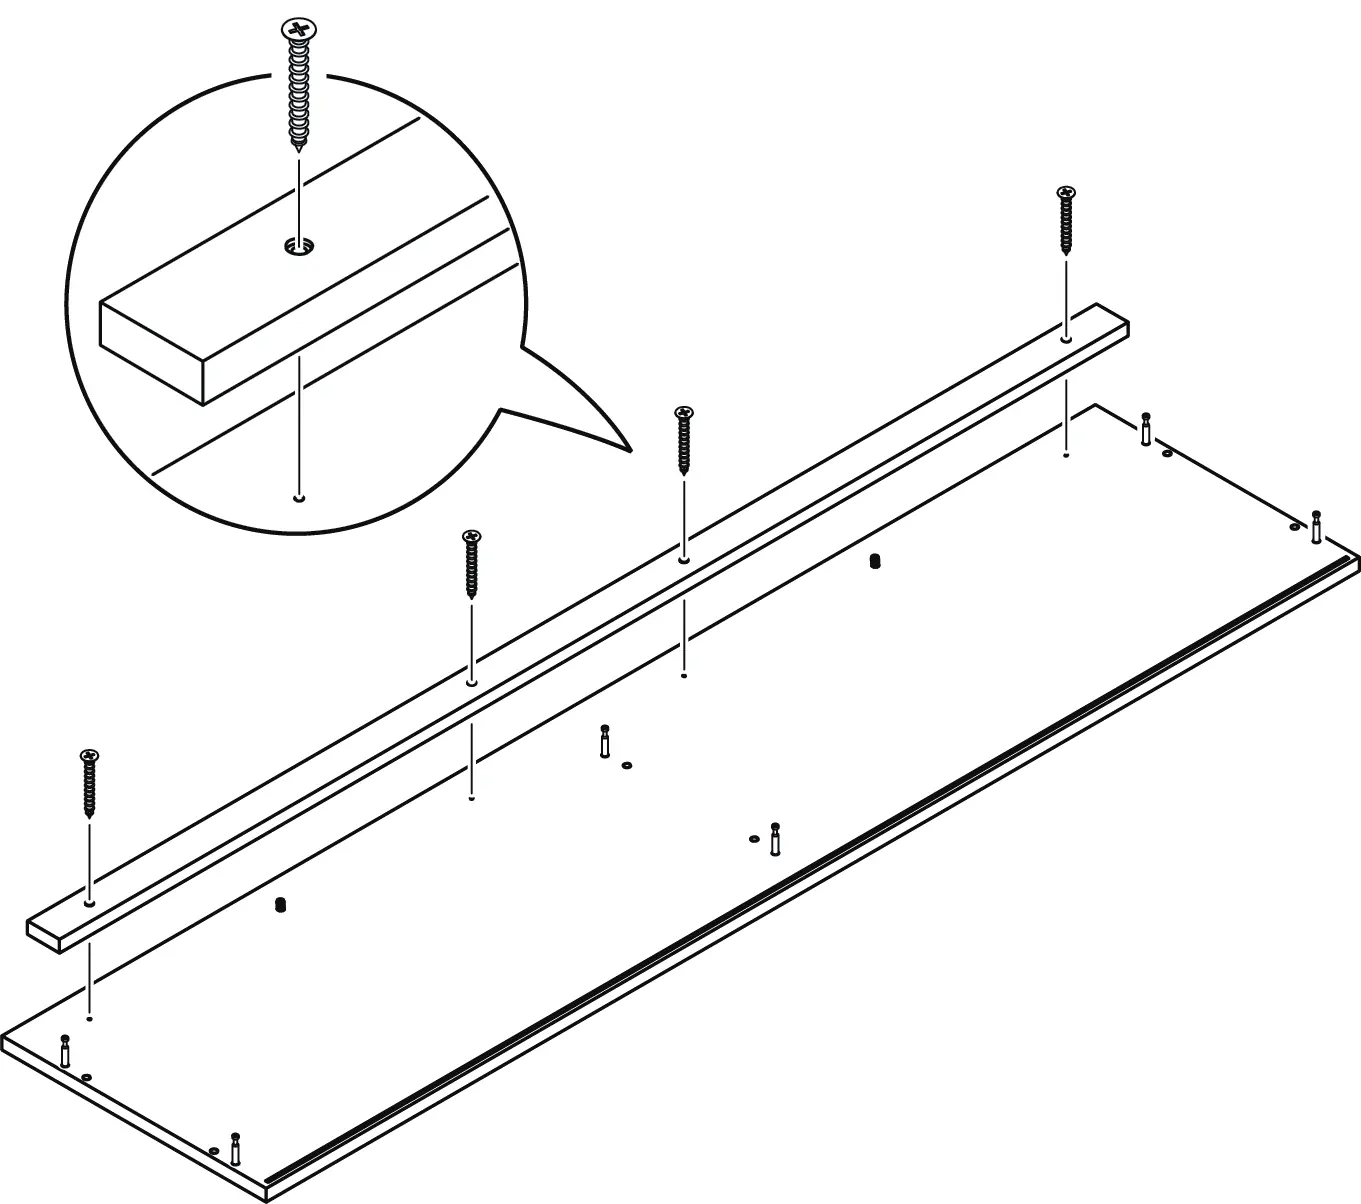
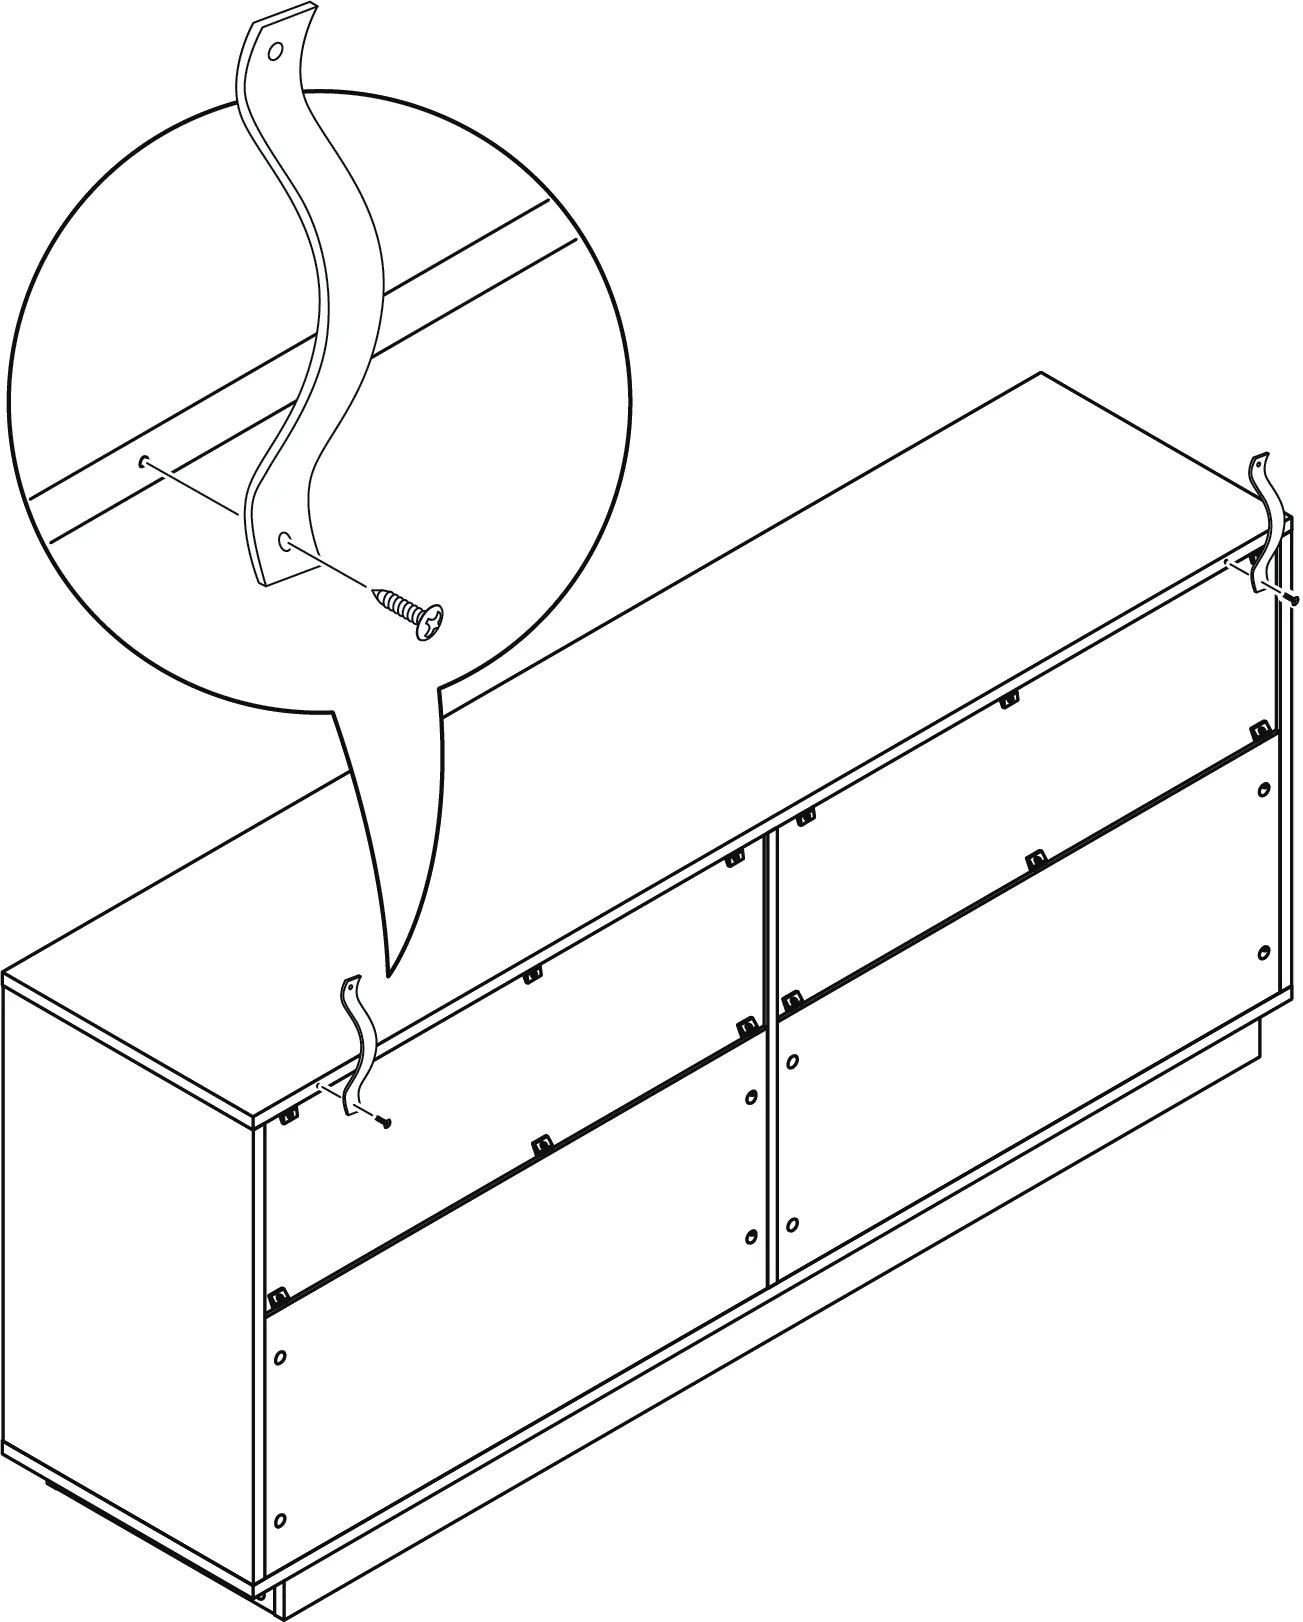
- Preparation: Attaching cam bolts and wood dowels to the lateral, medial, and top panels.
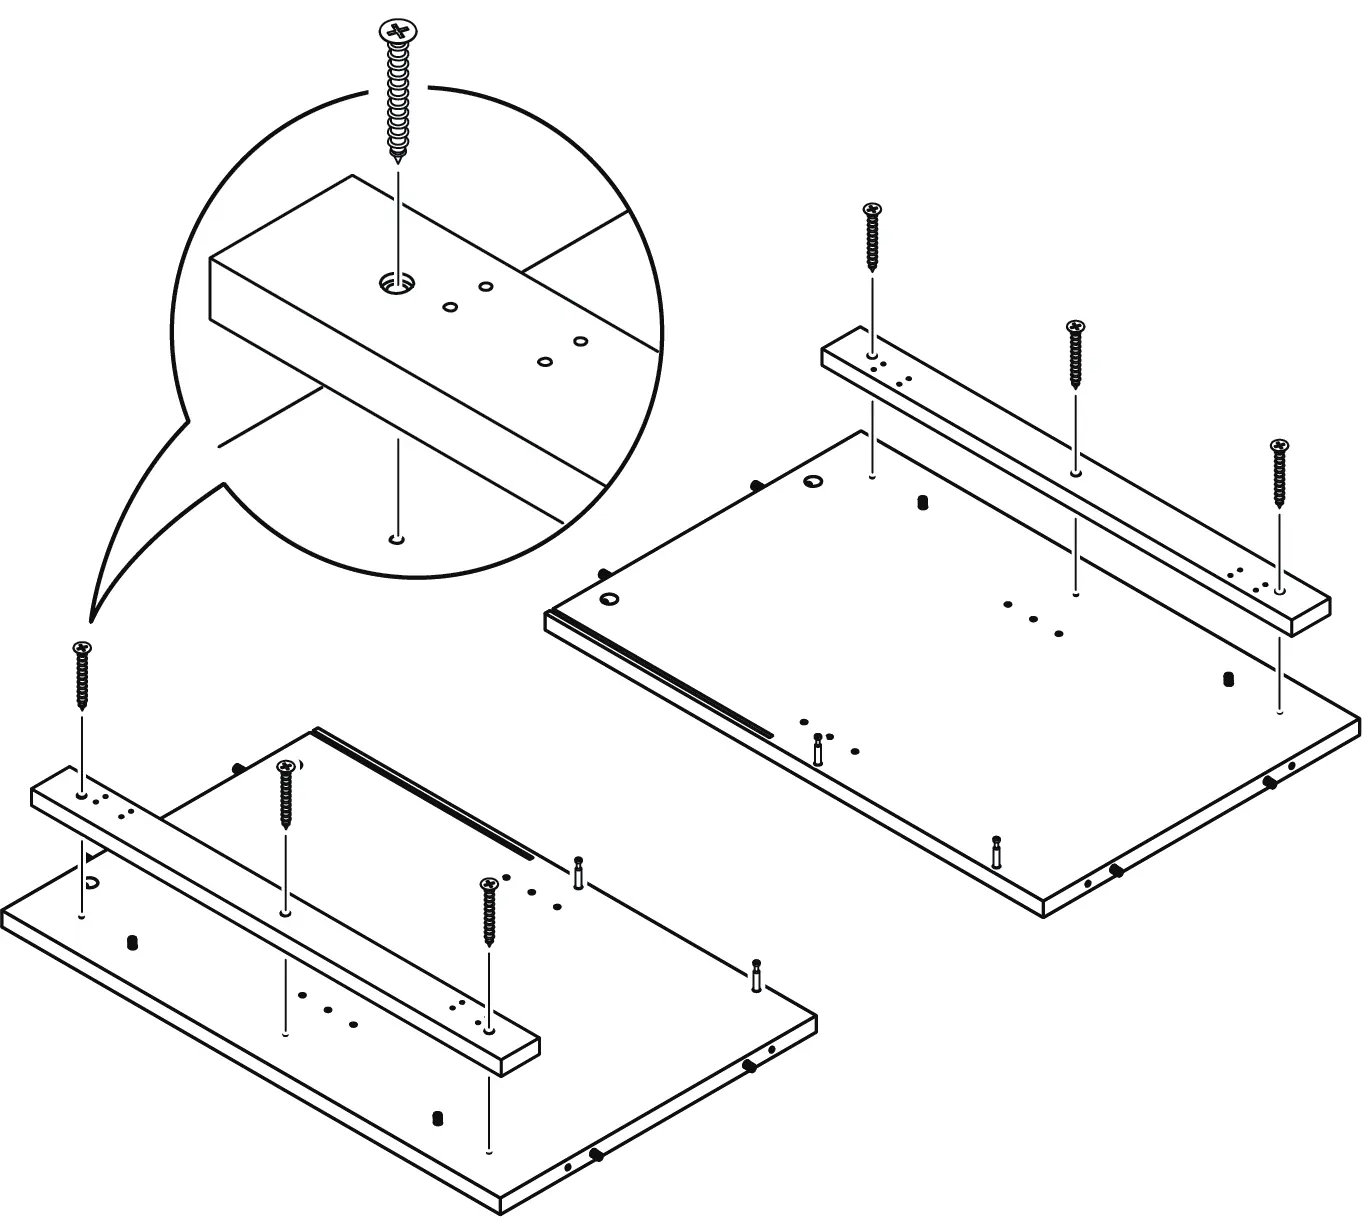
- Frame Assembly: Connecting the lateral panels, medial panel, and crossbars.
- Back Panel Installation: Sliding the back panels into place.
- Top and Bottom Assembly: Securing the top and bottom panels to the main frame.
- Base Assembly: Constructing the base and attaching it to the bottom panel.
- Shelving and Doors: Inserting shelf pegs and installing the cabinet doors using the provided hinges.
Door adjustment
If the cabinet door clearance is uneven, you can adjust the hinges:
- Up and down adjustment: Loosen the screws on the mounting plate.
- In and out adjustment: Loosen the screws on the hinge arm.
- Side to side adjustment: Use the front adjustment screw on the hinge.
Care and maintenance
To ensure the longevity of your furniture:
- Tighten all bolts and screws within the first 2 weeks of assembly.
- Check the tightness of all bolts every 2 months and tighten if necessary.
- Clean the surface with a lightly dampened cloth and mild soap if needed. Dry immediately.
- Do not use bleach or alcohol for cleaning.
- Do not apply wood treatments to MDF parts.
Manufacturer information
Belleze Furniture
Practical help
Common problems
Uneven door clearance
Adjust the hinges using the mounting plate screws (up/down), hinge arm screws (in/out), or the front adjustment screw (side-to-side).
Missing hardware or parts
Do not use the product until missing parts are restored. Contact support at 1-800-682-6376 or [email protected].
Before use
- Ensure 2 people are available for assembly.
- Prepare a flat, soft surface (carpet or empty carton).
- Verify all parts and hardware against the package contents list.
- Have a screwdriver, hammer, and drill ready (not included).
- Ensure the unit is anchored to a wall stud using the anti-tipping device.
Specs in practice
- Estimated assembly time
- 90 minutes
- Maximum load (Top)
- 80 lb
- Maximum load (Shelf)
- 20 lb
Images and diagrams
- Hinge adjustment diagrams show how to manipulate specific screws for vertical, horizontal, and depth alignment.
- Anti-tipping installation shows the strap attached to the back of the unit and secured to the wall.
Model compatibility
- Furniture must be permanently fixed to a wall stud.
- Different wall materials require specific types of wall anchors or screws not included in the kit.

Manual page author
Michael Turner
Technical manual editor
Reviews PDF manuals for structure, safety notes, and practical product details so readers can find the right information quickly.