Garden / Watering Equipment
User Manual for Chapin 6-9216 5.0 GPM 12V Diaphragm Pump
Quick guide for the Chapin 6-9216 5.0 GPM 12V Diaphragm Pump. Includes installation, operation, troubleshooting, and maintenance instructions.
Table of contents
Manual images
Click an image to enlargeQuick guide from the manual
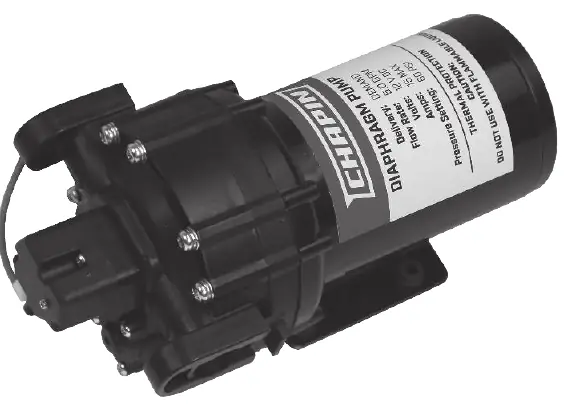
This manual provides instructions for the Chapin 6-9216 5.0 GPM 12V Diaphragm Pump. This pump is designed for intermittent operation and is intended for water use only. It is self-priming and capable of running dry.
Installation Recommendations
Mounting: Choose a dry location away from heat sources. The pump can be mounted horizontally (with the outlet port on the right when viewed from the pump end) or vertically (with the pump above or below the motor). Maintain an ambient operating temperature between 32°F and 115°F.
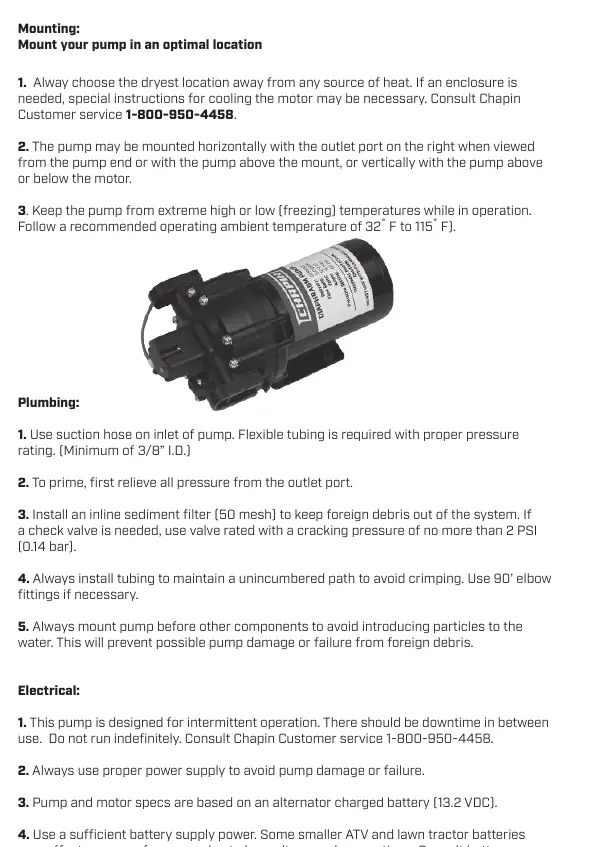
Plumbing: Use a suction hose on the inlet with a minimum 3/8" I.D. flexible tubing. Install an inline sediment filter (50 mesh) to prevent debris from entering the system. If a check valve is required, ensure it is rated for a cracking pressure of no more than 2 PSI (0.14 bar).
Electrical: The pump is designed for intermittent operation; do not run indefinitely. Ensure a proper power supply is used, as low voltage from smaller batteries (like ATV or lawn tractor batteries) may affect performance. The pump and motor specifications are based on an alternator-charged battery (13.2 VDC).
Installation & Operation
- Ensure the water supply is turned off or disconnected.
- Trim flexible tubing to the desired length.
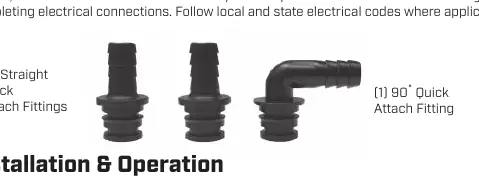
- Insert tubing into the provided 90° or straight quick-connect fittings. Use the 90° fitting if the tubing crimps at the entrance or exit. Clamp the hose to the fitting (clamps not included) and slide the fitting onto the quick-attach brackets on the pump. Secure by sliding the locking tabs in place.
- Connect the pump to a 12V battery supply. The pump includes in-line fuse protection.
- The pump will begin building pressure. Run for approximately 15 minutes to check for leaks. It may take several days of operation for all air to be purged and the system to stabilize.
Safety Precautions
- DO NOT subject the pump to pressures above 125 PSI (8.5 bars).
- DO NOT operate in an explosive environment.
- DO NOT locate the motor near combustible material; surface temperatures can exceed 250°F (120°C).
- DO NOT pump gasoline, diesel, petroleum products, or other flammable liquids.
- Always disconnect power before working on the pump to avoid electrical shock.
Troubleshooting
If the pump won't start, check the voltage (+/- 10%), electrical connections, fuse/breaker, pressure switch operation, and for a locked drive assembly. If the pump will not prime, check for debris in the strainer, kinks in the tubes, or debris in the valves. If the pump will not shut off, check for air trapped in the outlet line, leaks, or pressure switch adjustments.
Maintenance & Storage
Check the system against operating standards yearly. Replace the diaphragm every 2 to 3 years. To protect the pump during storage, fill the system with RV antifreeze. When removing from storage, drain the antifreeze and flush the system with clean, fresh water.
Specifications
- Voltage: 12 Volt DC
- Max Amp Rating: 20
- Flow Rate: 5.0 GPM
- Max Pressure: 60 PSI
- Priming Capabilities: 14 feet (4.3 m)
- Ports: Quick Attach (2 straight, 1 90°)
Practical help
Common problems
Pump won't start
Check voltage (+/- 10%), electrical connections, fuse/breaker, pressure switch operation, and for a locked drive assembly.
Pump will not prime
Check for debris in the strainer, kinks in inlet/outlet tubes, or debris/swelling in inlet/outlet valves.
Pump will not shut off
Check for air trapped in the outlet line, leaks, or pressure switch adjustments.
Leaks from pump head or switch
Check for loose screws at the switch or pump head, or a ruptured/pinched diaphragm.
Before use
- Ensure power supply is 12V DC.
- Install an inline sediment filter (50 mesh).
- Use flexible tubing with a minimum 3/8" I.D.
- Mount in a dry location away from heat sources.
- Ensure the system has a positive means of shutting off the water supply.
Specs in practice
- Max Pressure
- 60 PSI
- Priming Capability
- 14 feet (4.3 m)
Images and diagrams
- The pump includes (2) straight quick attach fittings and (1) 90° quick attach fitting for flexible tubing connections.
Model compatibility
- For water use only.
- Not compatible with gasoline, diesel, petroleum products, or other flammable liquids.
- Requires 12V battery supply (e.g., garden tractor, ATV, or UTV battery).

Manual page author
David Miller
Documentation analyst
Organizes user manual content into clear summaries, with attention to model details, product context, and everyday usability.