Lighting / Stage Lighting
User Manual for Elation Professional SIXPAR 100IP
Quick guide for the Elation Professional SIXPAR 100IP LED fixture. Includes installation, DMX setup, system menu navigation, safety warnings, and maintenance instructions.
Table of contents
Manual images
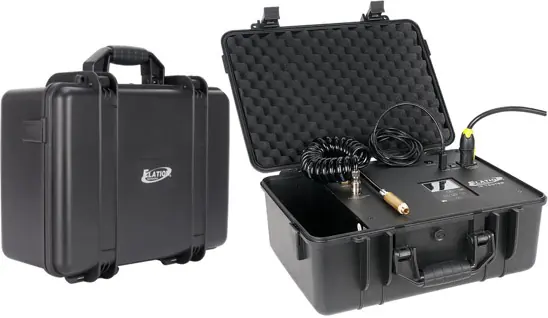
Click an image to enlargeQuick guide from the manual
The Elation Professional SIXPAR 100IP is an IP65-rated LED lighting fixture designed for professional use. This manual covers essential safety, installation, and operation procedures. Key operational notes include the use of dielectric grease on all connections to maintain the IP65 rating and the requirement for professional installation in suspended environments.
Safety Guidelines

- UV Radiation: This fixture emits high-intensity UV light. Avoid direct eye and skin exposure. Wear proper protection and avoid exposure at distances less than 11 feet (3.3m).
- Temperature: The fixture may become hot during operation. Allow approximately 15 minutes to cool before servicing.
- Environment: Not suitable for marine or coastal installations. Keep flammable materials at least 1.6 feet (0.5m) away.
- Electrical: Must be properly grounded (Protection Class 1). Do not plug into a dimmer pack.
Installation
Installation must be performed by qualified personnel. When rigging overhead, always use an appropriately rated safety cable. To maintain the IP65 rating, all cables must be run towards the ground to prevent water accumulation around connections.
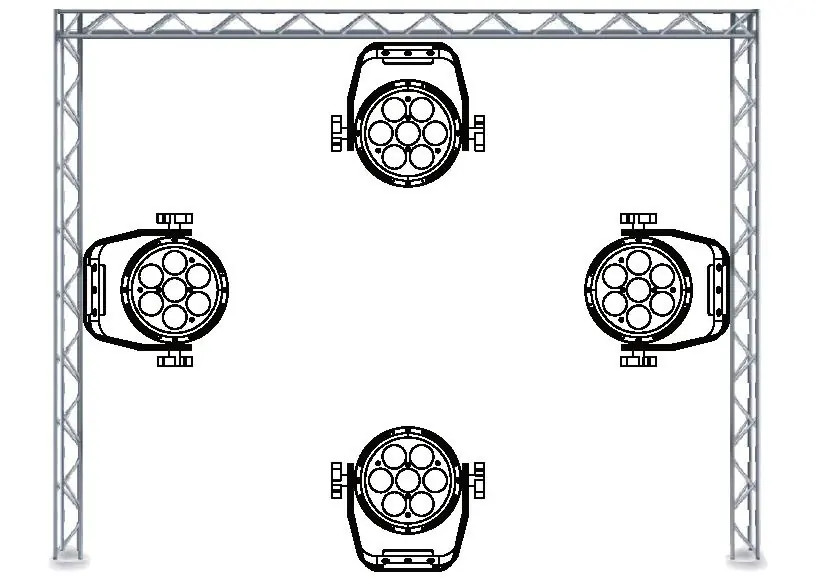
Rigging
Mount the fixture to a truss using a professional-grade rigging clamp (not included) secured to the dual yokes. Ensure the safety cable is attached to a designated rigging point, not the carrying handle.
DMX Setup
The fixture uses DMX-512 protocol. Use standard 3-pin or 5-pin XLR cables. For longer runs, use a DMX terminator (120 ohm resistor) at the end of the chain to prevent erratic behavior. DMX addressing is set via the on-board system menu.
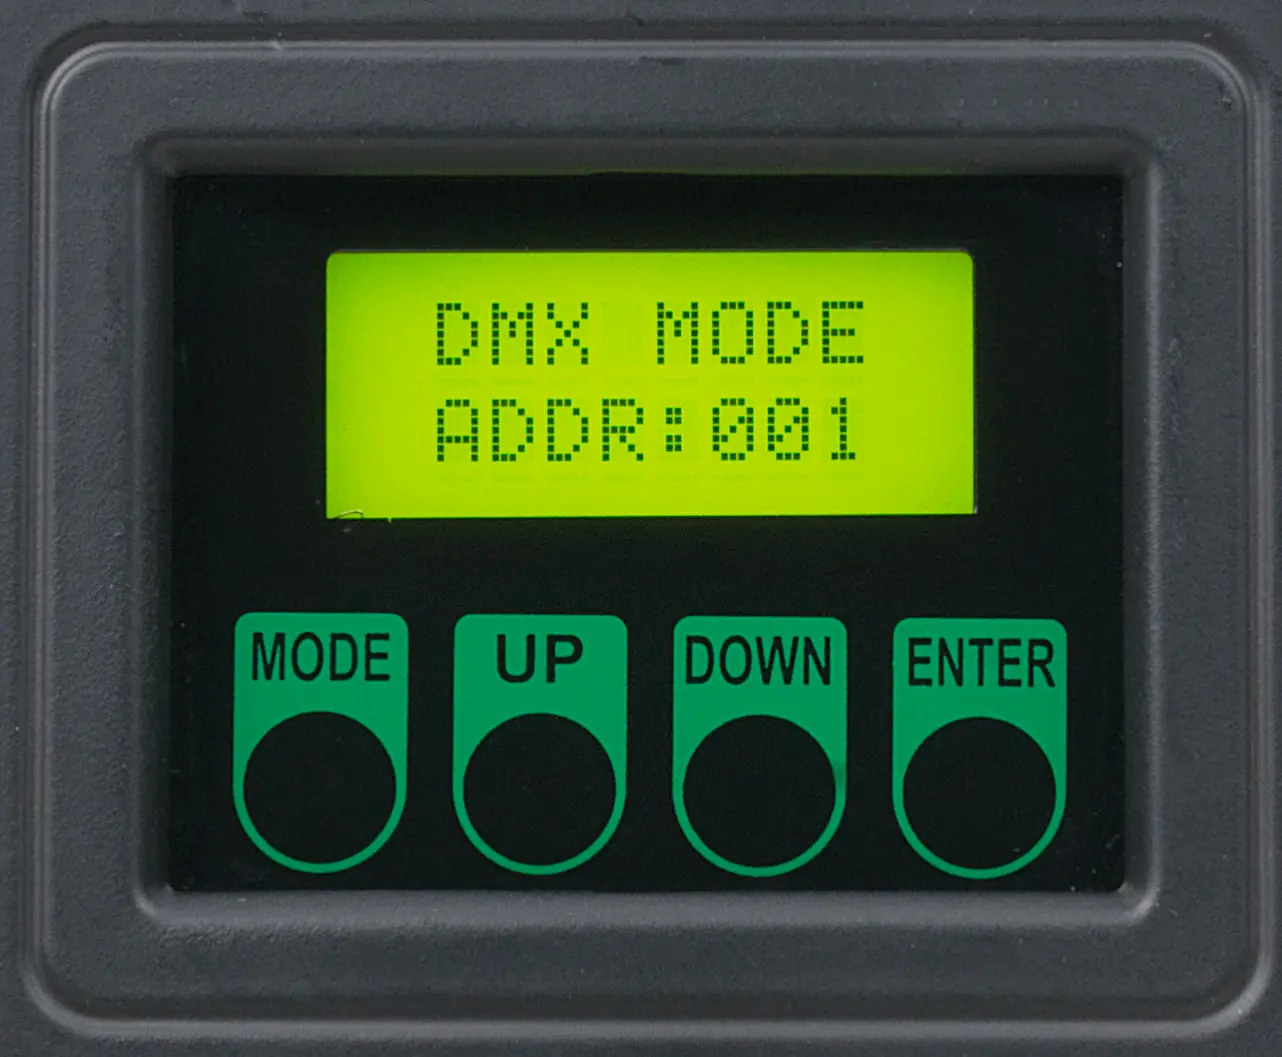
System Menu
The 4-button control panel allows for menu navigation. Press MODE to navigate, ENTER to select, and UP/DOWN to adjust values. If the display is locked, use the following sequence to unlock: UP, DOWN, UP, DOWN, ENTER.
Maintenance
Regular cleaning is required to ensure proper function. Clean the external lens surface at least every 20 days with a soft cloth. Do not use alcohol, solvents, or ammonia-based cleaners. Perform routine inspections of screws, fasteners, and rigging hardware every three months.
Specifications
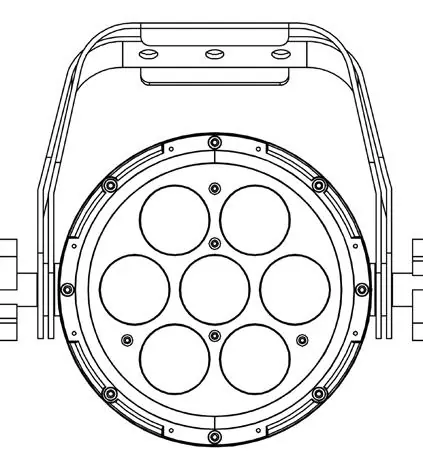
- Source: (7) 12W 6-in-1 RGBAW+UV LEDs
- DMX Modes: 6, 7, 8, or 12 channels
- Electrical: AC 110-250V, 50/60Hz, 89W max power consumption
- Operating Temperature: 14°F to 113°F (-10°C to 45°C)
- Rating: IP65
Practical help
Common problems
Fixture not receiving DMX signal
Check that the XLR cable is fully inserted, the controller is on, the cable is not defective, or verify if a DMX terminator is required at the end of the chain.
LCD display is locked
Perform the unlock sequence: Press UP, DOWN, UP, DOWN, then ENTER.
Light smoke or smell during initial operation
This is a normal process caused by excess paint in the interior burning off; it will decrease over time.
Before use
- Ensure the fixture is properly grounded (Class 1).
- Apply non-conductive dielectric grease to all connections and end caps.
- Verify the ambient temperature is between 14°F and 113°F (-10°C to 45°C).
- Ensure a minimum distance of 65.6 ft (20m) to objects/surfaces.
- Confirm the DMX controller is compatible and set to the correct mode.
Specs in practice
- 12 Channel Mode
- Requires specific starting address offsets (e.g., 1, 13, 25) for multiple fixtures.
Images and diagrams
- DMX Setup: Illustrates daisy-chaining fixtures with a DMX controller and terminator.
- Rigging: Shows mounting the fixture to a truss with a safety cable.
Model compatibility
- Not suitable for marine or coastal environments.
- Do not plug into a dimmer pack.
- Use only original rigging parts (omega brackets).

Manual page author
Michael Turner
Technical manual editor
Reviews PDF manuals for structure, safety notes, and practical product details so readers can find the right information quickly.