Electronics / Sim Racing Equipment
User Guide for Gembird STR-M-01 Vibration Racing Wheel
Quick setup guide for Gembird STR-M-01 racing wheel. Learn how to connect, configure button mapping, adjust sensitivity, and switch between PC input modes.
Table of contents
Manual images
Click an image to enlargeQuick guide from the manual
The Gembird STR-M-01 is a multi-platform racing wheel with pedals. To begin, ensure your game console is turned off before connecting the wheel. Connect the pedal unit to the base of the steering wheel, then plug the USB cable into your console or PC. The wheel features auto-centering upon startup. For PC users, the device supports both X-Input (default) and D-Input modes.
Installation
The racing wheel consists of the steering wheel unit and a foot pedal unit. To connect them:
- Plug the male connector from the foot pedal unit into the base of the steering wheel unit.
- Connect the USB cable from the steering wheel to your game console or PC.
- Always turn off your game console before connecting the racing wheel to ensure proper initialization.
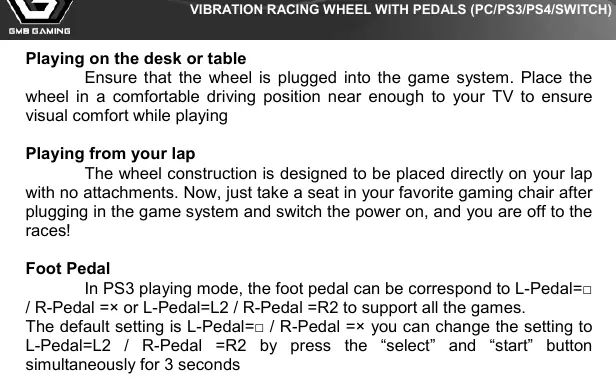
- The wheel can be used on a desk, table, or placed directly on your lap.
Operation and Settings
Sensitivity
You can adjust the steering sensitivity by turning the Sensitivity dial on the wheel. Higher sensitivity results in faster reaction times to wheel turns.
Vibration Feedback
The wheel supports vibration feedback for bumps, crashes, and turns. Ensure your game platform and software support the vibration function.
PC Input Modes
The wheel defaults to X-Input mode (Mode LED is on). To switch to D-Input mode, press and hold the Menu button for 5 seconds; the Mode LED will turn off. To switch back to X-Input, repeat the process.
Button Relocation
You can remap buttons (L1, R1, L2, R2, L-pedal, R-pedal) to other functions:

- Press the MENU and X buttons simultaneously and hold for 3 seconds. The LED will flash, indicating setup mode.
- Press the button you wish to relocate (e.g., L1).
- Press the action button you want to assign to that function (e.g., Triangle).
- The LED will stop flashing, and the mapping is saved.
- To return to default values, enter the setup environment and press the button you want to reset twice.
Safety and Maintenance
- Use the device in an environment between 5 and 35 degrees Celsius.
- Do not expose the wheel to high humidity or direct sunlight.
- Do not allow liquids or small particles to enter the unit.
- Do not place heavy objects on the wheel.
- Do not disassemble the steering wheel.
- Do not twist or pull the cables forcefully.
Practical help
Common problems
Wheel not detected or not working
Ensure the USB cable is securely connected and the console was turned off during initial connection.
Wrong input mode on PC
The wheel defaults to X-Input (LED on). Hold the Menu button for 5 seconds to switch to D-Input (LED off).
Pedal or button mapping is incorrect
Use the function relocation procedure (Menu + X for 3 seconds) to remap buttons or pedals to your preference.
Before use
- Turn off the game console before connecting the wheel.
- Connect the foot pedal unit to the steering wheel base.
- Place the wheel on a stable surface or your lap.
- Ensure the game software supports vibration feedback.
- Check the Mode LED to confirm the current input mode.
Specs in practice
- Rotation Angle
- 270 degrees. Do not force the wheel past this limit to avoid damage.
- Power Consumption
- 5V DC up to 120 mA.
- Cable Length
- 1.8 meters for both the steering wheel and pedal unit.
Images and diagrams
- The button layout diagram shows the location of the D-Pad, Mode LED, Sensitivity dial, and action buttons (Triangle, Square, Circle, X).
- It illustrates the pedal mapping and the R2/L2 directional inputs.
Model compatibility
- Compatible with PC (USB), PS3, PS4, Nintendo Switch, and Android.
- Button layout may vary on Android devices depending on the specific model.

Manual page author
Emily Carter
User documentation editor
Prepares concise manual descriptions and highlights the most useful setup, operation, and maintenance information for readers.