Tools / Power Tools
Owner's Manual for Bauer Cordless Compact Workshop Blower 1916C-B
Comprehensive owner's manual for the Bauer Cordless Compact Workshop Blower 1916C-B. Includes detailed assembly instructions, safe operation procedures, maintenance guidelines, and parts diagrams.
Quick answers from the manual
Quick answer
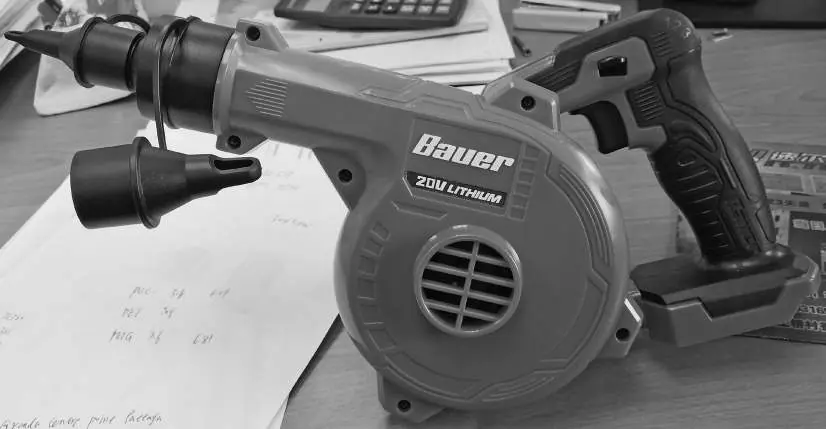
- The Bauer 1916C-B is a cordless workshop blower powered by a 20V Bauer Li-ion battery. It is designed for clearing debris in dry conditions. p. 1, 6
Key actions
- Attach the blower tube or nozzle by sliding it over the outlet and rotating clockwise to lock. p. 7
- Insert the battery pack into the handle slot until it clicks. p. 8
First start
- Charge the battery, attach the desired nozzle, insert the battery, and press the trigger to operate. p. 7, 8
Problems and fixes
Abnormal noise or vibration
Stop use immediately and have the problem corrected by a qualified technician.
p. 9Maintenance and reset
- Wipe external surfaces with a clean cloth after use and store in a dry, indoor area. p. 8, 9
Technical specifications
| Parameter | Value | Meaning | Pages |
|---|---|---|---|
| Battery Type | 20V Bauer Li-ion | Compatible battery system | p. 5 |
Where to find it in the PDF
- Safety Instructions p. 2, 3, 4, 5
- Assembly p. 7
- Operation p. 8
- Maintenance p. 9
- Parts List p. 10, 11
Table of contents
Manual images
Click an image to enlargeQuick guide from the manual
The Bauer Cordless Compact Workshop Blower 1916C-B is a 20V cordless tool designed for blowing debris. Before use, ensure you have a compatible 20V Bauer Li-ion battery (sold separately). Always inspect the tool for damage before use and wear appropriate personal protective equipment, including ANSI-approved safety goggles, a dust mask, and gloves.
Safety Instructions
General Safety: Do not use the appliance in rain or damp locations. Keep children and visitors away from the work area. Do not overreach; maintain proper footing and balance. Do not use the blower to pick up flammable liquids, burning materials, or hot ashes.
Battery and Charger Safety: Charge the battery pack only according to the charger's instructions. Do not place the charger on flammable surfaces like carpets or rugs, as this obstructs ventilation. Keep the charger on a stable, non-flammable surface at least 1 foot away from flammable objects.
Assembly
To assemble the blower, slide the Blower Tube or the 3-in-1 Nozzle over the Blower Outlet, ensuring the tab on the attachment aligns with the slot on the outlet. Rotate the attachment clockwise to lock it securely in place.

Operation
To operate the blower, ensure the trigger is in the off-position, then slide the battery pack into the slot on the bottom of the handle until it clicks. Adjust the Speed Control Switch to the desired setting. Press and hold the trigger to blow. For continuous operation, press the trigger fully, then press and hold the Trigger Lock; release the trigger first, then the lock. To stop, press the trigger again.
Maintenance
Before each use, inspect the appliance for loose hardware, binding parts, or damaged wiring. After use, wipe the external surfaces with a clean cloth. Store the tool in a dry, indoor area out of reach of children. All parts are permanently lubricated; do not use additional lubrication.
Manufacturer information
Harbor Freight Tools
Practical help
Common problems
Blower does not start
Ensure the battery pack is fully inserted and clicked into place. Check if the battery is charged.
Abnormal vibration
Stop use immediately. Inspect the tool for damage, loose parts, or debris buildup.
Charger overheating
Ensure the charger is on a stable, non-flammable surface with adequate ventilation. Do not place on carpets or rugs.
Before use
- Inspect the tool for loose hardware or damaged parts.
- Ensure the battery pack is fully charged.
- Wear ANSI-approved safety goggles, dust mask, and gloves.
- Clear the work area of hard objects.
- Ensure the blower tube or nozzle is securely locked in place.
Images and diagrams
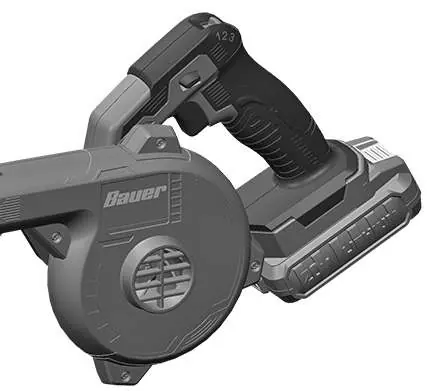
- The assembly diagram illustrates the internal components, including the motor, fan, and housing, for reference during maintenance or parts identification.
Model compatibility
- Requires 20V Bauer Li-ion battery (sold separately).
- Extension cords must not be used with the charger.

Manual page author
David Miller
Documentation analyst
Organizes user manual content into clear summaries, with attention to model details, product context, and everyday usability.