Plumbing / Showers & Tubs
Installation Guide for Insignia Platinum Series 1400x900 Shower
Complete installation and setup guide for the Insignia Platinum Series 1400x900 shower. Includes assembly steps, electrical and water requirements, control panel operation, and safety instructions.
Table of contents
Manual images
Click an image to enlargeQuick guide from the manual
Before starting the installation, ensure you have checked all contents against the box list. Do not book a tradesman until all parts have arrived and been verified. This shower is designed to be free-standing and movable; never fix the unit to the wall or floor. Always use flexible braided water inlet pipes (not supplied) and ensure the waste spigot is drilled out if installing a steam version.
Installation requirements

- Water Pressure: Recommended 2.5 to 3.4 BAR. Gravity-fed systems (under 1 BAR) will likely require a pump.
- Electrical: Steam versions require 220-240AC, 3KW. Non-steam versions require 100-240AC, 12v DC/1500mA. All electrical work must be signed off by a qualified operative.
- Tools Required: Philips screwdriver, electric drill, spirit level, tape measure, safety gloves, and safety glasses.
- Parts Required: RubberGum (supplied), hot and cold isolation valves (not supplied), and McAlpine or similar 40mm compression joint fittings.
Assembly steps
The assembly process involves several key stages:
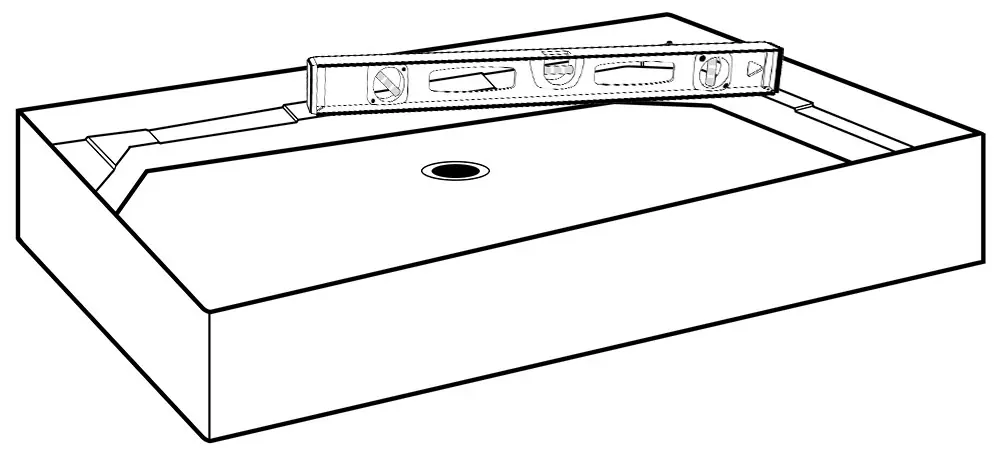

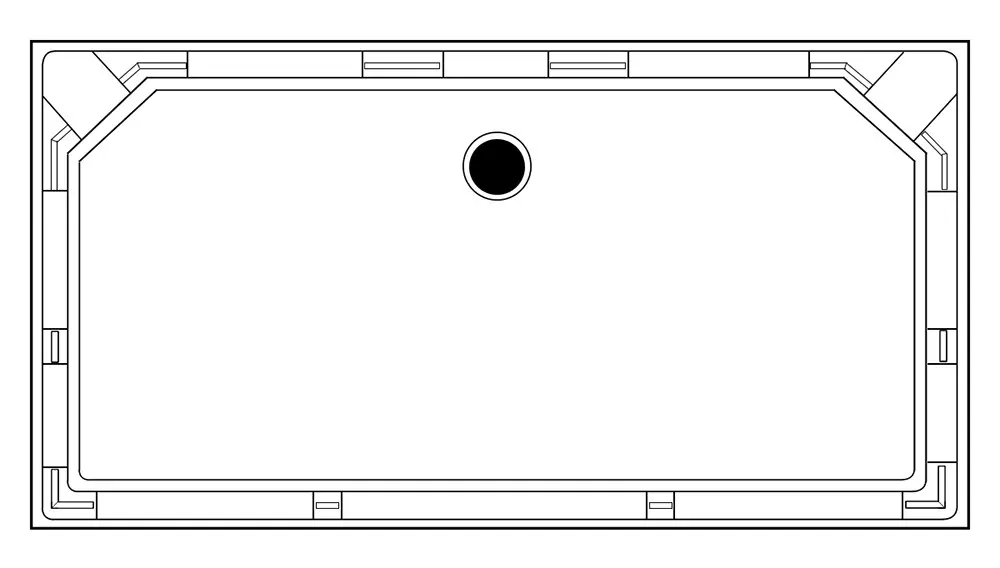
- Tray and Waste: Level the tray and install the waste fitting. Ensure the spigot is drilled out for steam models.
- Columns and Panels: Apply RubberGum to the tray and install the columns and side panels. Press panels firmly onto the sealant; do not screw panels to the tray.
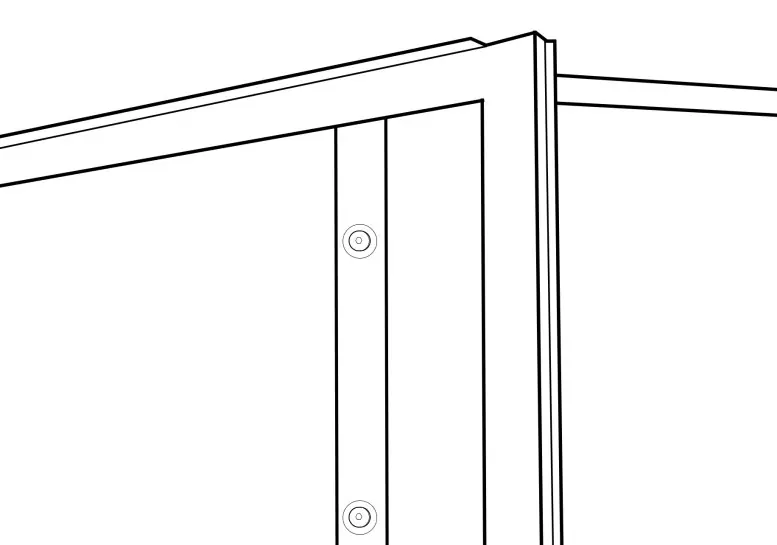
- Framework: Connect the framework rails and uprights, then secure the framework to the panels.
- Roof and Glass: Install the roof, then slide the fixed glass panels into the uprights and secure them.
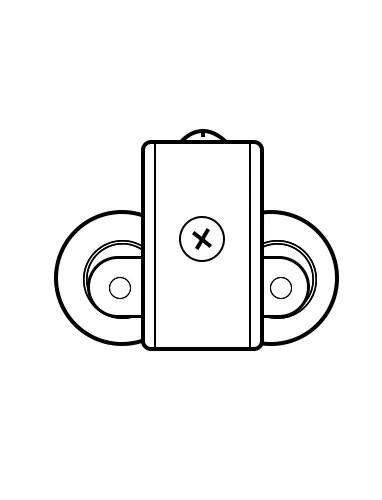
- Doors: Install door handles, seals, magnets, and wheels. Hang the doors into the top rail and slot into the bottom rail.
Water and electrical connections
Connect the hot and cold water supplies using flexible braided hoses. For steam versions, connect the steam generator to the water supply and the steam outlet. Ensure all connections are watertight. The control panel must be connected to the power supply, lights, speakers, and other components as indicated in the wiring diagrams.
Control panel operation
The control panel allows you to manage lights, steam, radio, and Bluetooth. For steam versions, use the mode button to set time and temperature. For shower cabin versions, the panel controls radio, Bluetooth, and lights. Refer to the specific instructions for your model version.
Steam room usage and safety
Always shower before using the steam function to open skin pores. Steam for 10-15 minutes per session. Never use the steam function if you are pregnant, have heart conditions, or high/low blood pressure. Ensure the room is well-ventilated after use.
AMI system operation
The Aromatherapy Modular Infusion (AMI) system uses a diffuser pad. Soak the pad in water, add at least 5ml of essential oil, and insert it into the slot. Never place or remove the pad while the steam function is running.
Bathroom electrical zones
The shower must be installed in compliance with IEE wiring guidelines regarding bathroom electrical zones. Zone 0 is inside the shower, Zone 1 is above the shower to 2.25m, and Zone 2 extends 600mm outside. Ensure all electrical circuits are protected by an RCD not exceeding 30mA.
Practical help
Common problems
RubberGum raises the column or panel, misaligning holes
Use a drill and drillbit to make new holes for connection.
Steam generator not producing steam
Check that the spigot is drilled out and the water supply is connected correctly.
Leaking connections
Ensure all washers are in place and connections are tightened; do not overtighten braided hoses.
Before use
- Check all contents against the box list
- Ensure water pressure is between 2.5 and 3.4 BAR
- Install isolation taps on hot and cold water supplies
- Verify the waste spigot is drilled out (steam models)
- Ensure electrical supply is RCD protected
- Check all connections are watertight
Specs in practice
- Steam Version Power
- 3KW
- Steam Version Voltage
- 220-240AC
- Non-Steam Version Voltage
- 100-240AC
- Recommended Pressure
- 2.5 - 3.4 BAR
Images and diagrams
- Step 1: Tray leveling and waste installation
- Step 3-12: Column and panel assembly
- Step 24: Control panel wiring
- Step 25: Steam generator connections
Model compatibility
- Requires flexible braided hoses (not supplied)
- Do not use glued joints for waste
- Steam version requires 7 hoses, non-steam requires 6

Manual page author
David Miller
Documentation analyst
Organizes user manual content into clear summaries, with attention to model details, product context, and everyday usability.