Plumbing / Showers & Tubs
Installation Manual for Insignia 1400x900 Diamond Series Shower
Complete installation and usage guide for the Insignia 1400x900 Diamond Series shower. Includes step-by-step assembly, electrical and plumbing requirements, control panel operation, and safety guidelines.
Table of contents
Manual images
Click an image to enlargeQuick guide from the manual
This manual provides instructions for the installation and operation of the Insignia 1400x900 Diamond Series shower. Before beginning, check all contents against the box list. Do not book a tradesman until all parts have arrived and been checked. The shower is designed to be free-standing and must not be fixed to the wall or floor with rigid pipes. Always use flexible braided hoses.
Preparation and requirements
Ensure you have the necessary tools: scissors, knife, spirit level, tape measure, Philips screwdriver, electric drill, safety gloves, and safety glasses. The shower requires a water pressure between 2.5 and 3.4 BAR. If you have a gravity-fed system, a pump will likely be required. Electrical requirements for the steam version include a 220-240AC, 50Hz supply, protected by an RCD.
Installation steps
The installation process involves several key stages:
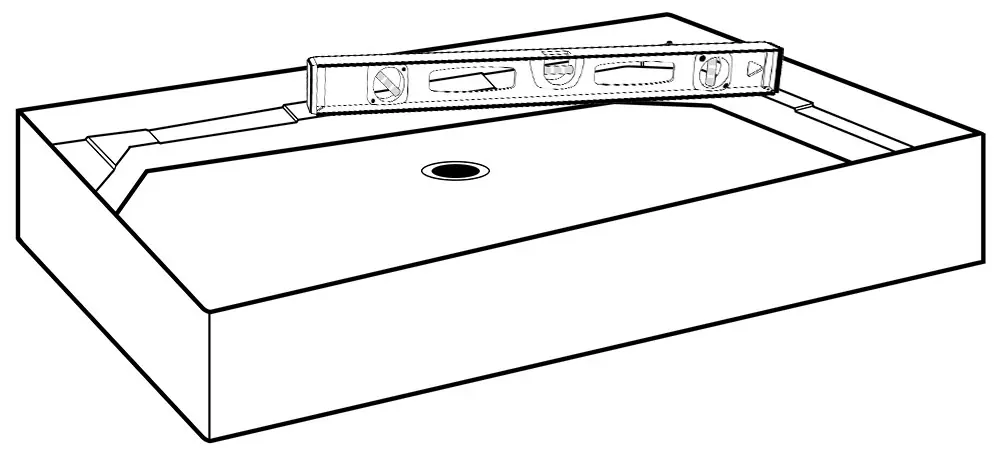
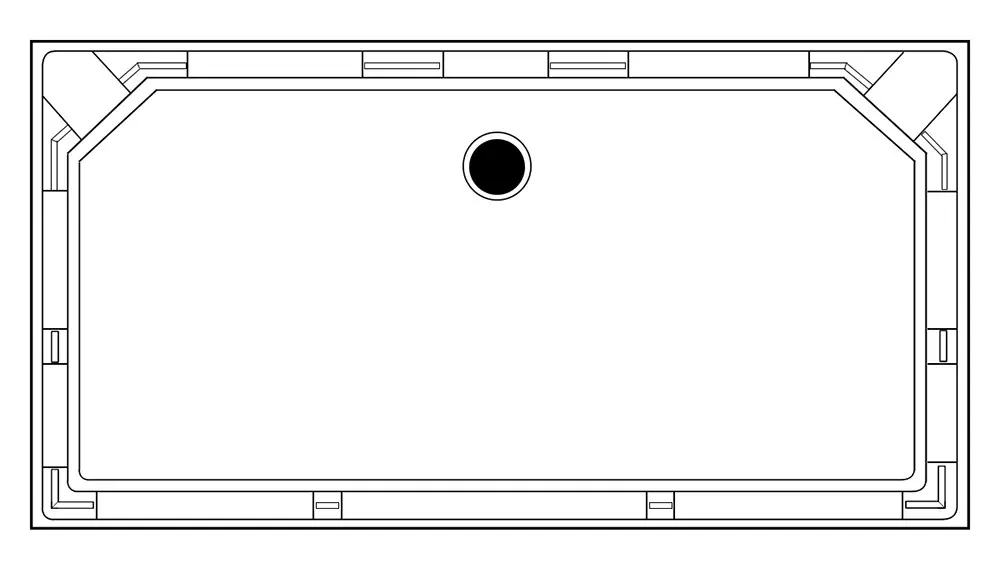

- Tray and Waste: Level the tray and install the waste using a McAlpine or similar 40mm compression joint fitting. Do not use glued joints.
- RubberGum: Apply RubberGum to the raised sections of the tray. Ensure it does not contact silicone.
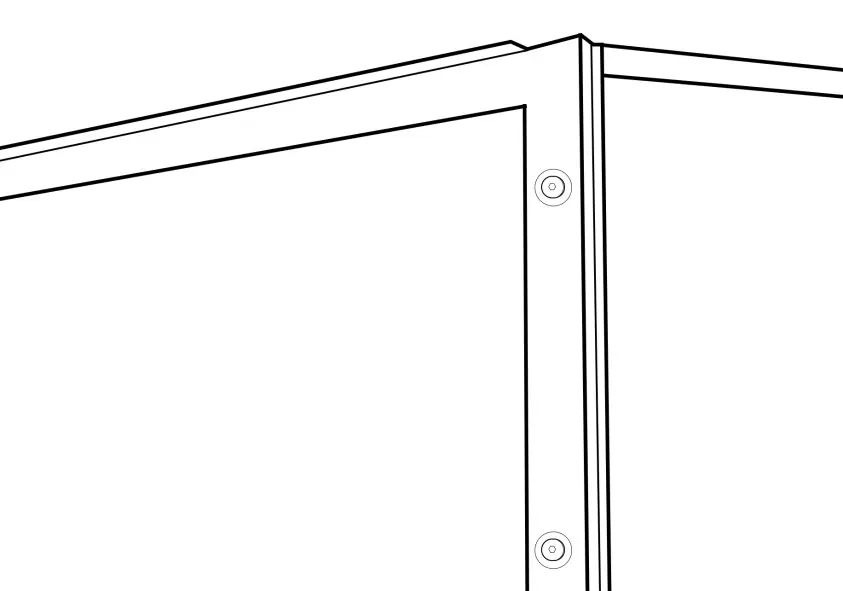
- Columns and Panels: Install the columns and side panels. Press panels down firmly onto the RubberGum. Do not screw panels to the tray.
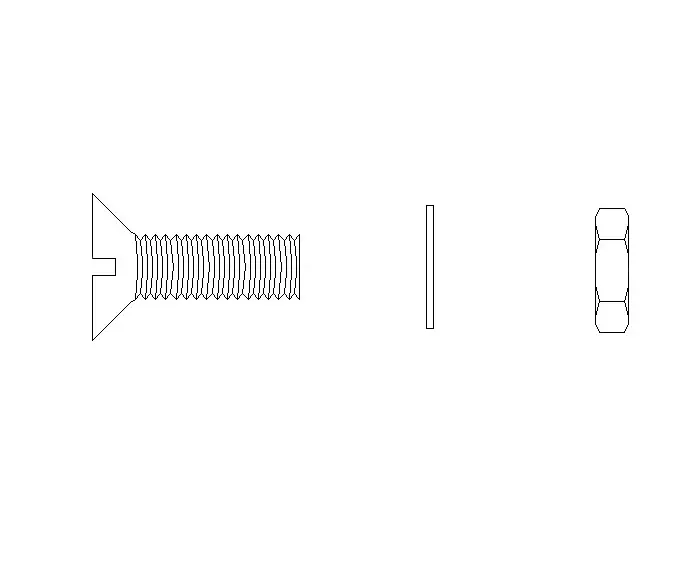
- Framework: Connect the framework using the provided securing clips.
- Glass and Doors: Install the fixed glass panels and seals, followed by the door handles, seals, and wheels.
- Roof: Secure the roof with the provided screws.
Water and electrical connections
Connect the water supply using flexible braided hoses. For the steam version, connect the steam generator drain hose through the spigot and to the waste. Ensure all connections are watertight before signing off the shower. The steam generator has three connections: steam outlet, water inlet, and drain.
Control panel operation
The control panel allows you to manage lights, steam, radio, and Bluetooth. To start the steam function, press the steam button. Use the mode button to set time and temperature. The panel locks automatically after 20 seconds of inactivity; use the padlock button to unlock.
Safety and maintenance
Never leave children unattended in the shower. The steam function is for adults only. Do not use the steam room if you are pregnant, have a heart condition, or high/low blood pressure. Always turn off the power and water supply after use. Ensure the room is well-ventilated after a steam session.
Practical help
Common problems
RubberGum raises the column or panel, misaligning pre-drilled holes.
Use a drill and drill bit to make new holes for connection.
Water pressure is too low (gravity-fed system).
A pump is likely required as the shower needs 2.5-3.4 BAR.
Steam generator drain hose installation.
Feed the drain hose through the spigot and connect it to the waste.
Water leaks during testing.
Ensure all connections are watertight, including internal and external hoses and steam connections.
Before use
- Check all contents before build commences.
- Ensure water pressure is between 2.5 and 3.4 BAR.
- Install isolation taps on both hot and cold water supplies.
- Verify electrical supply is protected by an RCD.
- Ensure the room is well-ventilated after use.
- Register your shower within 90 days for the warranty.
Specs in practice
- Voltage Rating
- 220-240AC, 50Hz (Steam version)
- Power Rating
- 3KW (Steam version)
- Water Pressure
- 2.5 - 3.4 BAR recommended
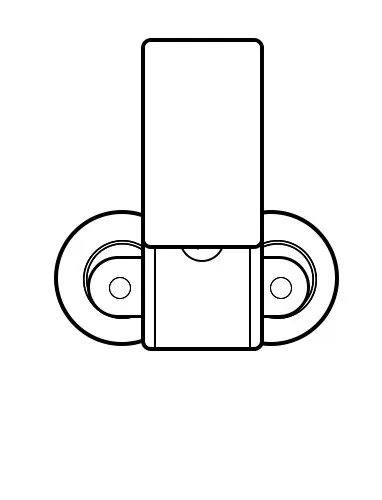
Images and diagrams
- Step-by-step assembly diagrams for tray, panels, framework, and glass installation.
- Wiring and plumbing connection diagrams for steam generator and water valves.
Model compatibility
- Requires 13 amp plug with RCD for steam version.
- Not suitable for rigid pipe fixing; use flexible braided hoses.
- Requires WRAS approved flexible braided hoses.

Manual page author
Emily Carter
User documentation editor
Prepares concise manual descriptions and highlights the most useful setup, operation, and maintenance information for readers.