Electronics / AV Converters
User Manual for RGBlink TAO 1tiny v2 Converter
Quick guide for the RGBlink TAO 1tiny v2 UVC to HDMI converter. Learn how to connect cameras, configure NDI encoding and decoding, manage network settings, and perform firmware updates.
Quick answers from the manual
Quick answer
- The TAO 1tiny v2 is a UVC to HDMI converter that supports NDI encoding and decoding. It requires a 5V/2A power supply and is managed via a web interface at 192.168.5.100. p. 2, 5
Key actions
- Connect the device to power and your video source. p. 3
- Access the web management page. p. 4, 5
First start
- Power on the device, connect to a display, set your PC to the same LAN, and access 192.168.5.100. p. 4, 5
Problems and fixes
Recognition issues after power cycle
Wait more than 30 seconds between power off and power on.
p. 3Maintenance and reset
- Firmware upgrade via USB drive. p. 13
Technical specifications
| Parameter | Value | Meaning | Pages |
|---|---|---|---|
| Power Input | 5V/2A | Minimum power requirement. | p. 2 |
| Default IP | 192.168.5.100 | Factory default IP address. | p. 4 |
Where to find it in the PDF
- Product Overview p. 2
- Use Your Product p. 3
- Device Management p. 4, 5, 6
- NDI Encoding/Decoding p. 7, 8, 9, 10
- Firmware Upgrade p. 13
Table of contents
Manual images
Click an image to enlargeQuick guide from the manual
The TAO 1tiny v2 is a UVC to HDMI smart converter. Important: The power adapter used must provide at least 5V/2A. Using a computer's USB port for power is strictly prohibited. The time interval between powering off and then powering on the device must be greater than 30 seconds to avoid recognition issues.
Interface Description
The device features the following ports:
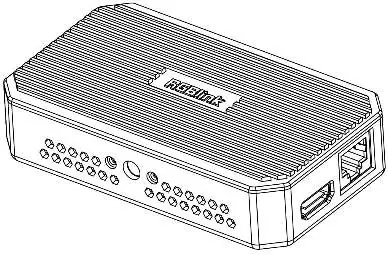
- 01: Type C Power Input
- 02: USB 2.0 Control Port
- 03: USB Type C Input Port
- 04: HDMI 2.0 Output Port
- 05: Gigabit Ethernet Port
Connecting Devices
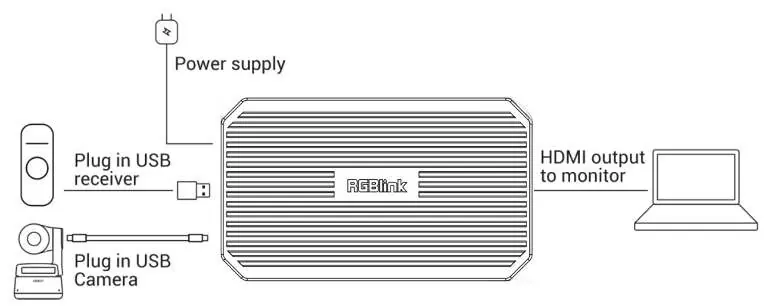
Connect a USB Camera
- Power the TAO 1tiny using a USB-C power cable.
- Connect the USB camera to the USB-C input port using a USB-C cable.
- Connect the HDMI 2.0 output port to a display using an HDMI cable.
Using with mini Switchers
- Power the TAO 1tiny using a USB-C power cable.
- Connect the switcher (e.g., mini-pro) to the USB-C input port using a USB 3.0 to USB-C cable.
- Connect the HDMI 2.0 output port to a display using an HDMI 2.0 cable.
Device Management
The device management page is accessed via a web browser using the device's IP address. The default factory IP is 192.168.5.100. The default username and password are both: admin.
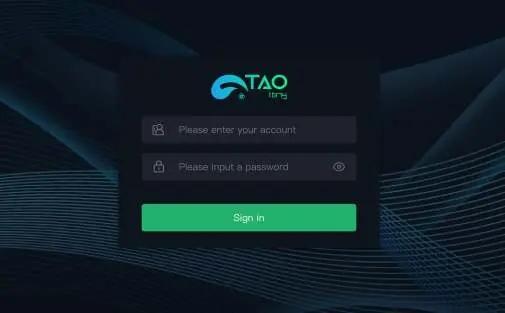
To access the management page:
- Power on the device and connect it to a display to verify the IP address.
- Set your computer's network settings to a static IP in the same LAN (e.g., 192.168.5.x).
- Open a web browser and enter 192.168.5.100.
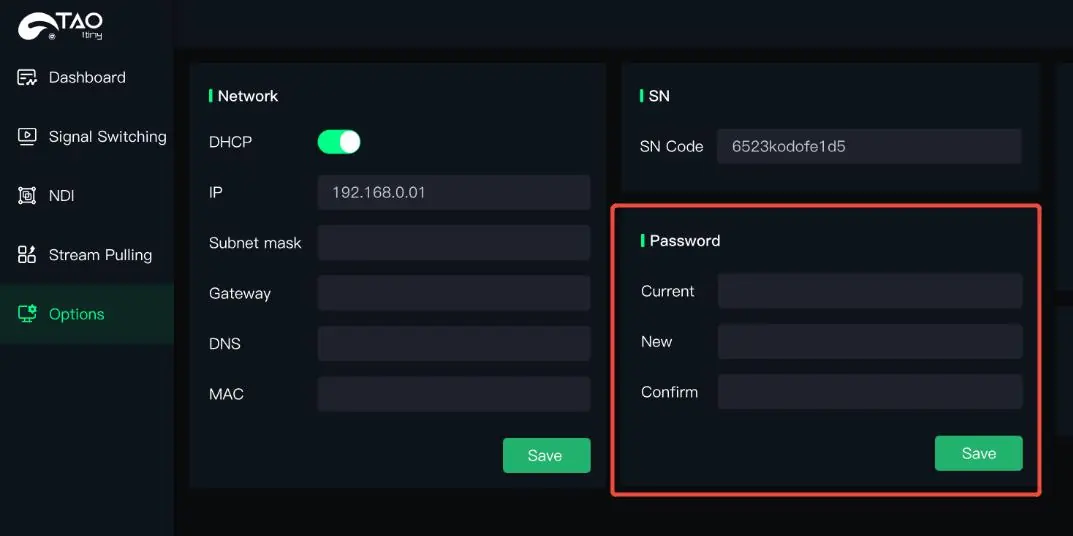
Network Configuration
By default, DHCP is disabled. After initial login, you can enable DHCP in the Options page >Network Port to allow the device to obtain an IP address automatically from your router.
NDI Encoding and Decoding
The device supports NDI encoding (USB camera to NDI) and NDI decoding (NDI to HDMI). Note: NDI encoding and decoding cannot be performed simultaneously.
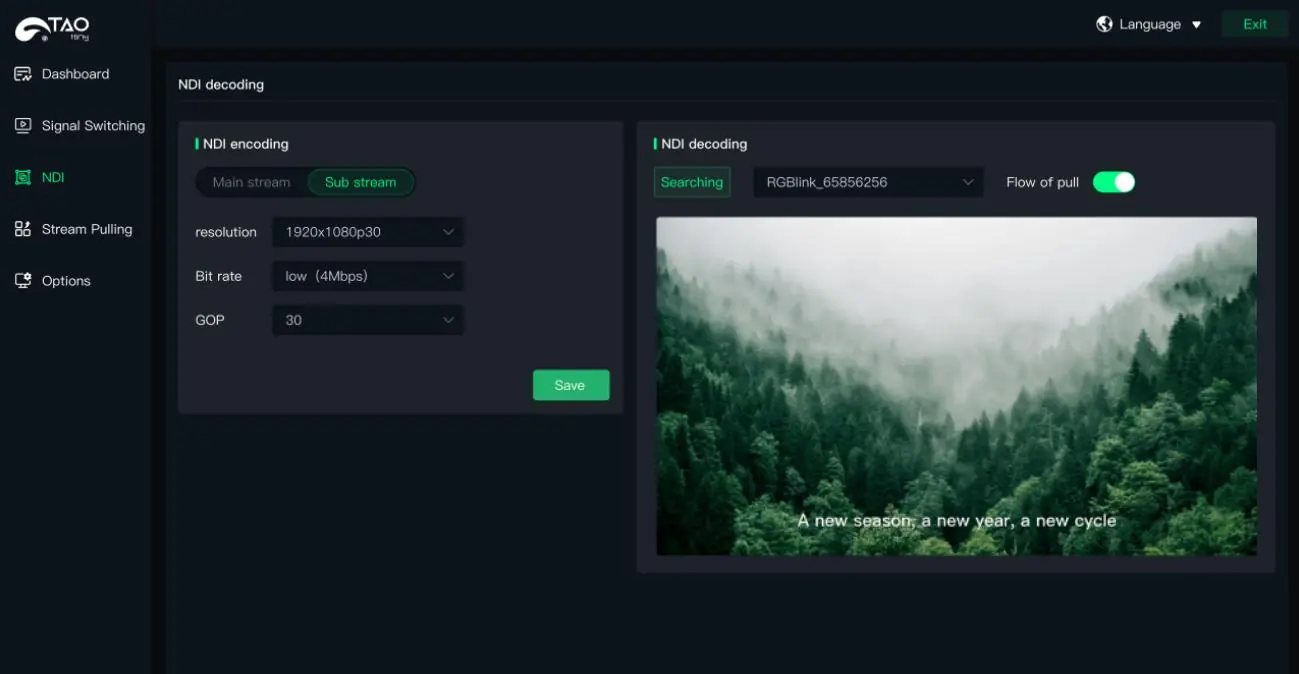
NDI Encoding
- Connect the USB camera and ensure the computer and TAO 1tiny are on the same LAN.
- Configure NDI resolution, format, compression, and bitrate in the NDI settings, then click Save.
NDI Decoding
- Connect the device to the network.
- On the NDI Encode/Decode page, click Search for NDI Source.
- Click Pull Stream to display the NDI source video in the preview window.
Firmware Upgrade
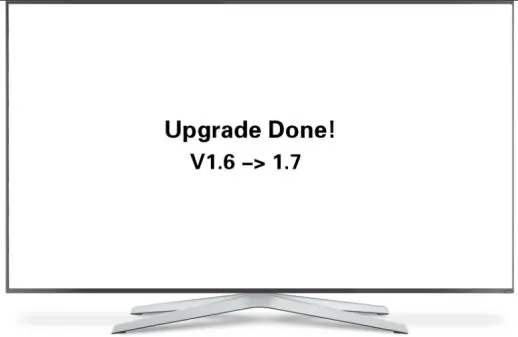
- Download the latest firmware from the RGBlink website and copy it to a USB drive.
- Insert the USB drive into the USB 2.0 port.
- The device will upgrade automatically and reboot. Do not disconnect the device during this process.
Practical help
Common problems
Device not recognized after power cycle
Ensure the time interval between powering off and powering on is greater than 30 seconds.
Cannot access web management page
Ensure your computer and the TAO 1tiny are on the same LAN (first three segments of IP addresses must match).
NDI features not working
Ensure you are not trying to perform NDI encoding and decoding simultaneously.
Before use
- Use a power adapter providing at least 5V/2A.
- Do not use a computer USB port for power.
- Ensure the device and computer are on the same network subnet.
- Verify the default IP address (192.168.5.100) is accessible.
Specs in practice
- 192.168.5.100
- Default factory IP address for web management.
Images and diagrams
- Interface layout shows power input, control port, USB input, HDMI output, and Ethernet port.
- Connection diagrams illustrate linking USB cameras and switchers.
Model compatibility
- Compatible with RGBlink mini series, Blackmagic Design ATEM mini, DJI Osmo Action series, Insta360 cameras, and OBSBOT cameras.

Manual page author
David Miller
Documentation analyst
Organizes user manual content into clear summaries, with attention to model details, product context, and everyday usability.