Electronics / Security Cameras
User Manual for Ring Stick Up Cam Pro Battery
Quick setup guide and user manual for the Ring Stick Up Cam Pro Battery. Learn how to charge the battery, install the camera on a wall or ceiling, and configure settings.
Table of contents
Manual images
Click an image to enlargeQuick Start
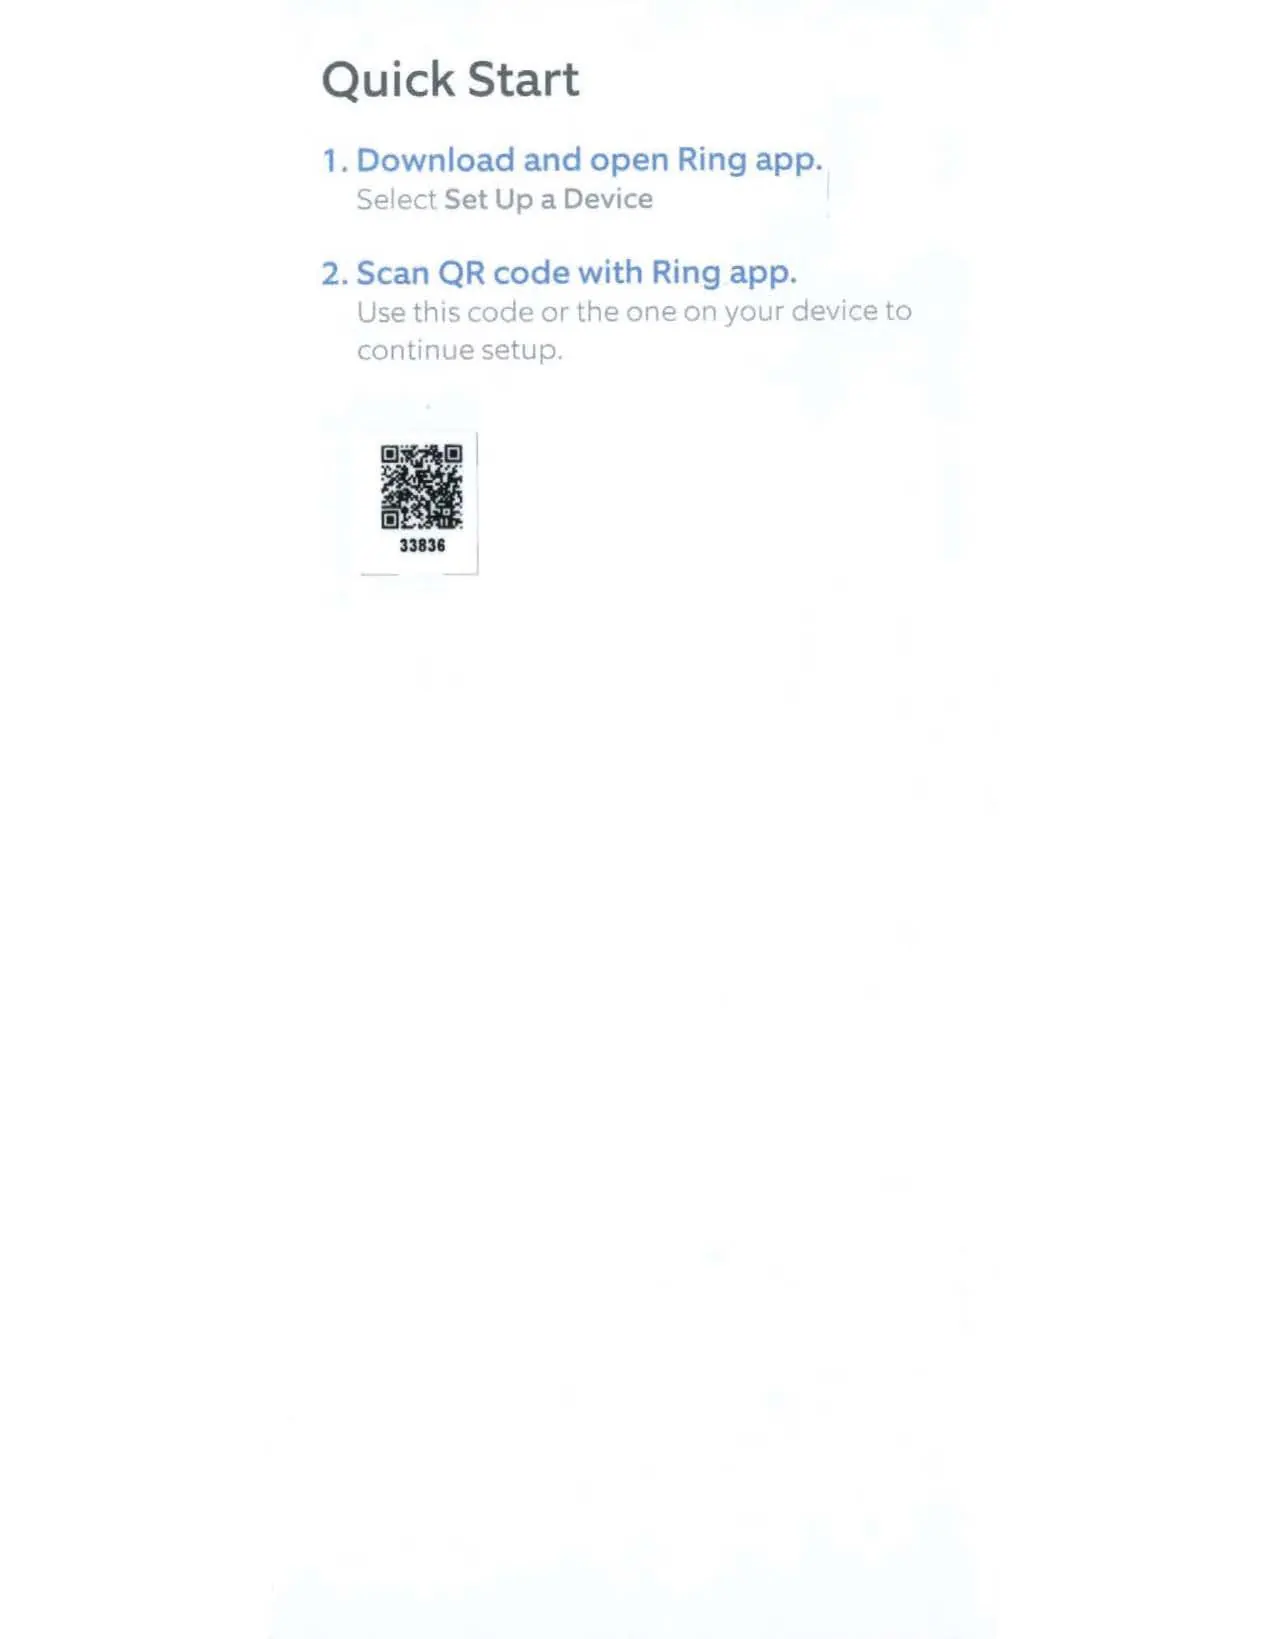
To begin using your Ring Stick Up Cam Pro, download and open the Ring app on your smartphone. Select Set Up a Device and scan the QR code found on your device or in this guide to continue the setup process.
Battery Setup
Before using the camera, you must prepare the battery:
- Remove the protective film from the device to ensure it works properly.
- Twist the battery compartment counterclockwise to unlock and remove the cover.
- Remove the battery and discard the orange battery insulator.
- Plug the battery into a power source using the provided USB cable. A green light indicates the battery is fully charged.
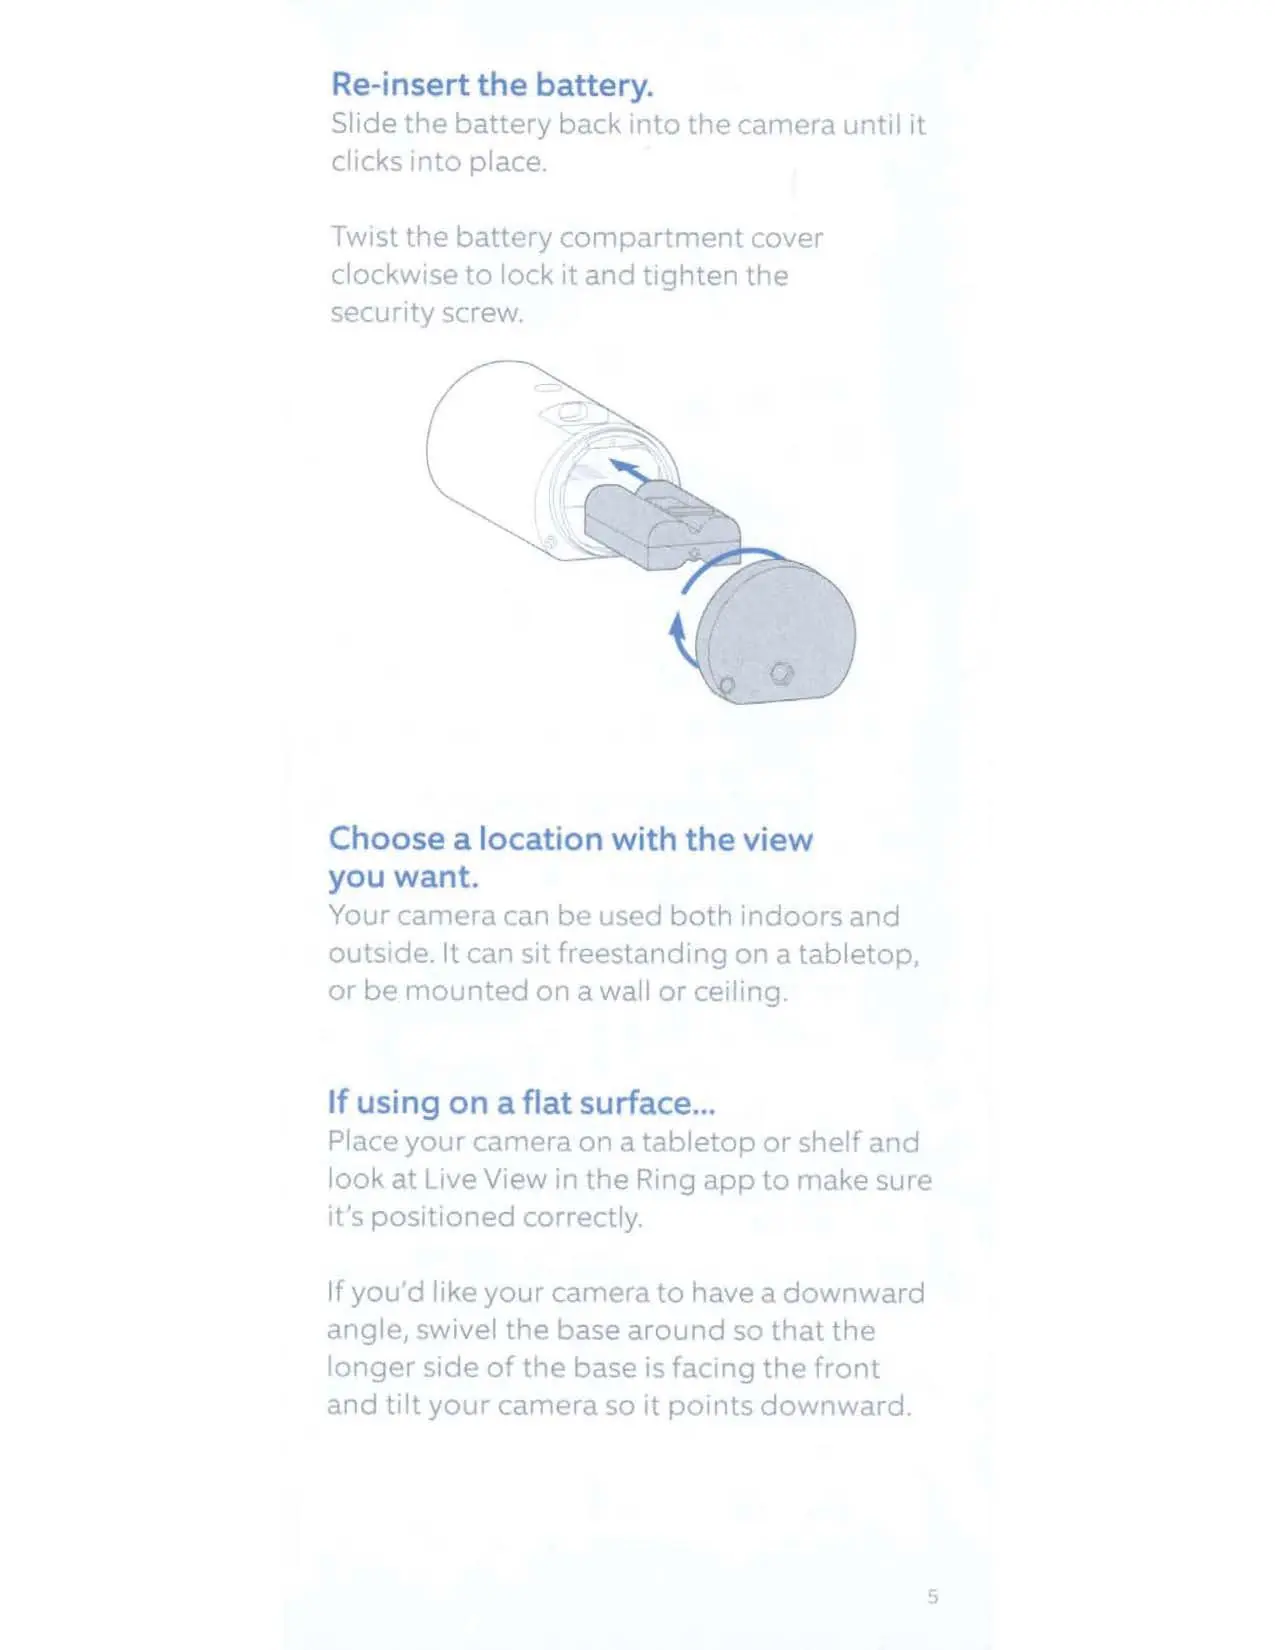
- Slide the battery back into the camera until it clicks into place.
- Twist the battery compartment cover clockwise to lock it and tighten the security screw.
Installation
The camera can be used indoors or outdoors, freestanding on a flat surface, or mounted on a wall or ceiling.
Flat Surface
Place the camera on a tabletop or shelf. Use the Live View in the Ring app to verify the positioning. If you need a downward angle, swivel the base so the longer side faces the front and tilt the camera.
Wall Installation
- Remove the decorative cover from the camera mount.
- Use a Phillips-head screwdriver to unscrew the mount and detach it from the camera.
- Slide the mounting plate off the camera mount.
- Place the mounting plate on the wall with the UP arrow pointing up.
- If installing on masonry, mark the holes, drill pilot holes using a 1/4" drill bit, insert wall anchors, and secure the plate with the included screws.
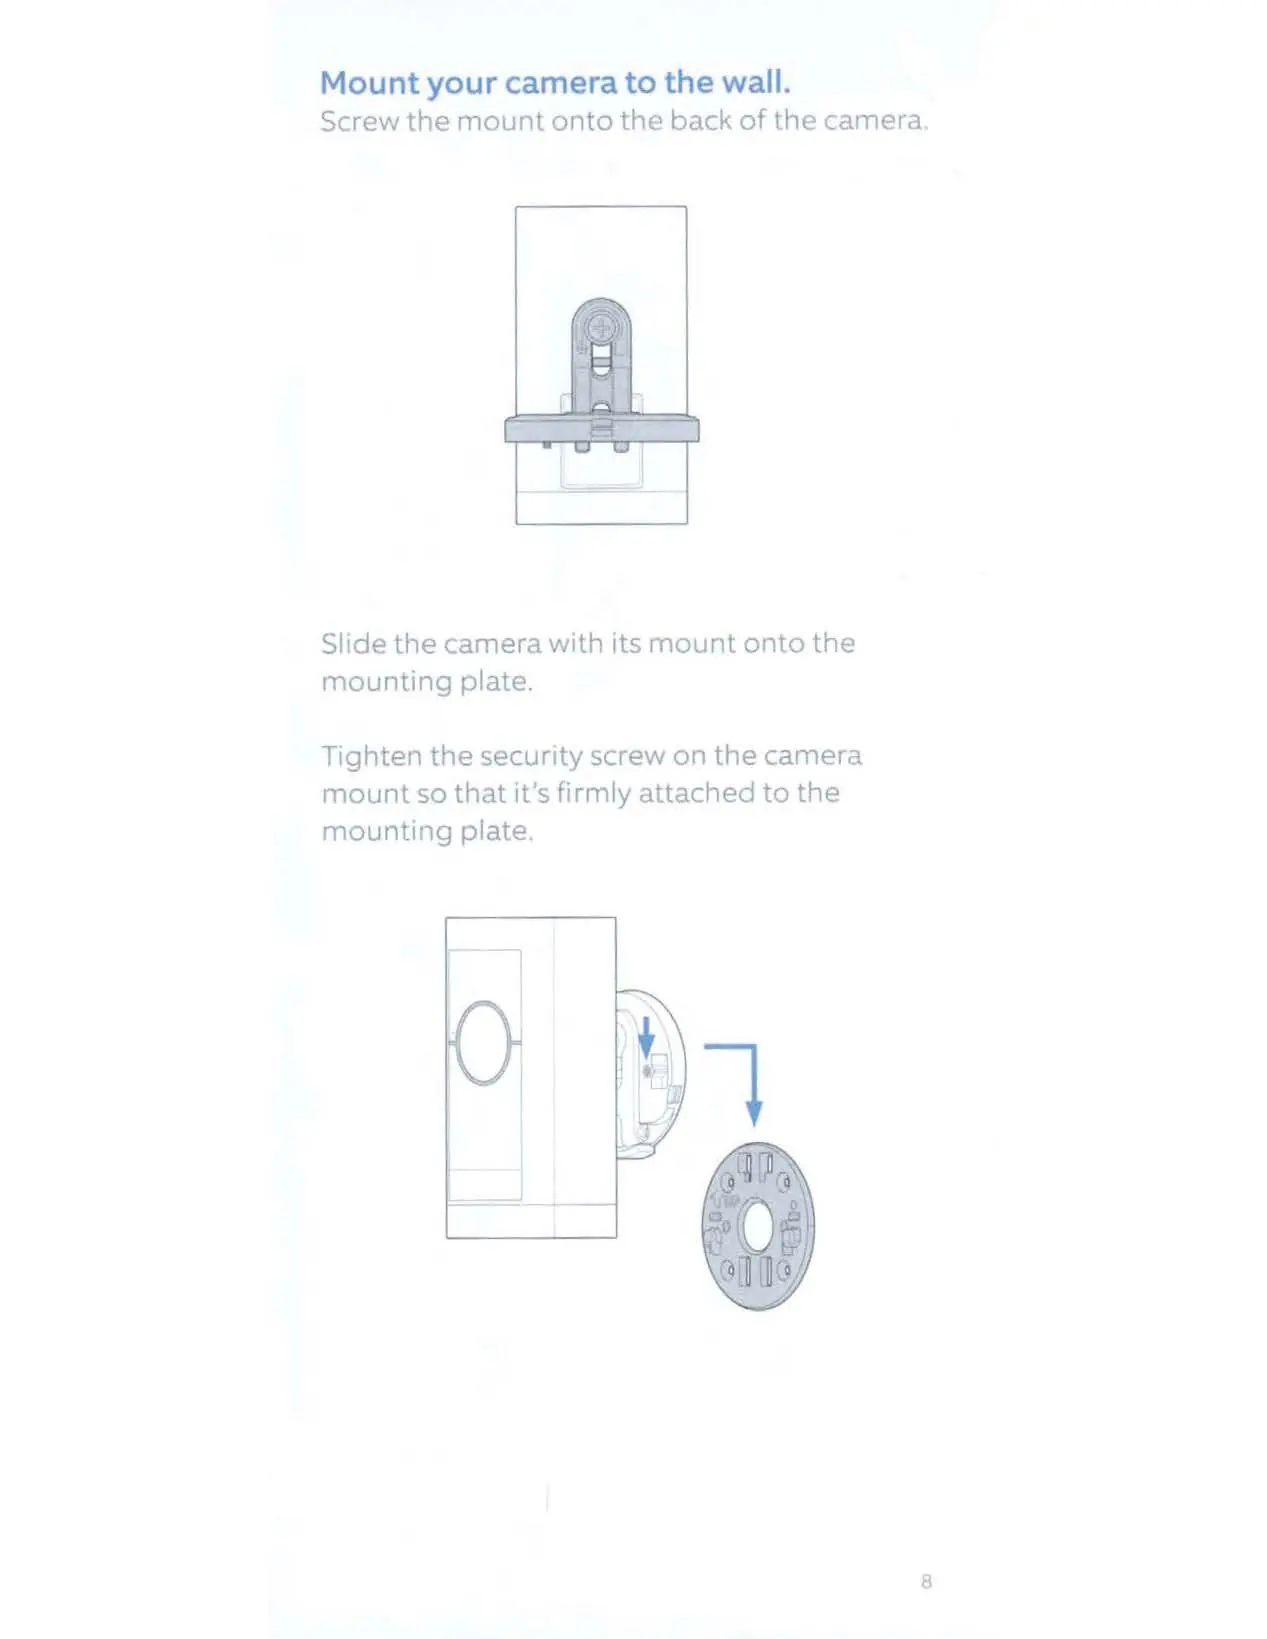
- Screw the mount back onto the back of the camera.
- Slide the camera with its mount onto the mounting plate and tighten the security screw.
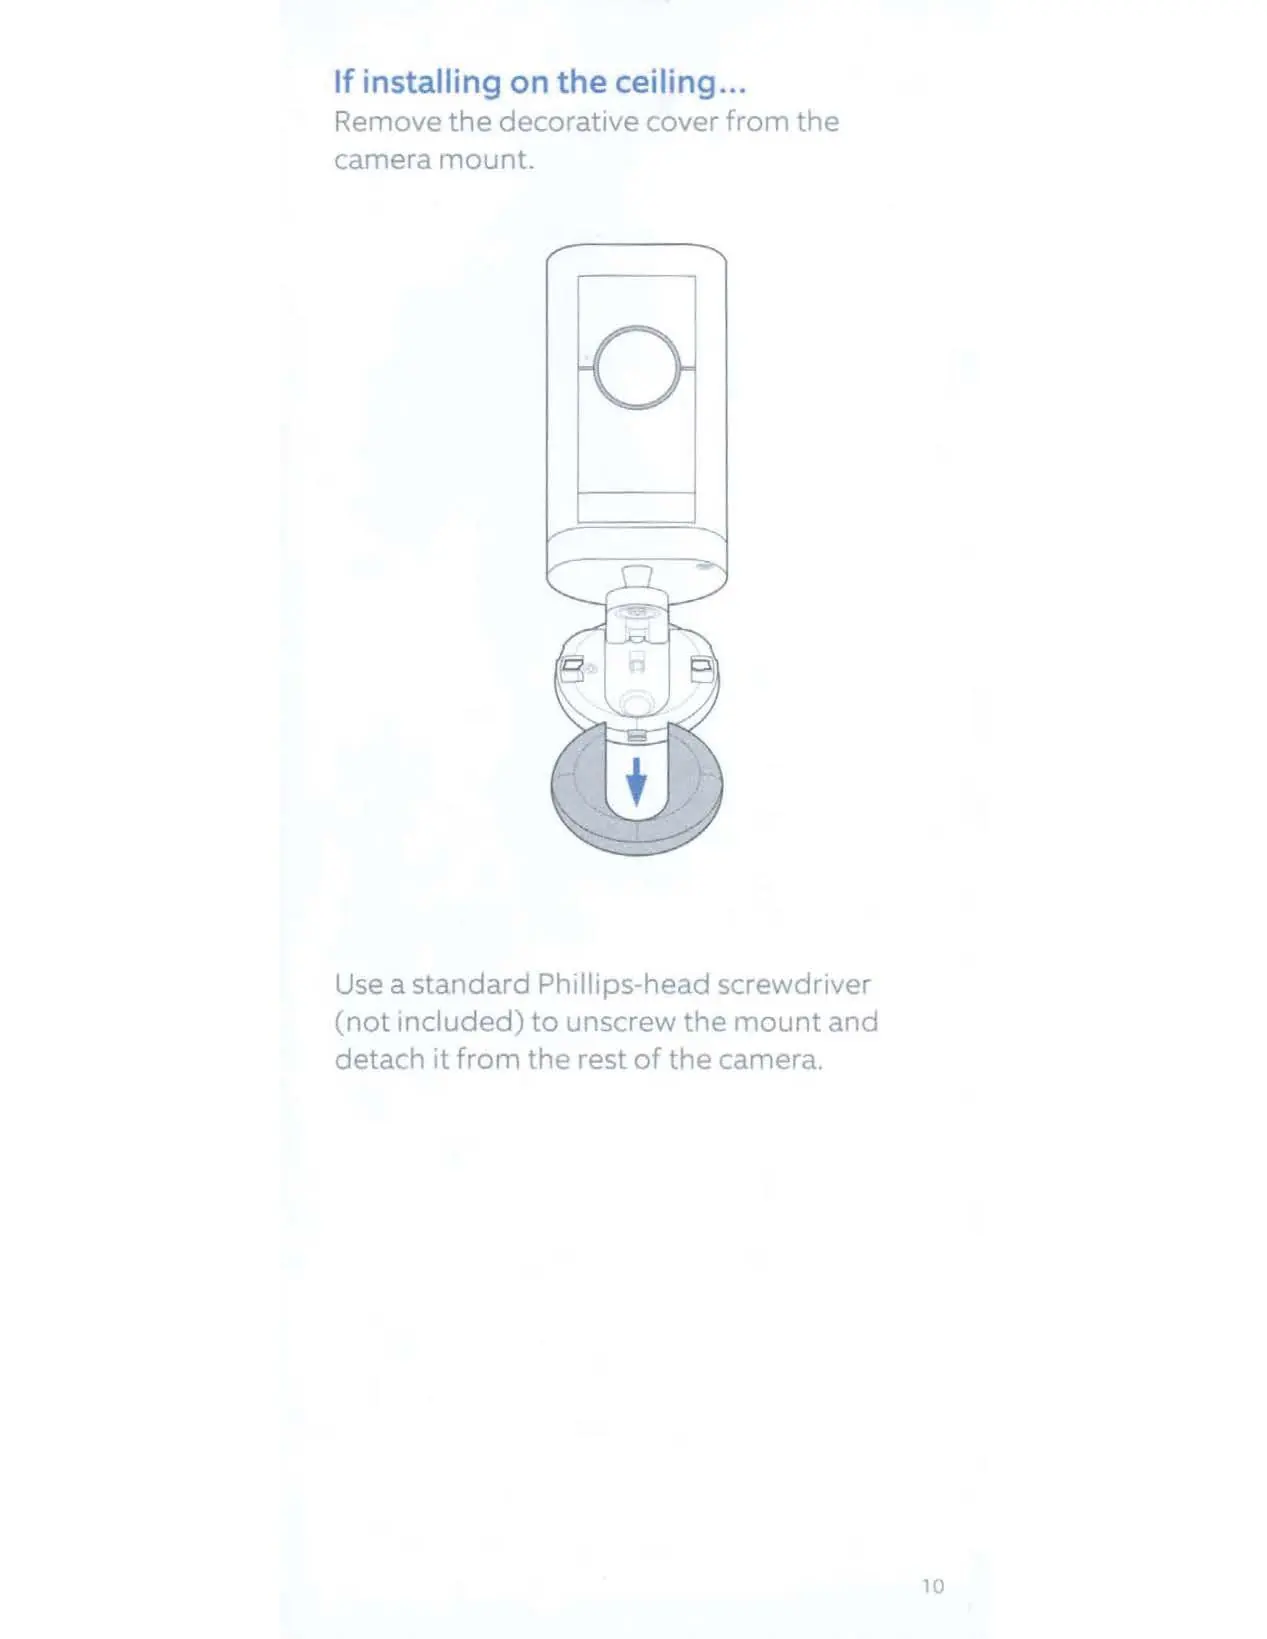
Ceiling Installation
- Follow the same steps to remove the mount and mounting plate as described for wall installation.
- Place the mounting plate on the ceiling with the UP arrow pointing in the opposite direction from where the camera will face.
- Secure the plate using the appropriate method for your ceiling surface (drywall or masonry).
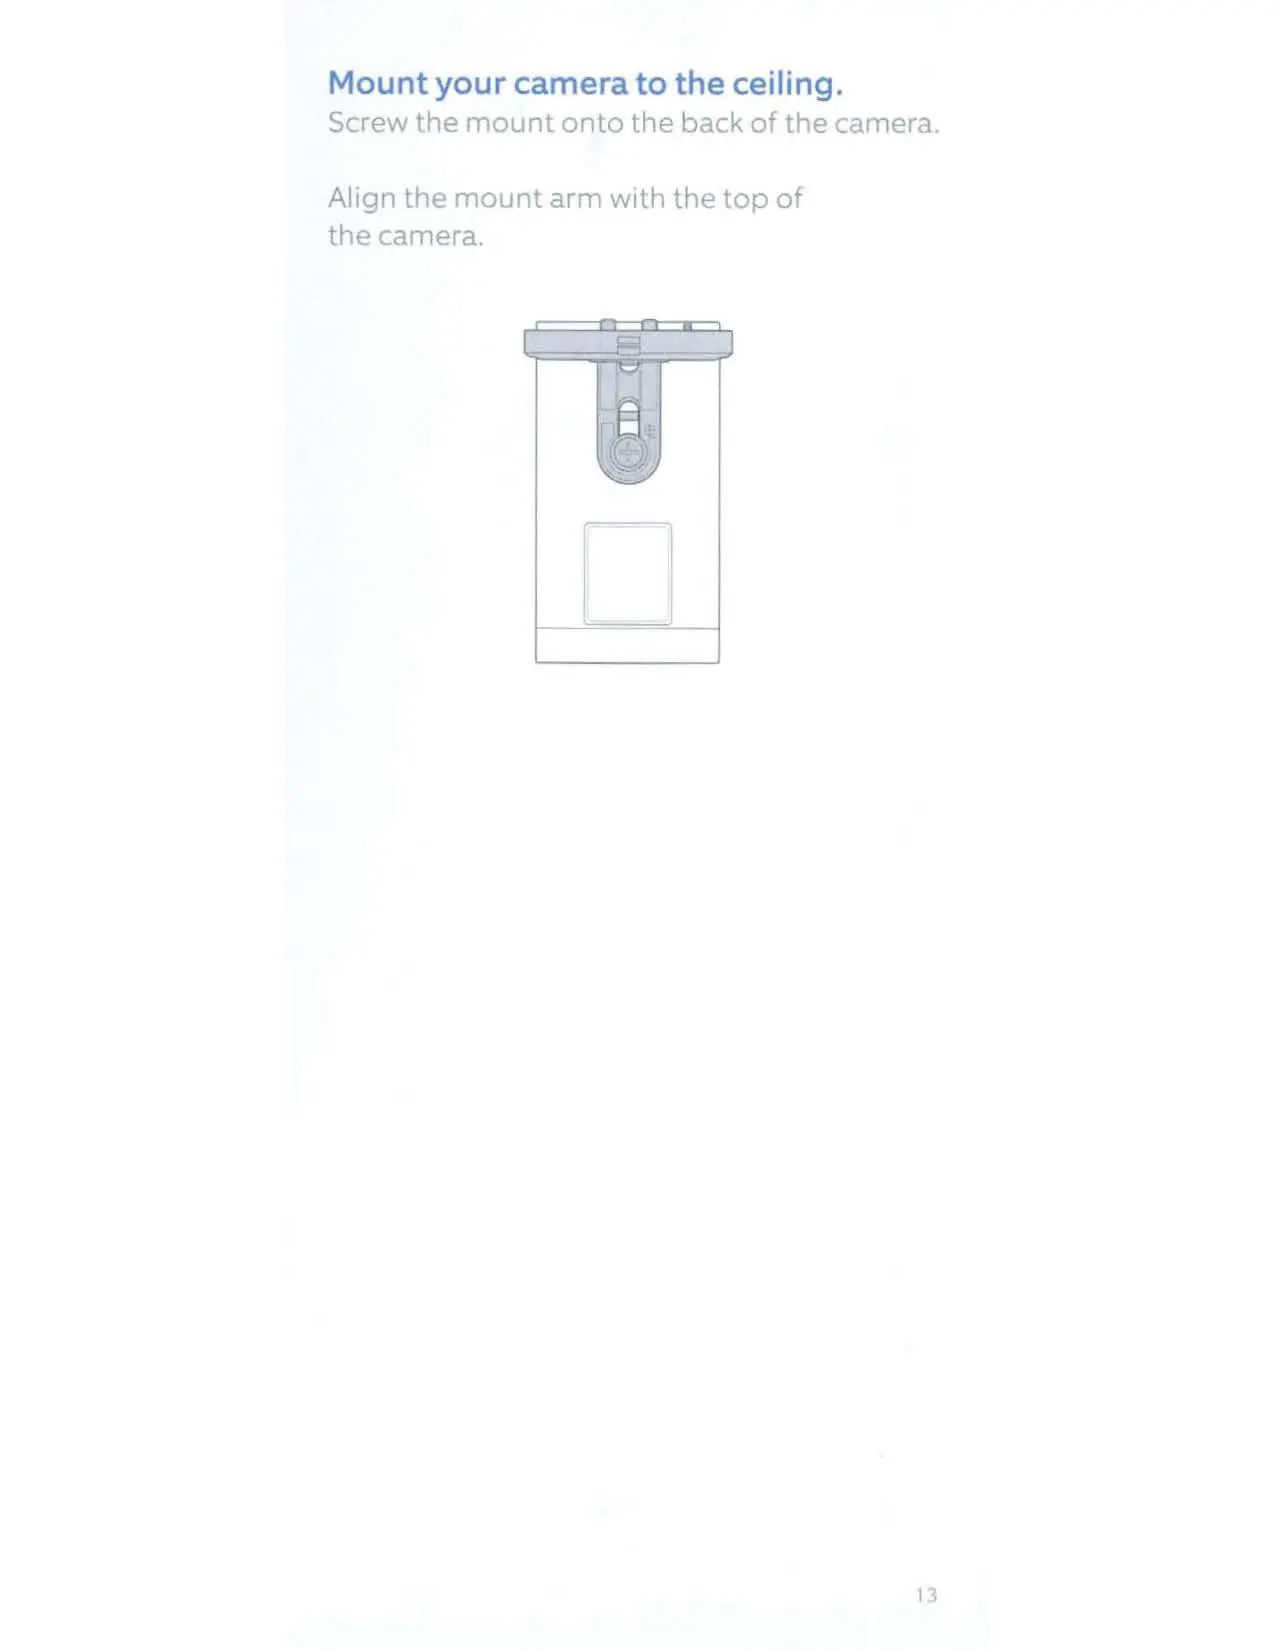
- Align the mount arm with the top of the camera and screw the mount onto the back of the camera.
- Slide the camera onto the mounting plate, tighten the security screw, and replace the decorative cover.
Adjusting the Camera Angle
Loosen the security screw on the mount arm. Rotate the camera to focus on your desired area. Check the Live View in the Ring app to confirm the angle, then tighten the security screw to lock the position.
Safety and Support
The device is water-resistant but not intended for underwater use. Do not expose the adapter or cable to liquids. For additional help, visit ring.com/help or call the support numbers provided in the manual. For warranty information, visit ring.com/legal.
Official resources from the manual
Manufacturer information
Ring
Practical help
Common problems
Camera not charging
Ensure the battery is inserted correctly and the USB cable is connected to a power source. Check that the light on top glows green when charged.
Installation issues
Ensure the mounting plate is oriented correctly with the UP arrow pointing up (for walls) or in the opposite direction of the camera view (for ceilings).
Device not working
Ensure the protective film has been removed from the device.
Before use
- Download the Ring app.
- Remove the protective film from the device.
- Charge the battery using the provided USB cable.
- Ensure you have a Phillips-head screwdriver for installation.
- Check the mounting surface for electrical wiring before drilling.
Specs in practice
- Temperature Rating
- -5° to 120°F (-20.5°C to 48.5°C).
- Electrical Rating
- Ring Battery or 5.0V DC.
Images and diagrams
- Battery compartment: Twist counterclockwise to unlock and remove the cover.
- Mounting plate: The UP arrow indicates the correct orientation for installation.
- Security screw: Must be tightened to secure the camera to the mounting plate.
Model compatibility
- Suitable for both indoor and outdoor use.
- Do not use third-party accessories.

Manual page author
Michael Turner
Technical manual editor
Reviews PDF manuals for structure, safety notes, and practical product details so readers can find the right information quickly.