Automotive / Bicycle Carriers
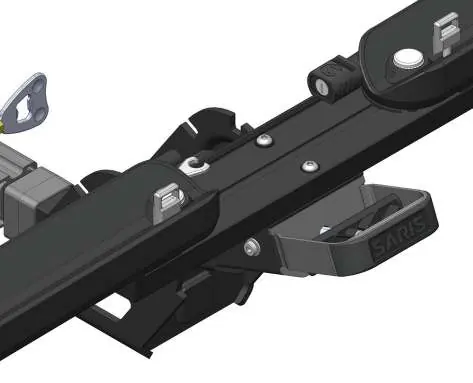
Saris MTR Hitch Bike Rack
User manual and quick start guide for the Saris MTR hitch-mounted bike rack. Includes assembly, installation, bike loading, maintenance, and safety instructions for models 4031 and 4032.
Table of contents
Manual images
Click an image to enlargeQuick Guide
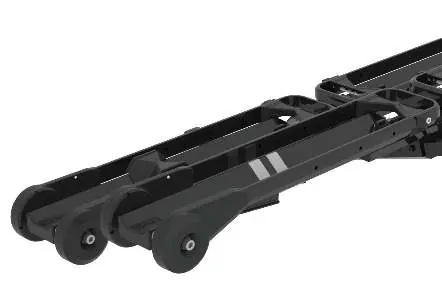
The Saris MTR is a hitch-mounted bike rack designed for standard bike frames. It is available in 1-bike (4031) and 2-bike (4032) configurations. Always load the heaviest bike closest to the vehicle. Ensure the rack is installed directly into the vehicle's hitch receiver without modifications or extenders.
Installation
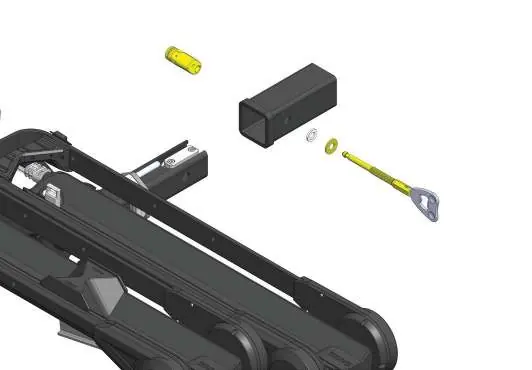
Insert the receiver tube into the vehicle hitch. For 1.25-inch receivers, remove the three 5mm bolts to disconnect the 2-inch adapter (1-bike model only). Align the holes in the receiver tube with the hitch holes. Install the flat washer and split washer on the hitch pin. Insert the pin on the passenger side and thread by hand until tight. Slide the hole finder collar against the receiver, clamp the lever down, and install the lock head. For proper security, lift the front handle of the rack and tighten the pin until all play is removed.
Rack Operation
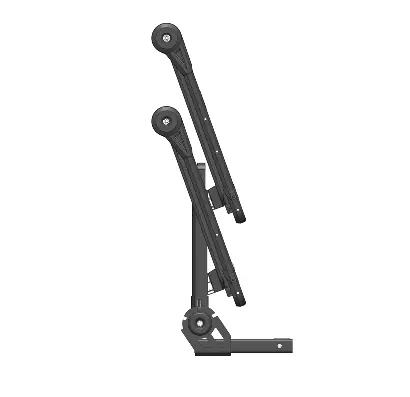
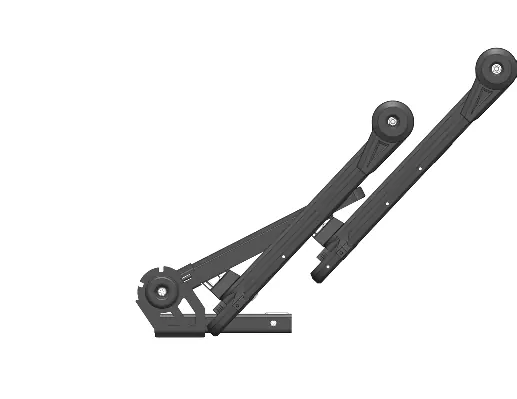
Unfolding: Pull the lever at the end of the rack to unfold it from the storage position. Lowering for Transport: Pull the lever to lower the rack to the transport position. Loading Bikes: Place the front wheel over the front wheel block on the tray. Secure the rear wheel arm against the rear wheel, then secure the front wheel arm to the front wheel. Push the front wheel arm until it contacts the lower wheel block and install the rear wheel strap. Hatch Access: Pull the lever handle at the end of the rack to fold it down. To return to the transport position, lift the outer handle until an audible click is heard.

Wheel Block Adjustment
Use the hex key located on the backside of the center beam to adjust the wheel block position. The four holes are optimized for fitting the front wheel. The rear wheel holder should be placed in the highest location possible without going over the center of the rear wheel. For bikes with rear racks or fenders, use position 3 or 4. Ensure the wheel block does not touch fenders.
Maintenance
Each use: Wipe down rack feet, avoid ground contact with feet, check straps for wear, check bike cradles and wheel scoops, and check for loose bolts. Every 90 days: Clean with water and mild soap, lubricate locks (use wet, oil-based lubricant; NO WD-40), grease hitch bolt threads, and check for paint scratches.
Safety Warnings
Do not use for off-road driving or at speeds exceeding 70 mph (113 km/h). Do not mount to trailers or RVs, including Class B vehicles. Remove all loose parts from bicycles (child seats, baskets, locks, lights, pumps) before transport. Ensure bike tires are not directly behind the exhaust pipe. The vehicle's handling characteristics will change when the rack is loaded; adjust driving speed and braking distance accordingly.
Practical help
Common problems
Rack wobbles in the hitch receiver
Ensure the hitch pin is tightened properly. Lift the front handle of the rack and tighten the pin until all play is removed. A 1/2-inch wrench may be used for easier installation.
Bike does not fit securely
Adjust the wheel block position using the hex key on the center beam. Ensure the rear wheel holder is in the highest position possible without going over the center of the rear wheel.
Cannot access vehicle hatch
Pull the lever handle at the end of the rack to fold the rack down. Support the weight of the rack and bikes while tilting.
Before use
- Ensure bicycle tires are properly inflated.
- Verify the rack is installed directly into the vehicle hitch receiver.
- Remove all loose parts from the bicycle (child seats, baskets, locks, lights, pumps).
- Ensure bike tires are not positioned directly behind the exhaust pipe.
- Check all bolts for tightness.
- Verify the rack is not mounted to a trailer or RV.
Specs in practice
- Max bike weight
- 60 lbs (27 kg) per bike.
- 1-Bike Rack Weight
- 39 lbs (17 kg).
- 2-Bike Rack Weight
- 59 lbs (27 kg).
- Receiver Requirement
- Class II or higher receiver required when carrying more than two bikes.
Images and diagrams
- Page 6: Hitch installation and pin tightening procedure.
- Page 11: Wheel block positioning guide for different wheel sizes.
- Page 13: Proper bike loading sequence and strap placement.
Model compatibility
- Not intended for use with tandem or recumbent bicycles.
- Not recommended for off-road use.
- Do not use with trailers or RVs, including Class B vehicles.
- Requires Class II or higher receiver for configurations carrying more than two bikes.

Manual page author
David Miller
Documentation analyst
Organizes user manual content into clear summaries, with attention to model details, product context, and everyday usability.