Electronics / Projectors
ViewSonic X1/X2 Projector User Guide
Quick guide for the ViewSonic X1/X2 projector. Learn about setup, installation, menu settings, troubleshooting, and maintenance.
Table of contents
Manual images
Click an image to enlargeImportant Information
Before using the projector, ensure there is at least 20 inches (50 cm) of clearance around the unit for proper ventilation. Do not block the projection lens during operation, as this can cause overheating or fire. The lamp becomes extremely hot; allow the projector to cool for approximately 45 minutes before attempting to remove the lamp assembly. Always use the projector in a well-ventilated area and on a stable surface.
Product Overview
The projector features a variety of controls and ports for connectivity. Key controls include Power, Menu, Exit, Source, Blank, and Color Mode buttons. Connection ports include HDMI 1 and 2, USB-C, Audio In/Out, and an RS-232 control port.
Initial Setup
Choosing a Location: Consider the screen size, position, and distance from the projector. The projector can be installed in Front, Front Ceiling, Rear Ceiling, or Rear positions.
Mounting: If ceiling mounting, use a proper fitting projector ceiling mount kit. Ensure screws used for attachment are M4 x 8, with a maximum length of 8 mm.
Making Connections
Connect the power cord to the AC IN jack at the rear of the projector. For video and computer sources, use the HDMI or USB-C ports. External speakers can be connected to the AUDIO OUT port.
Operation
Turning On/Off: Press the Power button to turn on. If the projector is hot from previous use, the cooling fan will run for 90 seconds before the light source activates. To shut down, press the Power or Off button and confirm.
Image Adjustments: Use the adjuster foot to change the projector's height and angle. Rotate the Zoom Ring to adjust image size and the Focus Ring to improve clarity. Use the Keystone and 4 Corners adjustment features to correct image distortion caused by angled projection.
Menu Functions
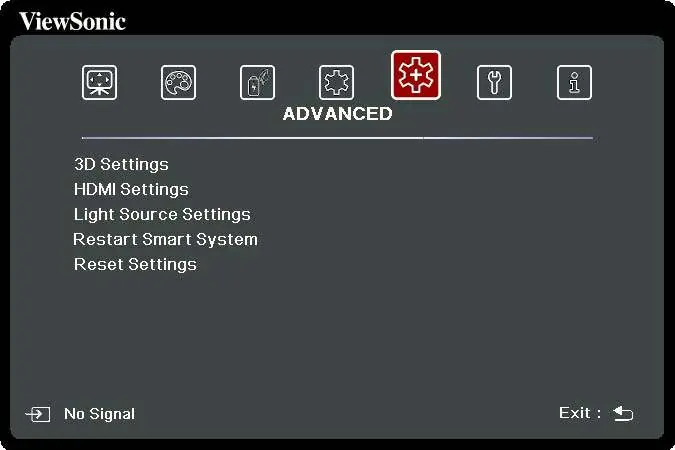
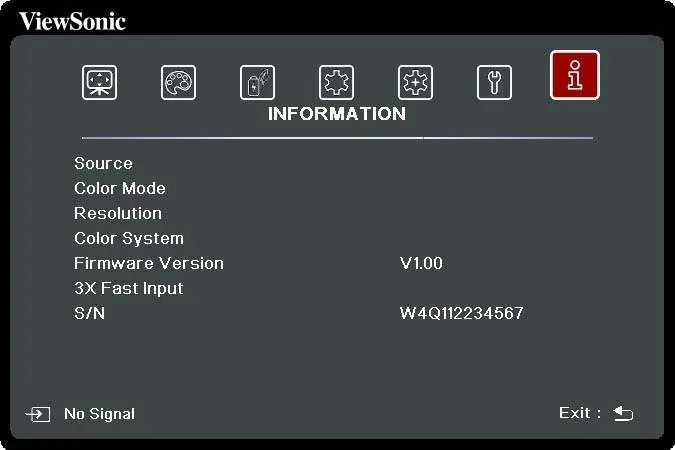
The On-Screen Display (OSD) Menu allows for various adjustments. Access it by pressing the MENU button. Main menus include:
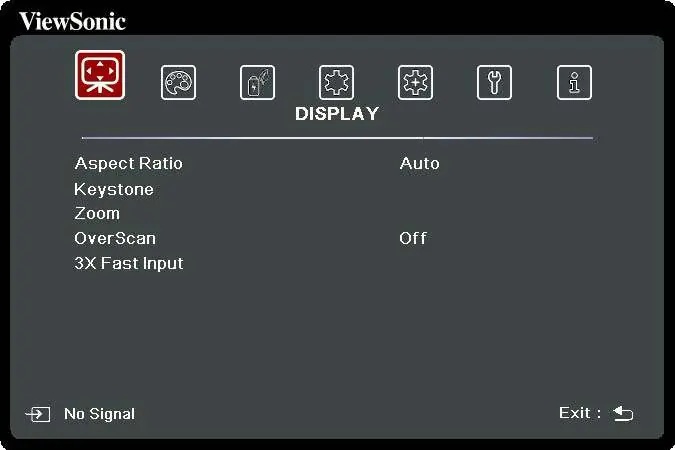
- DISPLAY: Adjust Aspect Ratio, Keystone, Corner Adj., Zoom, and OverScan.
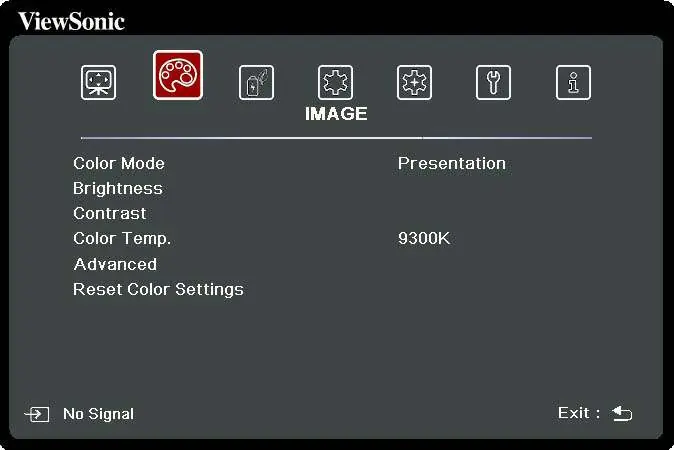
- IMAGE: Configure Color Mode, Brightness, Contrast, and Color Temp.
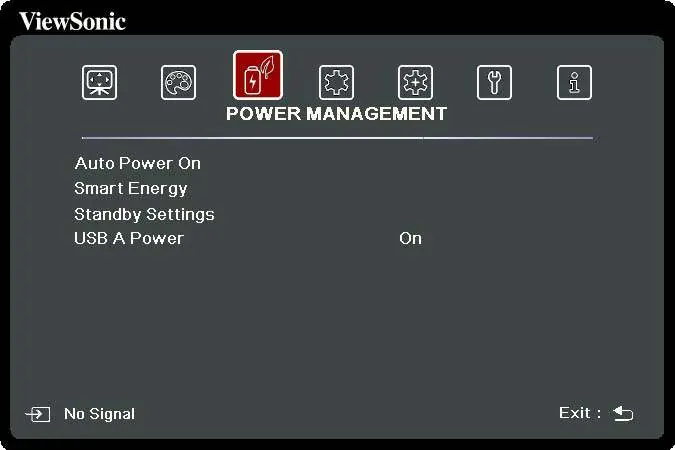
- POWER MANAGEMENT: Set Auto Power On, Smart Energy, and Standby Settings.
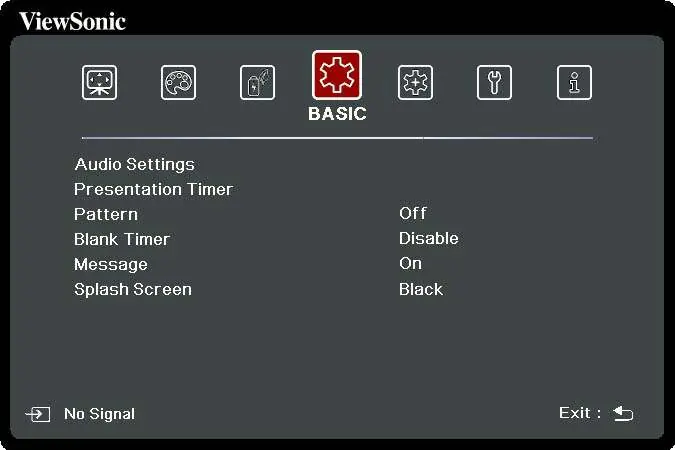
- BASIC: Adjust Audio Settings, Presentation Timer, and Splash Screen.
- ADVANCED: Configure HDR, 3D Settings, HDMI Settings, and Light Source Settings.
- SYSTEM: Manage Language, Projector Position, High Altitude Mode, and Security Settings.
- INFORMATION: View current source, resolution, and firmware version.
Smart System
The Smart System provides access to apps, Bluetooth, and screen mirroring. You can connect Bluetooth devices for audio playback or use Screen Mirroring for wireless display. Firmware can be updated online or via a USB device.
Troubleshooting
If the projector does not turn on, ensure the power cord is properly attached and the cooling process has finished. If there is no picture, check the video source connection. For blurred images, adjust the Focus Ring. If Bluetooth fails, perform a reset in the Settings > System > Reset options menu.
Maintenance
Clean the lens with a canister of compressed air or lens-cleaning paper. Clean the case with a soft, lint-free, dry cloth. Do not use ammonia or alcohol-based cleaners. Store the projector in its original packaging in a cool, dry place.
Practical help
Common problems
The projector does not turn on
Ensure the power cord is properly attached to the projector and the power outlet. If the cooling process has not completed, wait until it finishes before trying to turn it on again.
There is no picture
Ensure the video source cable is connected properly and the source is turned on. Select the correct input source using the Source key.
The image is blurred
Adjust the Focus Ring on the projector to focus the lens.
The remote control does not work
Ensure there are no obstacles between the remote and the projector, and that they are within 8 meters of each other. Check and replace the batteries if necessary.
Bluetooth connection fails
Perform 'Reset Wi-Fi mobile & Bluetooth' in the Settings > System > Reset options menu when the input source is SMART SYSTEM.
Before use
- Ensure at least 20 inches (50 cm) of clearance around the projector for ventilation.
- Place the projector on a stable, level surface.
- Remove the lens cap before turning on the projector.
- Verify the power outlet is easily accessible.
- Ensure the projector is not installed near heat sources like radiators or stoves.
Specs in practice
- High Altitude Mode
- Increases fan speed to improve cooling in environments between 1,500 m and 3,000 m above sea level.
Images and diagrams
- The projector features a lens shift, focus ring, and zoom ring for image adjustment.
- Connection ports include HDMI, USB-C, Audio In/Out, and RS-232.
- The remote control has dedicated buttons for Smart System navigation, volume, and playback.
Model compatibility
- Supports 100-240V AC power.
- Supports 3D content with 3D glasses.
- Compatible with various resolutions via HDMI/USB-C.

Manual page author
Emily Carter
User documentation editor
Prepares concise manual descriptions and highlights the most useful setup, operation, and maintenance information for readers.