Power / Portable Power Stations
User Manual for Aputure Trigmaster Plus 2.4G
Quick guide for the Aputure Trigmaster Plus 2.4G wireless flash and shutter trigger. Learn how to set up channels, configure transmitter/receiver modes, and troubleshoot common connection issues.
Quick answers from the manual
Quick answer
- The Aputure Trigmaster Plus 2.4G is a wireless flash and shutter trigger. It features a built-in transmitter and receiver, 6 channels, and a 120m range. Set the function switch to TX/RX for triggering and RX for receiving. p. 2, 4, 9
Key actions
- Setting Channels p. 4, 9
- Setting Function Mode p. 4, 9
First start
- Install 2x AAA batteries, set all units to the same channel, and configure the function switch (TX/RX or RX) based on your setup. p. 4, 9
Problems and fixes
Unable to trigger flash or camera shutter
Check battery, ensure transmitter and receiver are on the same channel, verify function switch setting, and check cable connections.
p. 9, 12Technical specifications
| Parameter | Value | Meaning | Pages |
|---|---|---|---|
| Transmitter distance | 120 meters | Range in open area | p. 10, 12 |
| Sync-speed | 1/250 sec | Maximum flash sync speed | p. 10, 12 |
Where to find it in the PDF
- Components p. 3, 9
- Operation p. 5, 6, 10, 11
Table of contents
Manual images
Click an image to enlargeQuick guide from the manual
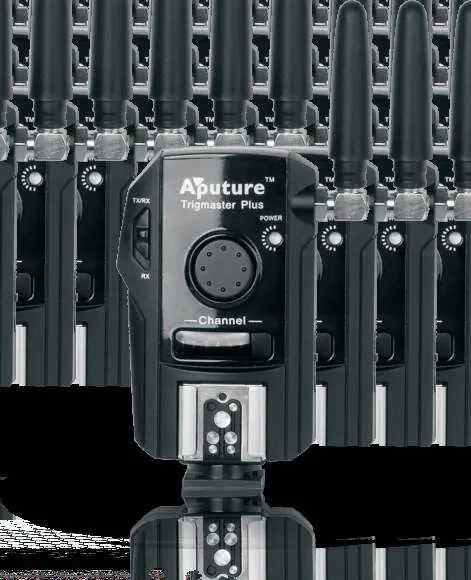
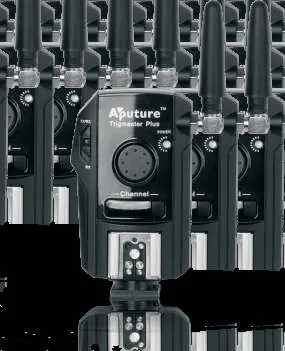
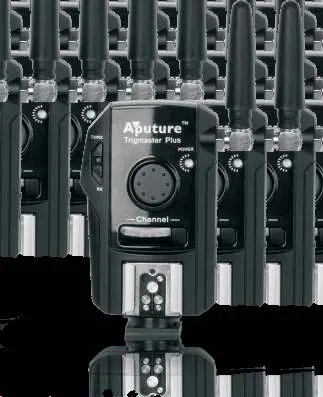
The Aputure Trigmaster Plus 2.4G is a versatile wireless flash and shutter trigger. It features a built-in transmitter and receiver system, allowing it to function as either a trigger or a receiver depending on the settings. It operates on a 2.4G radio frequency with 6 selectable channels and a range of up to 120 meters in open areas.
Components
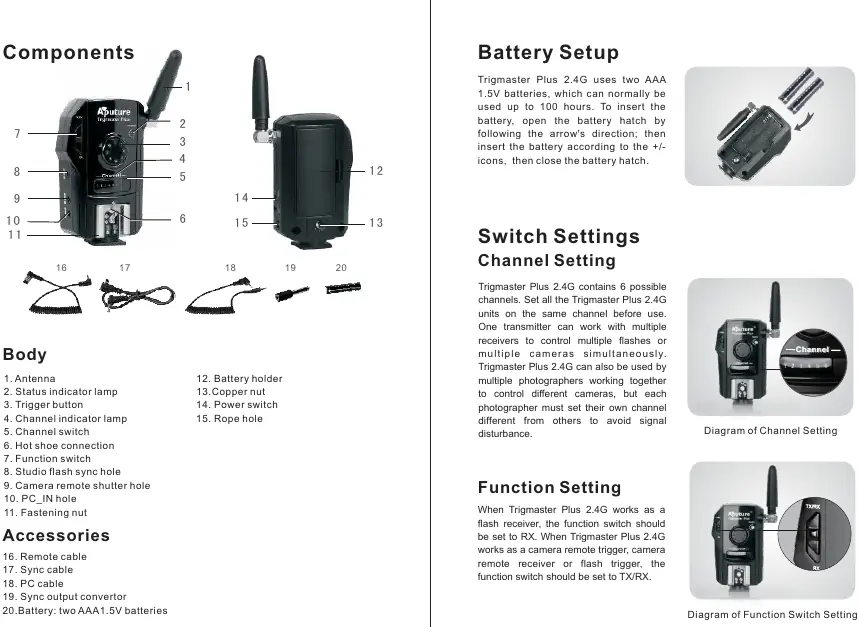
- Antenna
- Status indicator lamp
- Trigger button
- Channel switch
- Function switch (TX/RX or RX)
- Hot shoe connection
- Sync ports (PC, Studio flash, Camera remote)
Battery Setup
The device uses two AAA 1.5V batteries. To install:
- Open the battery hatch by following the arrow's direction.
- Insert the batteries according to the +/- icons.
- Close the battery hatch.
The device can typically operate for up to 100 hours on a fresh set of batteries.
Channel and Function Settings
Channel Setting: The device has 6 channels. Ensure all units (transmitter and receiver) are set to the same channel before use to avoid signal disturbance.
Function Setting: The function switch determines the mode of operation:
- TX/RX: Use this mode when the device is acting as a camera remote trigger, flash trigger, or transmitter.
- RX: Use this mode when the device is acting as a flash receiver.
Operation
Camera Remote Operation: Connect the device to the camera using the appropriate remote cable. Set the function switch to TX/RX. Half-press the trigger button to auto-focus (indicator turns green), and fully press to take a picture (indicator turns red).
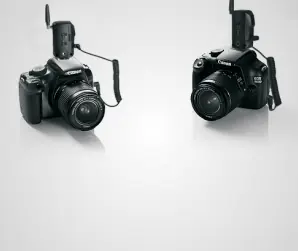
Flash Triggering: Connect the transmitter to the camera (TX/RX mode) and the receiver to the flash (RX mode). Pressing the camera shutter will trigger the flash.
Interlink Triggering: This allows you to trigger a flash in sync with a camera remotely. It requires three or more units configured in a relay mode.
Troubleshooting
- Unable to trigger: Ensure batteries are installed, the receiver is powered on, both units are on the same channel, and the function switch is set correctly (TX/RX for transmitter, RX for receiver).
- Camera shoots but doesn't focus: Ensure the lens focus mode is set to AF (Auto Focus), not MF (Manual Focus).
- Limited range: Check battery levels, ensure there are no physical barriers between units, and adjust the transmitter's location or angle.
Safety Information
- Do not disassemble or modify the device.
- Keep the device dry; do not handle with wet hands or expose to rain.
- Keep out of reach of children.
- Do not expose to high temperatures (e.g., inside a vehicle in the sun).
- Use only specified batteries and do not mix old/new or different types.
Manufacturer information
Aputure
Practical help
Common problems
Unable to trigger flash or camera shutter
Check battery levels, ensure transmitter and receiver are on the same channel, verify the function switch is set correctly (TX/RX vs RX), and ensure all cables are securely connected.
Camera shoots but does not focus
Verify that the camera lens focus mode is set to AF (Auto Focus) and not MF (Manual Focus).
Limited operating distance
Check if batteries are exhausted, ensure there are no physical barriers between the transmitter and receiver, and try adjusting the transmitter's location or angle.
Signal disturbance
Ensure your channel switch settings are different from other photographers in the area.
Before use
- Install two AAA 1.5V batteries.
- Set all Trigmaster units to the same channel.
- Set the function switch to TX/RX for the transmitter/trigger unit.
- Set the function switch to RX for the receiver unit.
- Ensure all cables (sync, remote) are securely connected.
Specs in practice
- Transmitter distance
- Up to 120 meters in open areas.
- Continuous trigger frequency
- Up to 8 frames per second.
Images and diagrams
- The manual includes diagrams illustrating the function switch positions (TX/RX vs RX).
- Diagrams show the correct connection of cables for wired and wireless shutter release.
- Illustrations demonstrate the setup for interlink triggering and multiple camera control.
Model compatibility
- Compatible with most branded Speedlights (e.g., Canon, Nikon, Sony, Olympus).
- Compatible with all Aputure Trigmaster family products.

Manual page author
Emily Carter
User documentation editor
Prepares concise manual descriptions and highlights the most useful setup, operation, and maintenance information for readers.