Tools / Power Tools
Bauer 1864E-B 8A Angle Grinder User Manual
Quick guide for the Bauer 1864E-B 8A Angle Grinder. Includes setup instructions, safety warnings, grinding procedures, maintenance tips, and troubleshooting.
Quick answers from the manual
Quick answer
- The Bauer 1864E-B is an 8A angle grinder. Always unplug the tool before performing any maintenance or changing accessories. Use only 4.5-inch accessories rated for at least 11,000 RPM. p. 1, 9, 12
Key actions
- Install the Wheel Guard p. 10
- Install the Auxiliary Handle p. 10
- Install a Grinding Wheel p. 12
First start
- Ensure the switch is in the off-position, plug in the tool, squeeze the trigger, and allow it to reach full speed before touching the work material. p. 13
Problems and fixes
Tool will not start
Check cord connection, power at outlet, circuit breaker, or thermal reset button.
p. 15
Overheating
Allow tool to work at its own rate, clean vents, or check extension cord.
p. 15Maintenance and reset
- If the thermal reset breaker trips, turn off the tool, allow it to cool, and press the reset button on the tool. p. 15
Technical specifications
| Parameter | Value | Meaning | Pages |
|---|---|---|---|
| Electrical Rating | 120VAC / 60Hz / 8A | Power requirements | p. 9 |
| No Load Speed | 11,000 RPM | Maximum rotational speed | p. 9 |
| Max. Accessory Diameter | 4.5" (114.3 mm) | Maximum disc size | p. 9 |
Where to find it in the PDF
- Safety Information p. 2, 3, 4, 5
- Specifications p. 9
- Operation p. 12, 13
- Maintenance p. 14
- Parts List and Diagram p. 16, 17
Table of contents
Manual images
Click an image to enlargeQuick guide from the manual
This manual provides essential safety and operational instructions for the Bauer 1864E-B 8A Angle Grinder. Always read the full safety information before use. Key requirements include using the tool with the wheel guard and auxiliary handle properly installed, wearing appropriate personal protective equipment (eye and hearing protection), and ensuring accessories are rated for at least 11,000 RPM.
Safety Information
General Power Tool Safety: Keep the work area clean and well-lit. Do not operate in explosive atmospheres. Keep children and bystanders away.
Electrical Safety: Ensure the plug matches the outlet. Do not modify the plug. Use a GFCI-protected supply in damp locations. Do not abuse the power cord.
Personal Safety: Always wear eye protection. Prevent unintentional starting by ensuring the switch is in the off-position before connecting to power. Do not overreach and maintain proper footing.
Kickback and Vibration: Maintain a firm grip and use the auxiliary handle. Avoid bouncing or snagging the accessory. If experiencing vibration-related symptoms, seek medical advice.
Setup
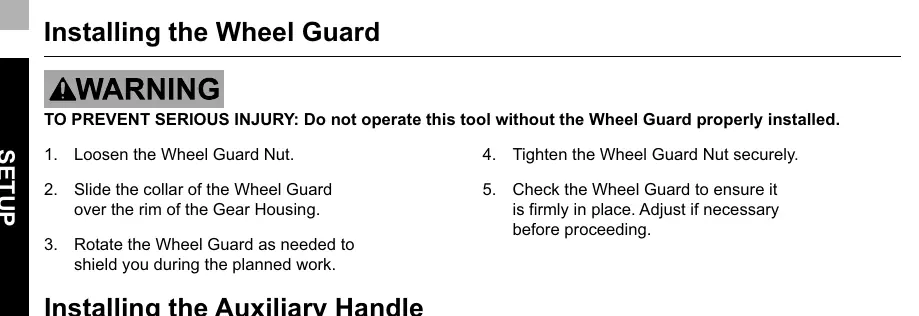
Installing the Wheel Guard: Loosen the guard nut, slide the collar over the gear housing, rotate to the desired position, and tighten the nut securely. Do not operate without the guard.
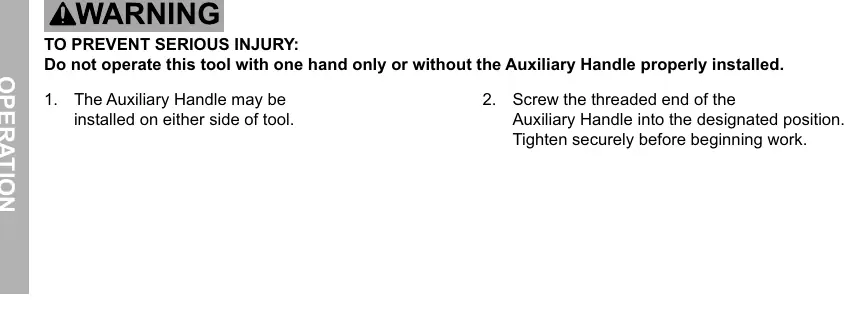
Installing the Auxiliary Handle: The handle can be installed on either side of the tool. Screw the threaded end into the designated position and tighten securely.
Operation
Installing Accessories: Ensure the tool is unplugged. Press and hold the spindle lock button. For non-threaded wheels, remove the outer flange, place the wheel, and replace the flange. For threaded accessories, remove flanges and screw the accessory firmly onto the spindle.
Grinding and Wire Brushing: Plug in the tool, squeeze the trigger, and allow it to reach full speed before touching the material. Apply the wheel at a 10°–15° angle. After use, turn off the tool, allow it to come to a complete stop, unplug it, and store it safely.
Maintenance
Cleaning: Before each use, inspect for loose hardware, damaged cords, or binding parts. After use, wipe external surfaces with a clean cloth. Periodically blow dust out of motor vents using dry compressed air.
Troubleshooting
If the tool will not start, check the power source, cord connection, and thermal reset breaker. If the tool operates slowly or overheats, reduce pressure, ensure vents are clear, and avoid using long or undersized extension cords.
Practical help
Common problems
Tool will not start
Check if the cord is plugged in, verify power at the outlet, check the circuit breaker, or press the thermal reset button if equipped.
Tool operates slowly
Decrease pressure on the workpiece and ensure you are not using an undersized or excessively long extension cord.
Overheating
Allow the tool to work at its own rate, clear blocked motor vents, and ensure the extension cord is of the proper gauge.
Tool does not grind effectively
Confirm the accessory is tight and that you are using the correct type of disc for the material.
Before use
- Inspect the tool for loose hardware, damaged cords, or cracked parts.
- Ensure the wheel guard is securely installed.
- Ensure the auxiliary handle is securely installed.
- Verify the accessory is rated for at least 11,000 RPM.
- Wear ANSI-approved eye protection and hearing protection.
- Ensure the work area is clean and free of children or pets.
Specs in practice
- 120VAC / 60Hz / 8A
- Standard electrical power requirements for the tool.
- 4.5" (114.3 mm)
- Maximum diameter of the accessory that can be used.
- 5/8" x 11 TPI
- Spindle thread size for mounting accessories.
Images and diagrams
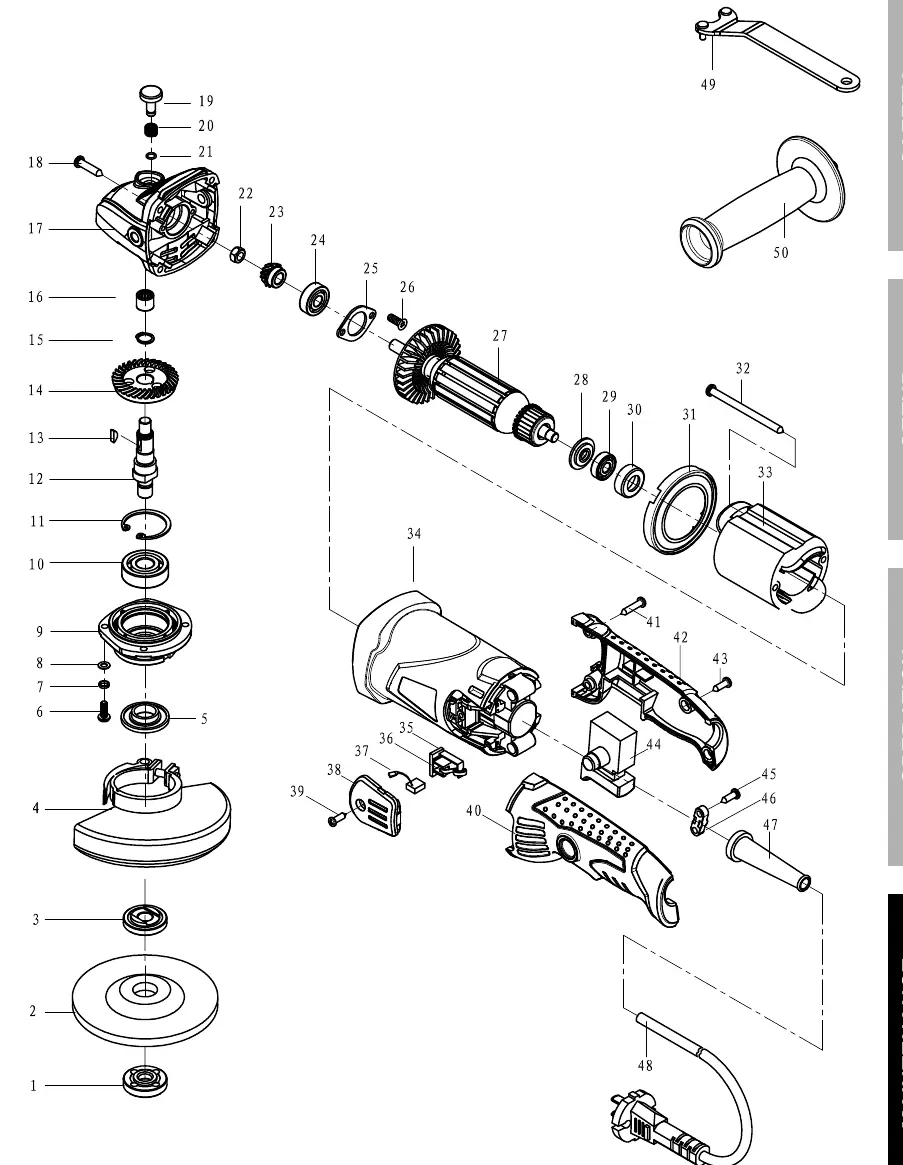
- The assembly diagram (page 17) illustrates the internal components, including the armature, stator, gears, and bearings.
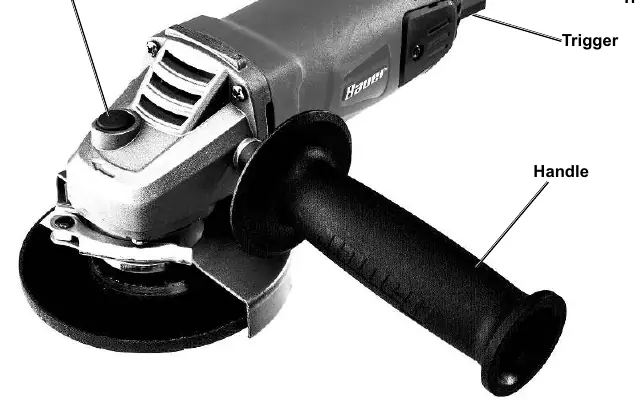
- The functions diagram (page 11) identifies the spindle lock, trigger, trigger lock, and handle locations.
Model compatibility
- Use only accessories with a 5/8" arbor hole.
- Do not use accessories requiring liquid coolants.
- Use only accessories rated for at least 11,000 RPM.

Manual page author
Emily Carter
User documentation editor
Prepares concise manual descriptions and highlights the most useful setup, operation, and maintenance information for readers.