Baby / Baby Monitors
User Manual for HelloBaby 2.4GHz Digital Wireless Video Baby Monitor
Quick guide for the HelloBaby 2.4GHz Digital Wireless Video Baby Monitor. Learn how to set up, pair the camera, use two-way talk, set feeding timers, and troubleshoot common issues.
Quick answers from the manual
Quick answer
- To pair the camera, press the MENU key, select the camera icon, choose the camera number, and press the PAIR button on the back of the camera unit. p. 1
Key actions
- Pairing the camera p. 1
- Using two-way talk p. 1
- Setting feeding timer p. 1
First start
- Connect the power adapter to the camera and parent unit, then press and hold the power key on the parent unit for 3 seconds. p. 1
Problems and fixes
Audio Feedback
Move the monitor close to the camera.
p. 1
Frozen Picture
Repower the baby unit or press the RESET key.
p. 1Maintenance and reset
- Clean with a slightly damp or anti-static cloth. Do not use cleaning agents or solvents. p. 1
Technical specifications
| Parameter | Value | Meaning | Pages |
|---|---|---|---|
| Frequency | 2412MHz~2469MHz | Wireless operating frequency | p. 1 |
| Battery | Li-ion 3.7V 2800mAh | Parent unit battery capacity | p. 1 |
Where to find it in the PDF
- Product Overview and Operations p. 1
- Technical Data and Troubleshooting p. 1
Table of contents
Manual images
Click an image to enlargeQuick guide from the manual
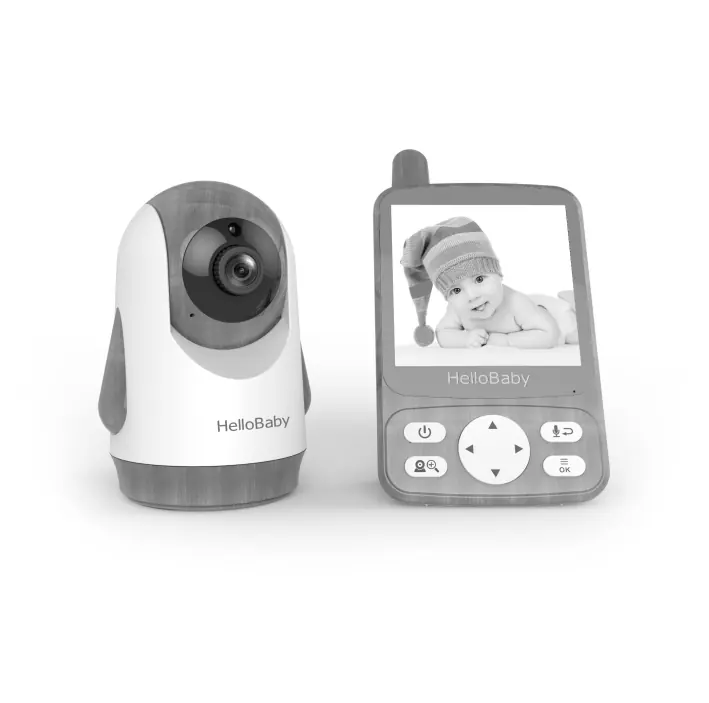
This guide covers the setup and operation of the HelloBaby 2.4GHz Digital Wireless Video Baby Monitor. The system includes a parent unit with a 4.0-inch IPS display and a camera unit. Key features include two-way talk, lullaby playback, feeding timers, temperature monitoring, and an ECO energy-saving mode.
Safety instructions
- Strangulation Hazard: Keep the power cord at least 3 feet (0.9m) away from the baby's reach. Do not use extension cords.
- Do not place the monitor on soft surfaces like beds or sofas that may block ventilation.
- Keep the unit away from heat sources, direct sunlight, and water.
- Do not attempt to repair electrical or mechanical functions yourself.
Installation and placement
For optimal performance, place the camera within 6 feet (2 meters) of the area being monitored. Avoid placing the camera near large metal objects, mirrors, or other electronic devices (like Wi-Fi routers or microwaves) that may cause signal interference.
Getting started
1. Connect the power adapter to the camera unit and plug it into an electrical outlet. The power LED will light up.
2. Connect the power adapter to the parent unit. Press and hold the power key for 3 seconds to turn it on.
Menu operations
Pairing the camera
The camera is pre-registered. If the link is lost, follow these steps:
- Press the MENU key.
- Select the camera icon and press OK.
- Select the desired camera and press OK.
- Press the PAIR button on the back of the camera.
- A successful pairing icon will appear on the screen.
Key features
- Two-Way Talk: Press and hold the talk key to speak to the baby. The parent unit speaker is muted during this mode.
- Digital Zoom: Press and hold the zoom key for 2 seconds.
- Feeding Timer: Set alarms for feeding times via the menu. The alarm will ring for 1 minute if not turned off.
- ECO Mode: When enabled, the monitor stops audio/video transmission if no sound is detected for 30 seconds. It automatically wakes up when sound is detected.
Troubleshooting
- Audio Feedback (High Pitched Noise): Move the monitor further away from the camera.
- Interference/Poor Reception: Ensure the camera is not too close to metal objects or other electronic devices. Check if the battery is low.
- Frozen Picture: Repower the baby unit by unplugging and replugging the adapter, or press the RESET key on the back of the parent unit.
Practical help
Common problems
High pitched audio feedback
Move the parent unit further away from the camera.
Interference or poor reception
Ensure the camera is not placed near metal objects, mirrors, or other electronic devices like Wi-Fi routers.
Frozen picture on screen
Repower the baby unit by unplugging the adapter and plugging it back in, or press the RESET key on the back of the parent unit.
Before use
- Ensure the camera is placed within 6 feet (2m) of the monitored area for optimal performance.
- Keep the power cord at least 3 feet (0.9m) away from the baby.
- Verify that both the camera and parent unit are powered on.
- Check that the camera and parent unit are properly paired.
Specs in practice
- Operating Range
- Up to 1000ft (300m) outdoors (line of sight) or 165ft (50m) indoors.
Images and diagrams
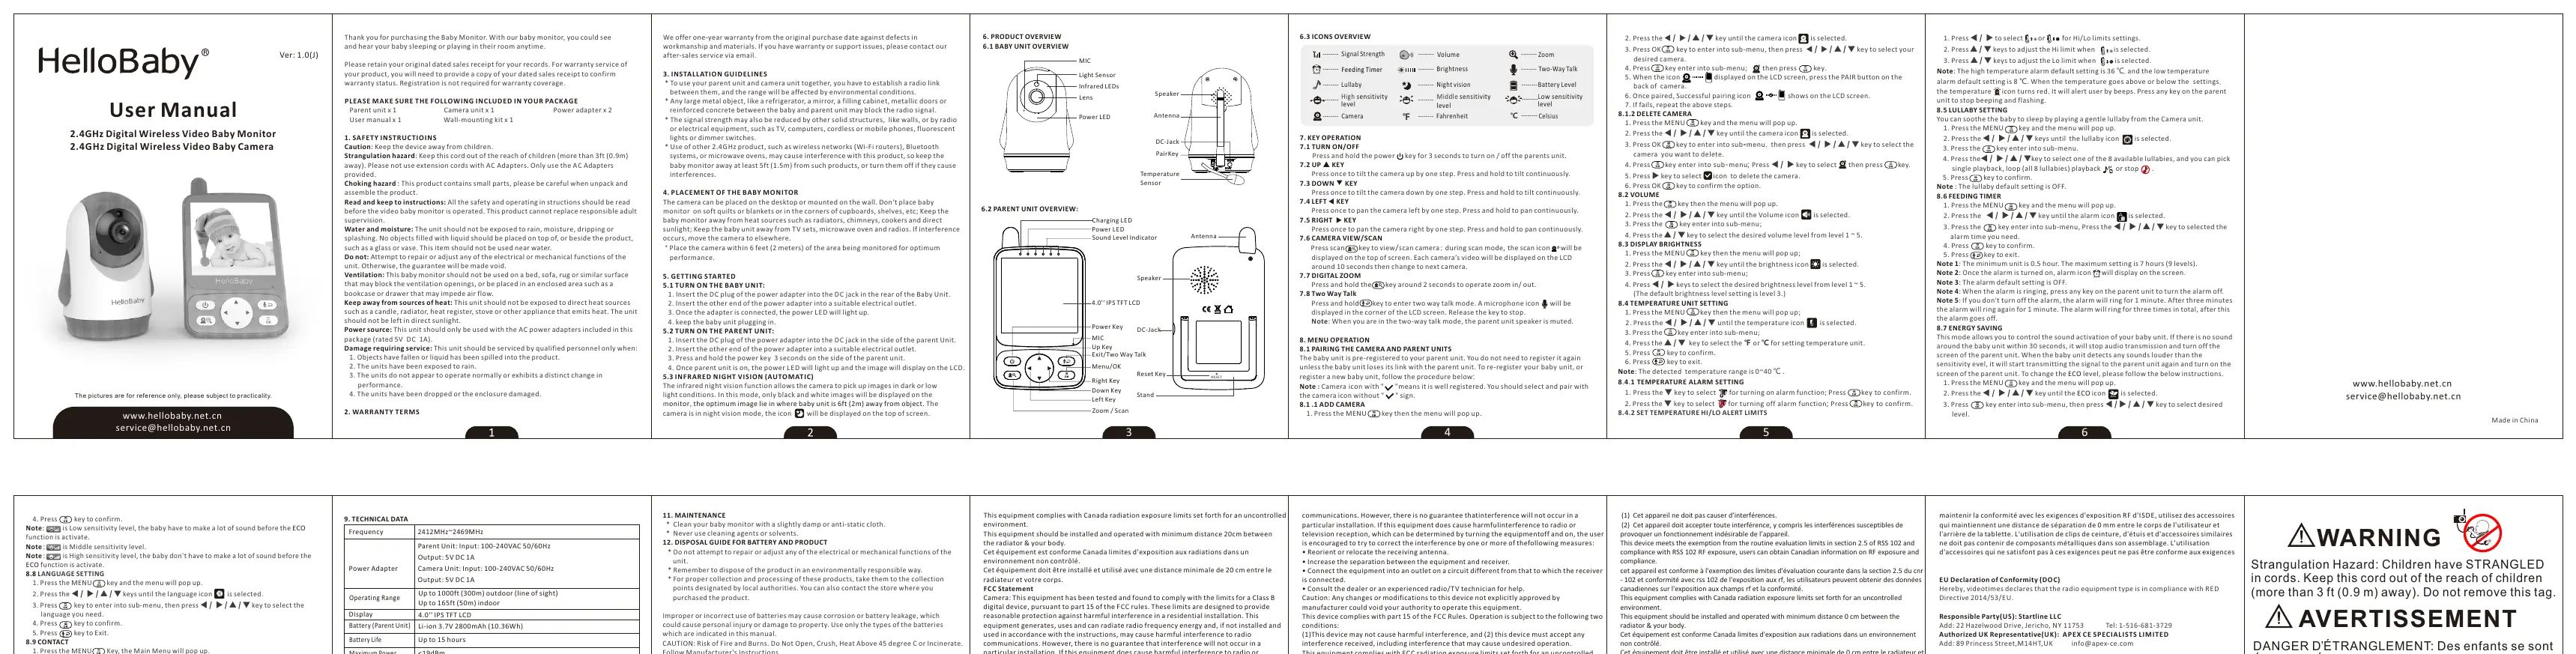
- The parent unit features a 4.0-inch IPS LCD screen, power/charging LEDs, and navigation keys (Menu/OK, Zoom/Scan, Talk, Directional keys).
- The camera unit includes infrared LEDs for night vision, a temperature sensor, and a pairing key.
Model compatibility
- Use only the provided AC power adapters (5V DC 1A).
- Do not use extension cords.

Manual page author
David Miller
Documentation analyst
Organizes user manual content into clear summaries, with attention to model details, product context, and everyday usability.