Furniture / Beds Mattresses
Assembly Instructions: Design 140x200 cm Wooden Bed
Comprehensive assembly guide for the Design 140x200 cm wooden bed (models ML-1843, ML-1844). Includes step-by-step installation procedures, hardware lists, and safety warnings.
Table of contents
Manual images
Jump to the sectionQuick guide from the manual
This document provides assembly instructions for the Design 140x200 cm wooden bed (models ML-1843 and ML-1844). Before starting, ensure you have a clear workspace, identify all components, and prepare the necessary tools. Do not force any components during assembly. Periodically tighten all screws after the bed has been in use for some time. Keep these instructions for future reference or for contacting the retailer if needed.
Hardware and components
The assembly requires various screws, dowels, and fasteners. Ensure all parts listed in the hardware section (A through R) are present before beginning. Key hardware includes wooden dowels (A), various M6 bolts (B, E, F, N, P), screws (G, R), and specialized connectors (C, H, J, K, L, Q).

Assembly steps
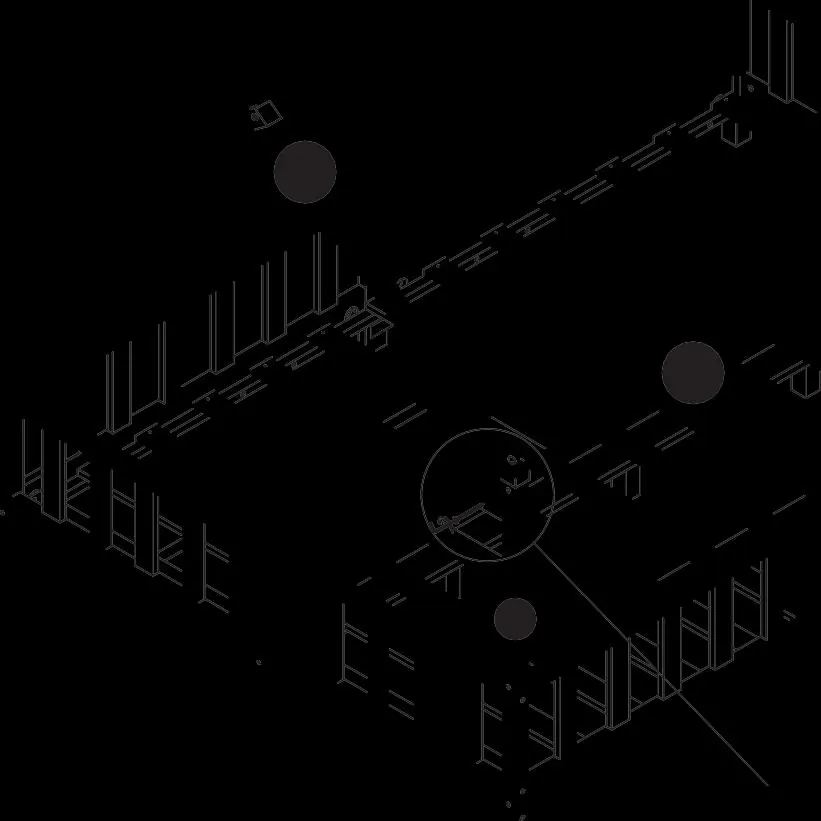
The assembly process is divided into 20 steps:
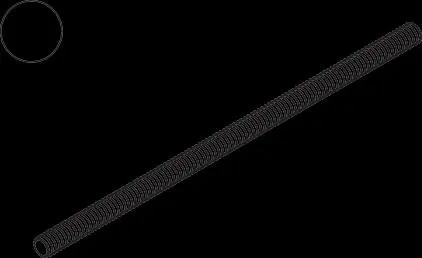


- Step 1: Prepare the main frame components by inserting wooden dowels (A) into the designated holes.
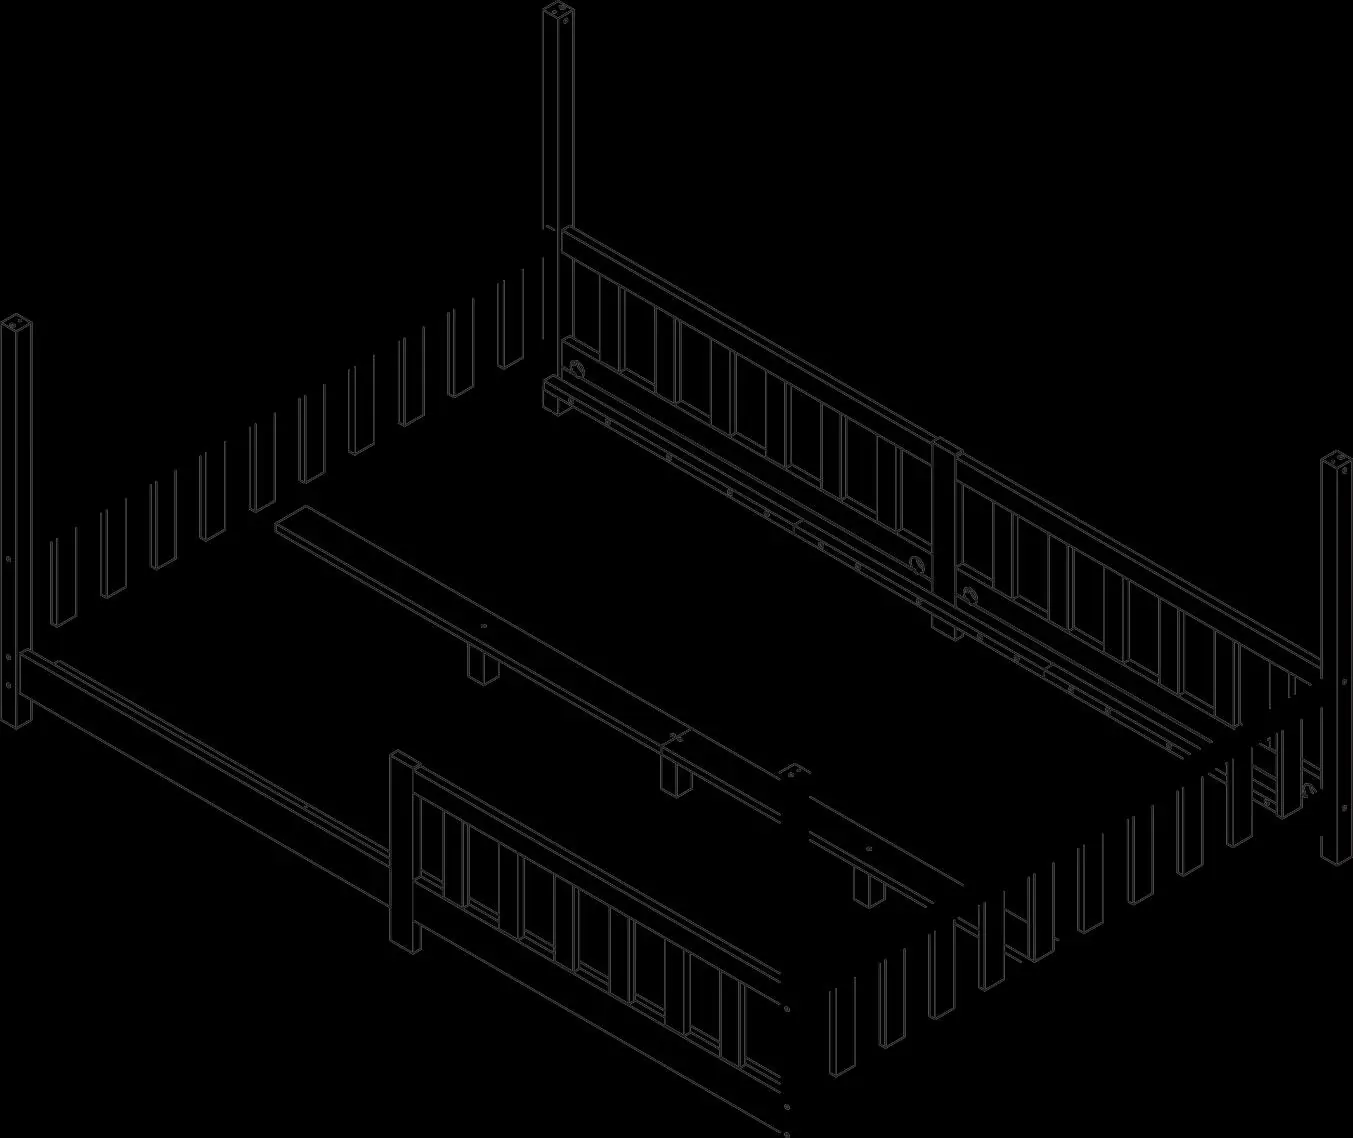
- Step 2: Assemble the side panels using the provided dowels and connectors.
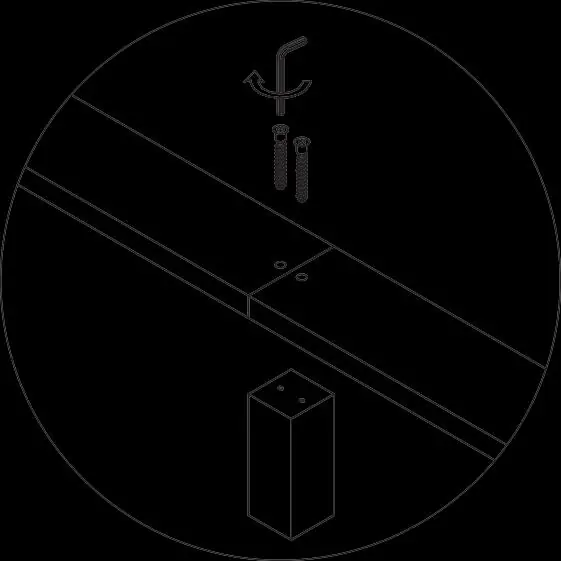
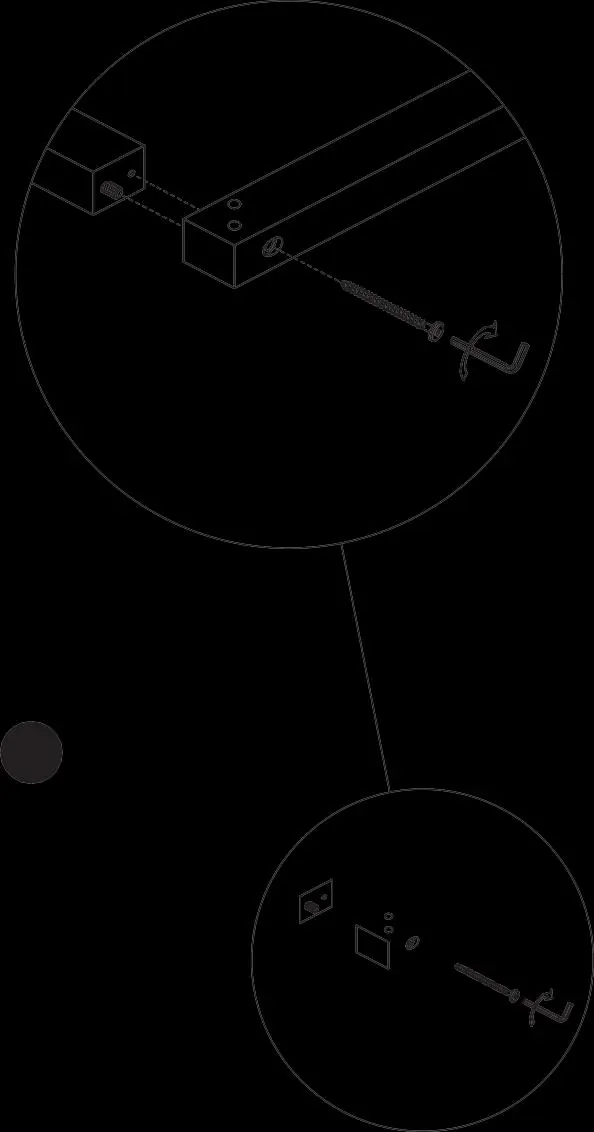
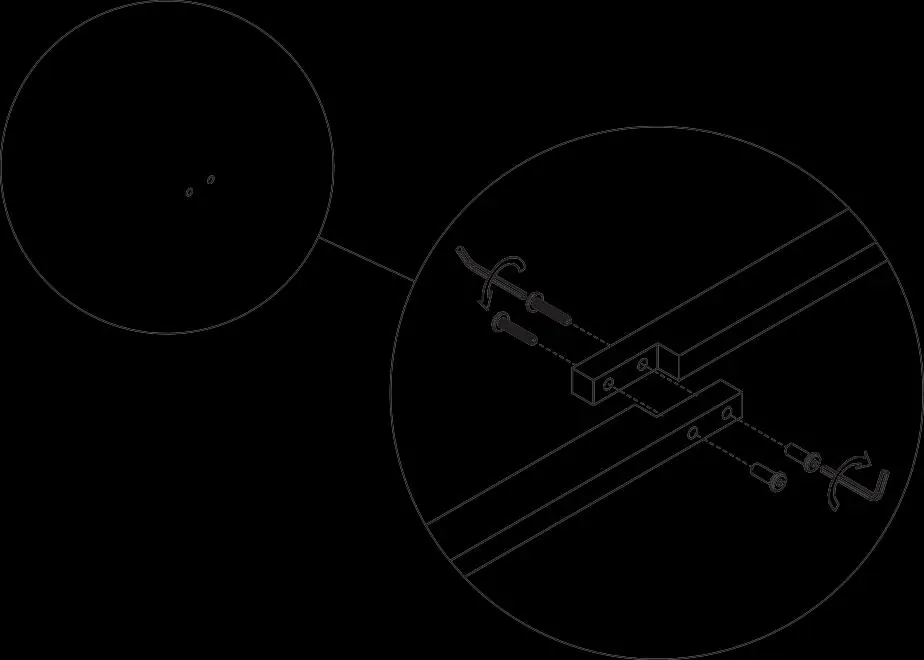
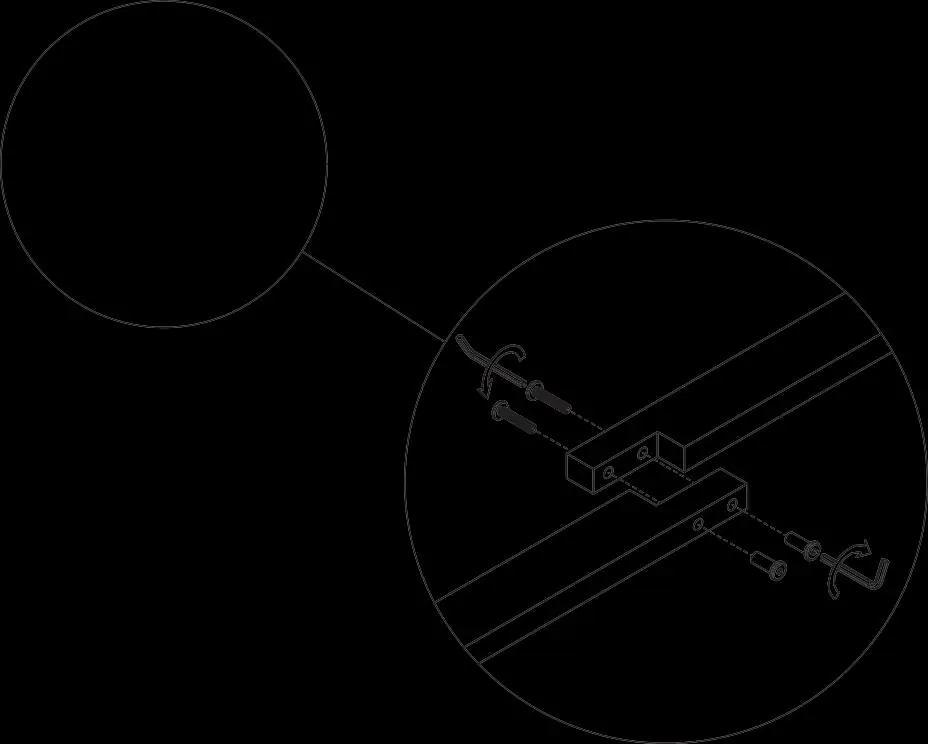
- Step 3: Connect the side rails to the head and footboard sections using bolts (B, E) and barrel nuts (C).
- Step 4-5: Assemble the internal support structures and slats.
- Step 6-7: Secure the main frame joints using bolts (H) and locking nuts (L).
- Step 8-10: Attach additional support beams and legs.
- Step 11-14: Finalize the frame structure and attach the bed slats using screws (G).
- Step 15-20: Assemble and attach the roof frame structure to the main bed frame using bolts (E) and the provided Allen key (D).
Safety and maintenance
Warning: Do not allow children to hang or climb on the roof frame structure. Regularly check and tighten all screws to ensure the bed remains stable and safe for use.
Practical help
Common problems
Loose joints or squeaking
Periodically tighten all screws and bolts after the bed has been in use for some time.
Difficulty inserting components
Never force components. Check that you are using the correct hardware (A-R) as specified in the assembly steps.
Before use
- Clear a large workspace for assembly.
- Identify and group all components and hardware.
- Verify all parts (A-R) are present according to the manual.
- Prepare the necessary tools (Allen key provided).
- Ensure the assembly area is level.
Specs in practice
- 140 x 200 cm
- The mattress size compatibility for this bed frame.
Images and diagrams
- The manual uses numbered circles to identify specific wooden parts.
- Letters (A-R) are used to identify specific hardware pieces.
- Arrows indicate the direction of assembly or the specific hole for a screw.
- The 'X' symbol on the roof frame indicates that climbing or hanging on this part is prohibited.
Model compatibility
- Compatible with 140x200 cm mattresses.
- Models ML-1843 and ML-1844 share the same assembly procedure.

Manual page author
Michael Turner
Technical manual editor
Reviews PDF manuals for structure, safety notes, and practical product details so readers can find the right information quickly.