Lighting / Smart Lighting
Installation Guide for GE Cync Smart Neon Shape Light
A complete installation and setup guide for the GE Cync Smart Neon Shape Light. Learn how to mount, trim, and configure your smart lighting system using the Cync App.
Quick answers from the manual
Quick answer
- The GE Cync Smart Neon Shape Light is installed by preparing the surface, using the layout template to mark clip positions, mounting the clips with screws or nails, and snapping the light into place. The strip can be trimmed at designated 2.8-inch intervals while unplugged. p. 1, 2
Key actions
- Connect to App p. 1
- Trim to Size p. 2
- Mounting p. 2
First start
- Power on the device, download the Cync App, and follow the in-app setup prompts. p. 1
Where to find it in the PDF
- Setup and What's Included p. 1
- Installation and Trimming p. 2
- Regulatory Information p. 3
Table of contents
Manual images
Click an image to enlargeQuick Guide
The GE Cync Smart Neon Shape Light is designed for indoor use. To get started, ensure you have the Cync App installed on your smartphone. The installation process involves preparing your surface, laying out your design using the provided template, mounting the light strip with clips, and connecting it to the app. Ensure the ambient temperature is above 50°F (10°C) for the best results.
What's Included
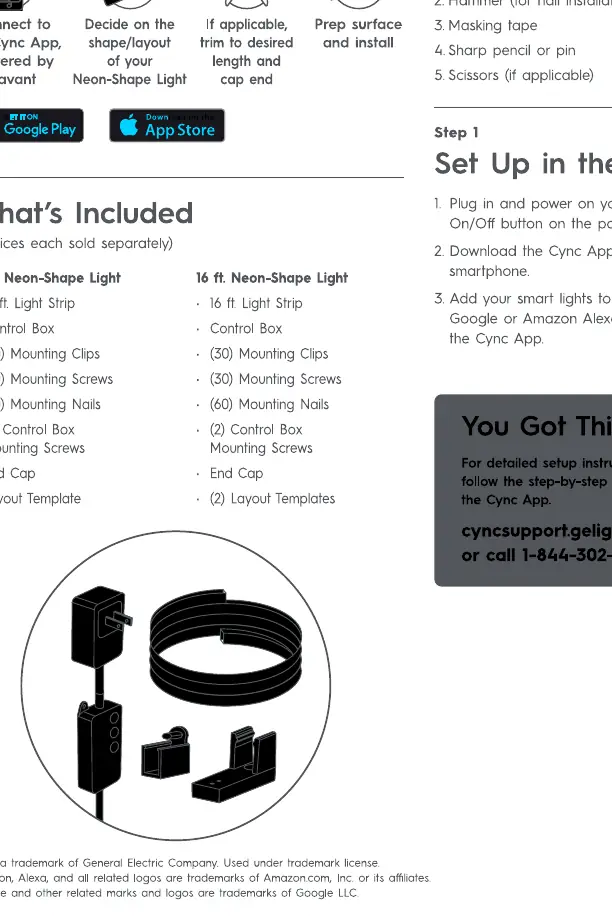
- Light Strip (10 ft. or 16 ft. depending on model)
- Control Box
- Mounting Clips
- Mounting Screws
- Mounting Nails
- End Cap
- Layout Template
Preparation and Tools
Before beginning, gather the following tools:
- Screwdriver
- Hammer
- Masking tape
- Sharp pencil or pin
- Scissors (if trimming is required)
Installation Steps
- App Setup: Plug in the light and power it on. Download the Cync App, powered by Savant, and follow the in-app instructions to connect your device.
- Surface Preparation: Ensure the mounting surface is clean, dry, and free of oil.
- Layout Design: Use the provided Layout Template to mark the mounting clip locations on your wall using a pencil or pin.
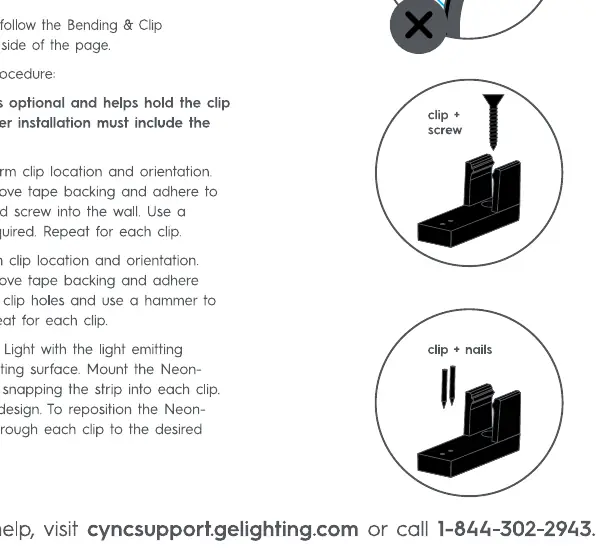
- Mounting: Install the mounting clips using the provided screws or nails. Snap the light strip into the clips.
- Trimming: If the strip is too long, unplug it from the power source. Cut the strip only at the designated black points, which are spaced every 2.8 inches.
- Control Box: Mount the control box to the wall using the provided screws.
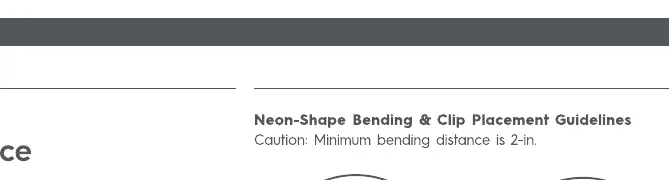
Bending Guidelines
When shaping your light strip, observe the following rules:
- The minimum bending distance is 2 inches.
- Ensure the emitting surface faces away from the mounting surface.
- Do not bend the strip such that the emitting surface faces inward or sideways against the mounting surface.
Voice Assistant Setup
Once connected to the Cync App, you can integrate the light with voice assistants like Amazon Alexa or Hey Google. Use the Cync App to link your accounts and enable voice control features.
Practical help
Common problems
Light strip does not fit the desired space
The strip can be trimmed. Unplug the device first, then cut only at the marked black points located every 2.8 inches.
Difficulty bending the strip
Ensure the bending radius is at least 2 inches. Do not force sharp bends.
Before use
- Download the Cync App.
- Ensure the mounting surface is clean and dry.
- Verify ambient temperature is above 50°F (10°C).
- Gather tools: screwdriver, hammer, masking tape, pencil, scissors.
- Check that the light strip is unplugged before trimming.
Specs in practice
- Minimum Bending Distance
- 2 inches; do not bend tighter than this to avoid damage.
- Trimming Interval
- Every 2.8 inches; only cut at designated black points.
- Operating Temperature
- Above 50°F (10°C) for proper adhesive and installation performance.
Images and diagrams
- Bending guidelines illustrate the minimum 2-inch radius and correct orientation of the emitting surface.
- Mounting diagrams show the correct use of clips with screws or nails.
- Trimming diagram indicates the specific black cut points on the strip.
Model compatibility
- Compatible with Hey Google and Amazon Alexa voice assistants.
- Requires Cync App for initial setup and configuration.

Manual page author
David Miller
Documentation analyst
Organizes user manual content into clear summaries, with attention to model details, product context, and everyday usability.